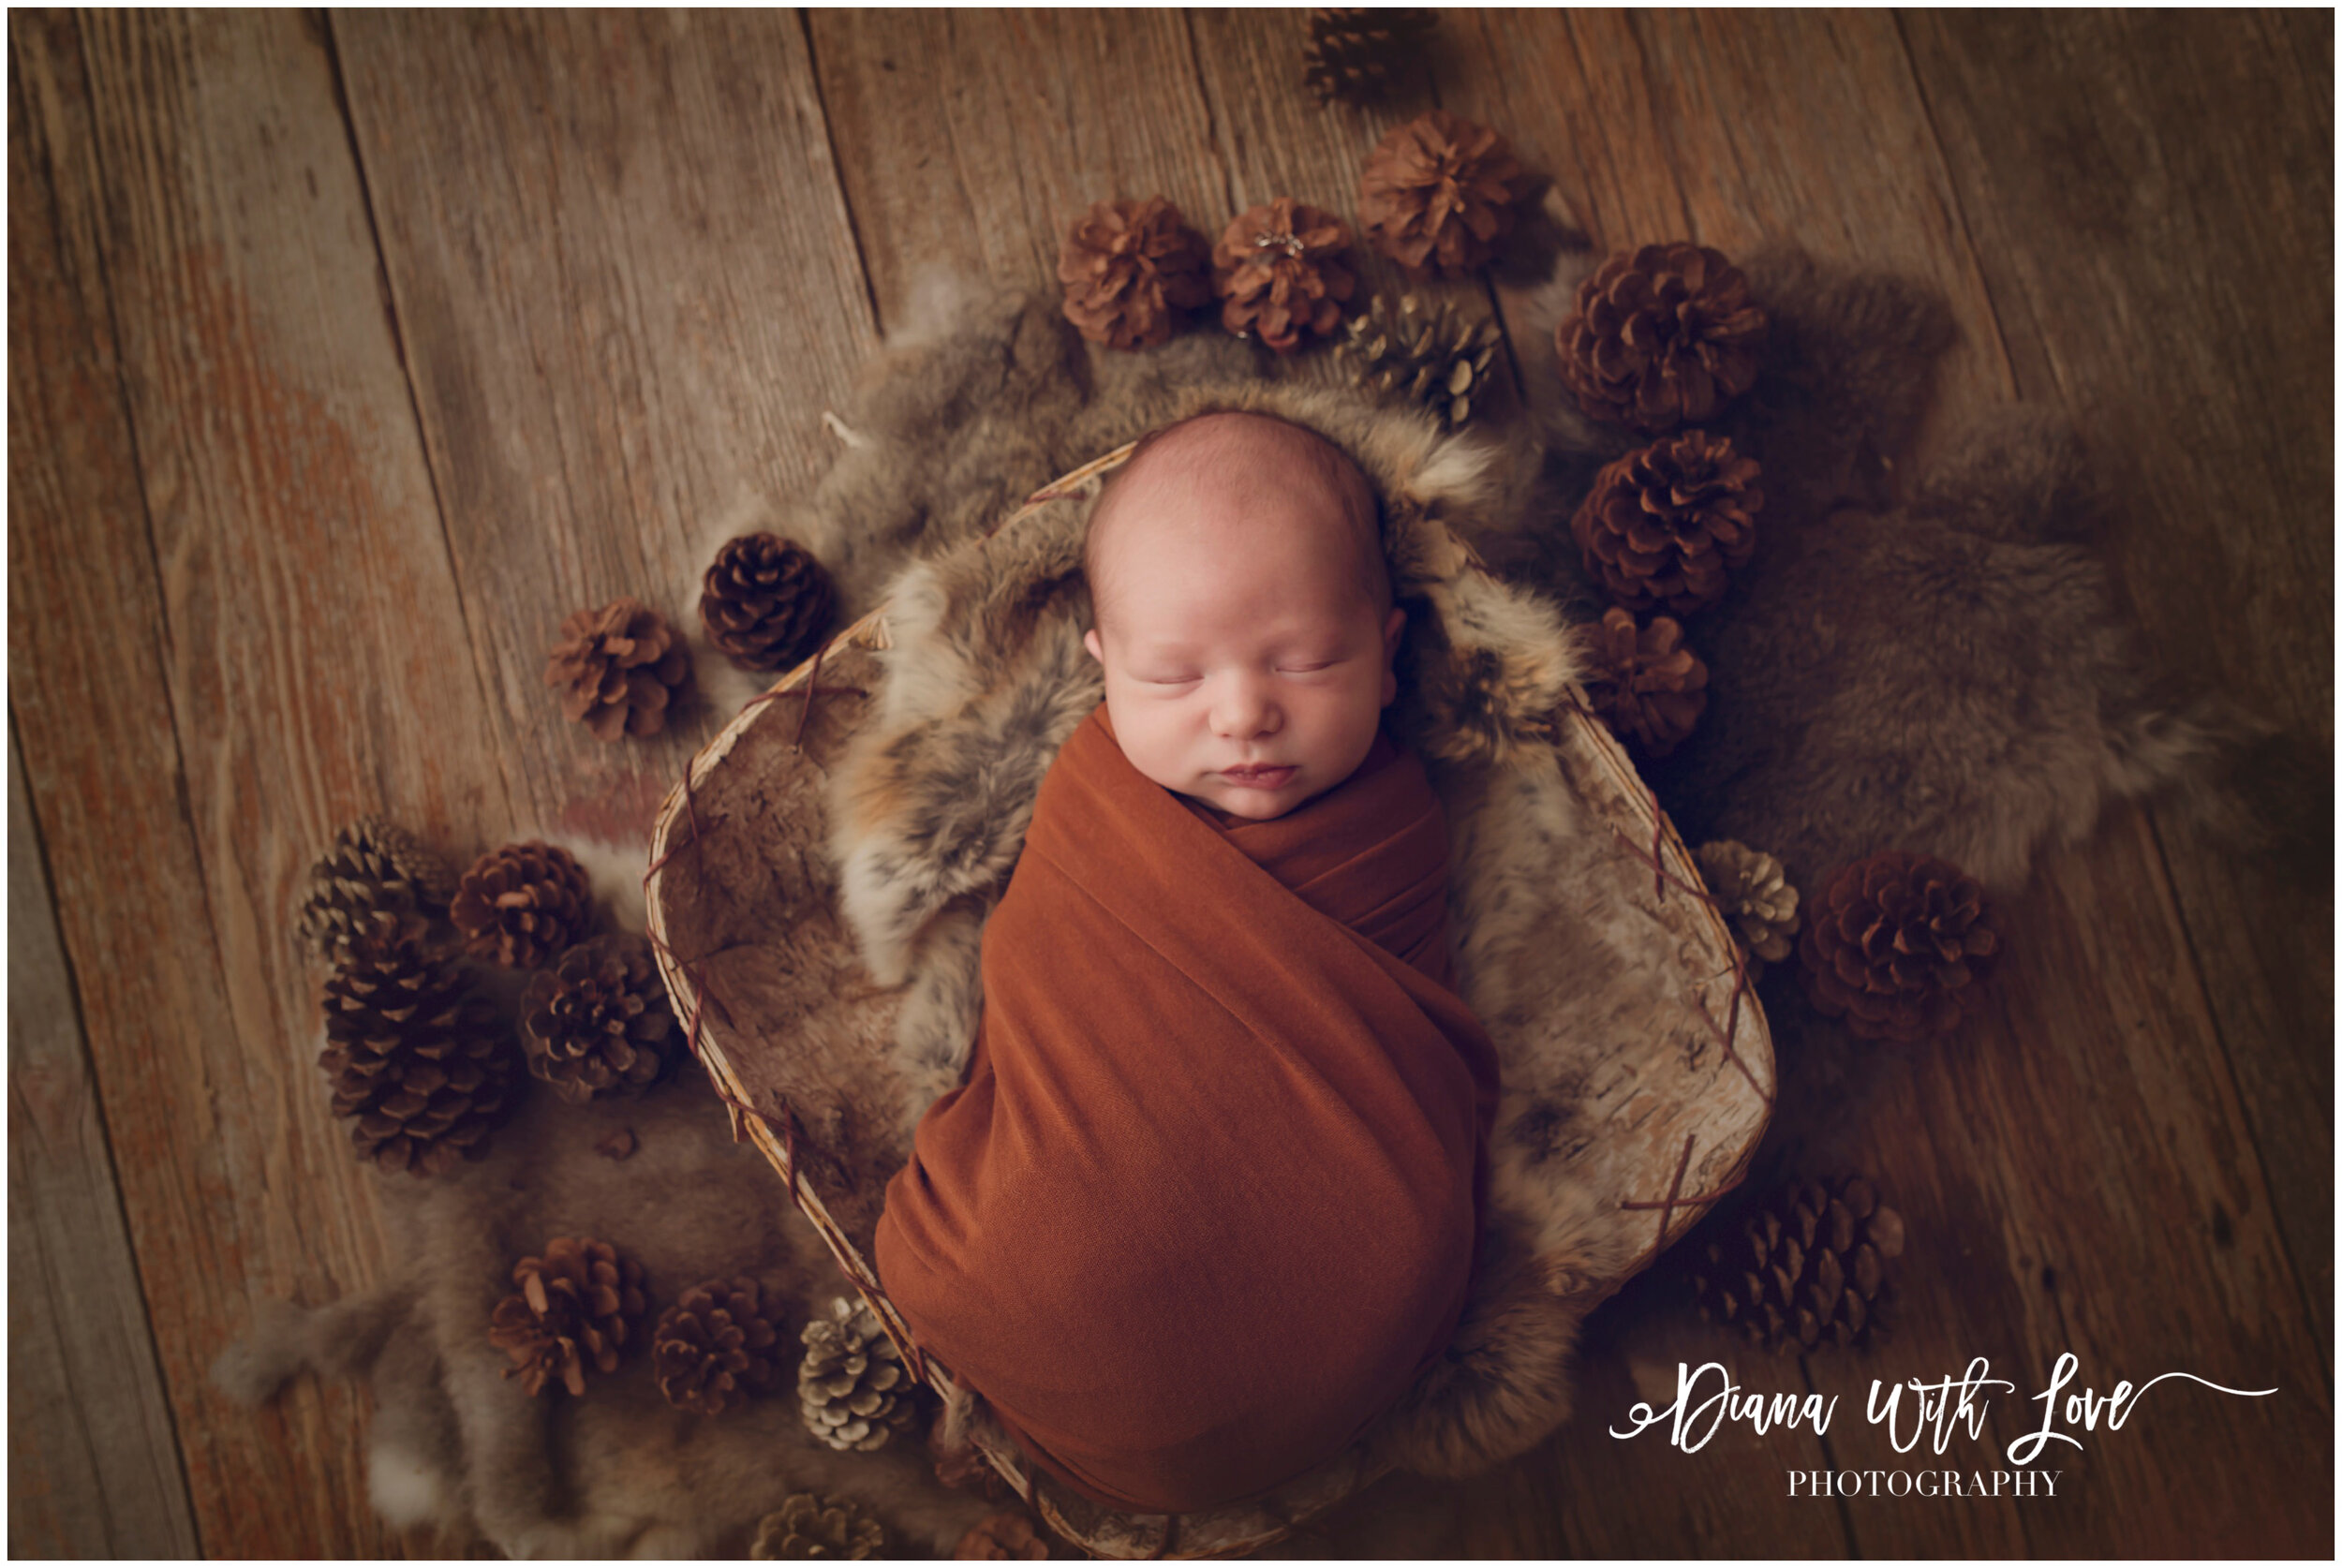
Henry's Newborn Session {Huntsville Newborn Photographer}
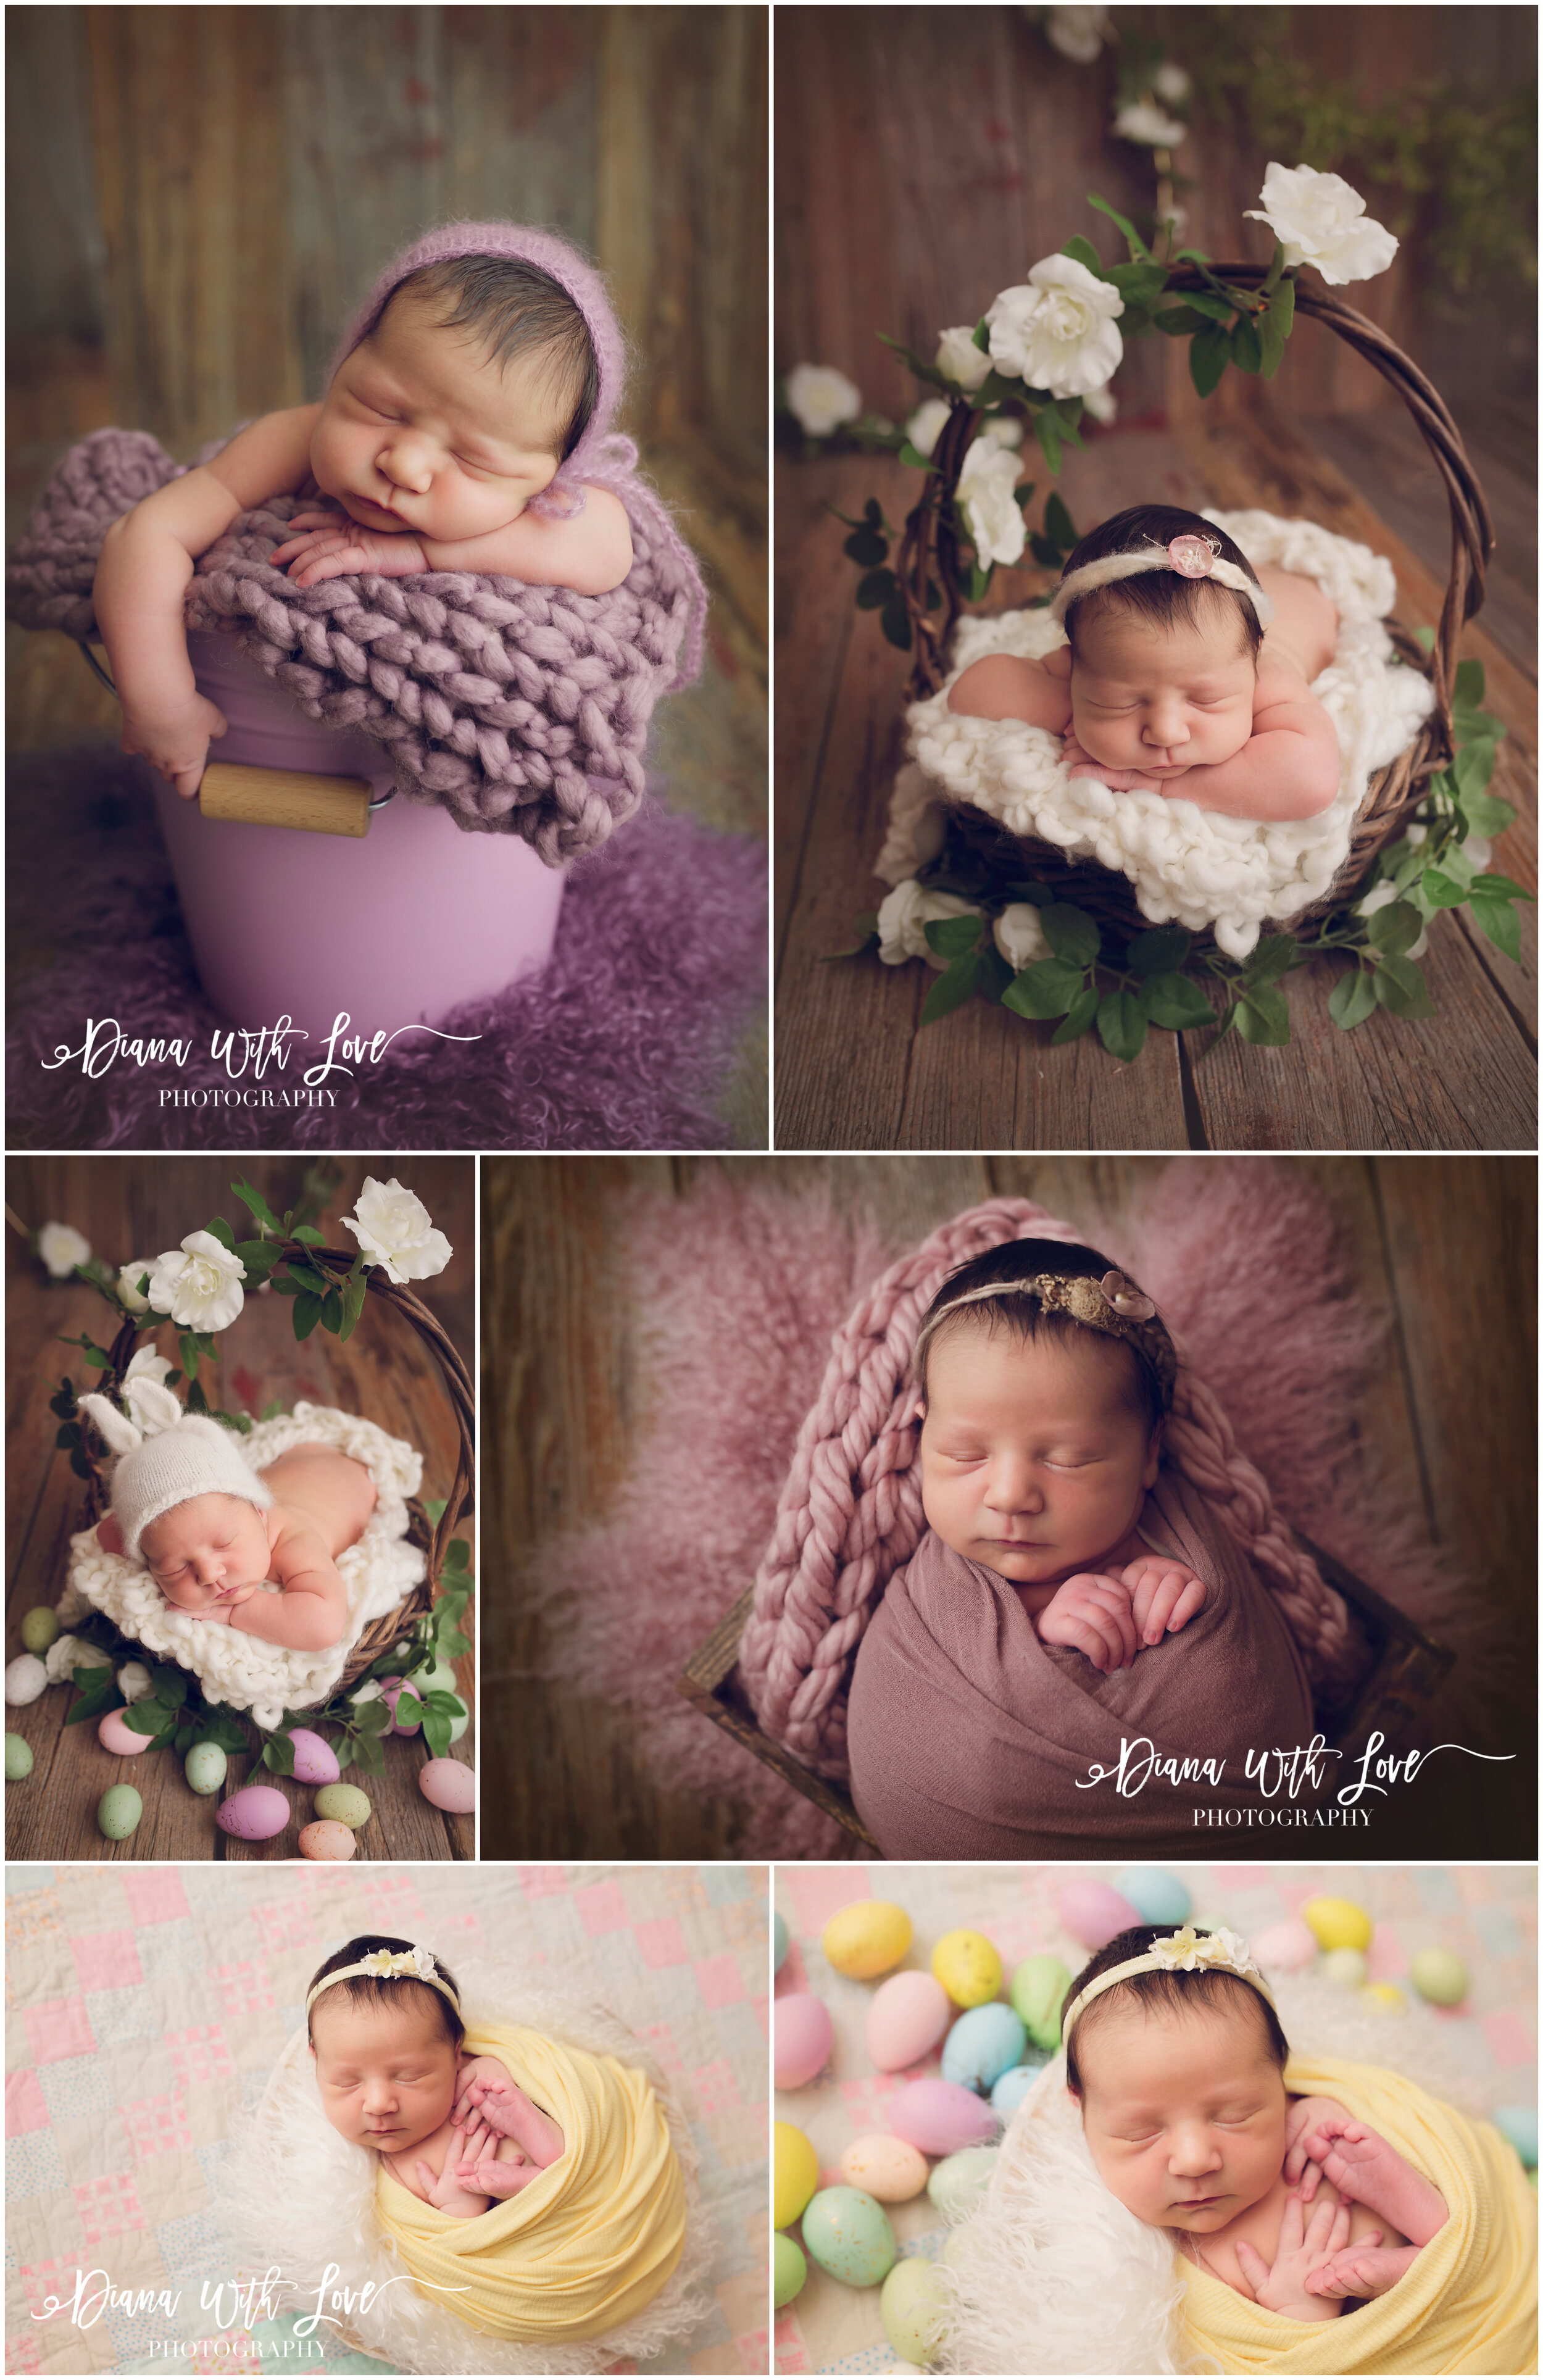
April 2018 Newborn Session


fine art portraiture for the adventurous and sentimental
April 2018 Newborn Session
March 2018 Newborn Session
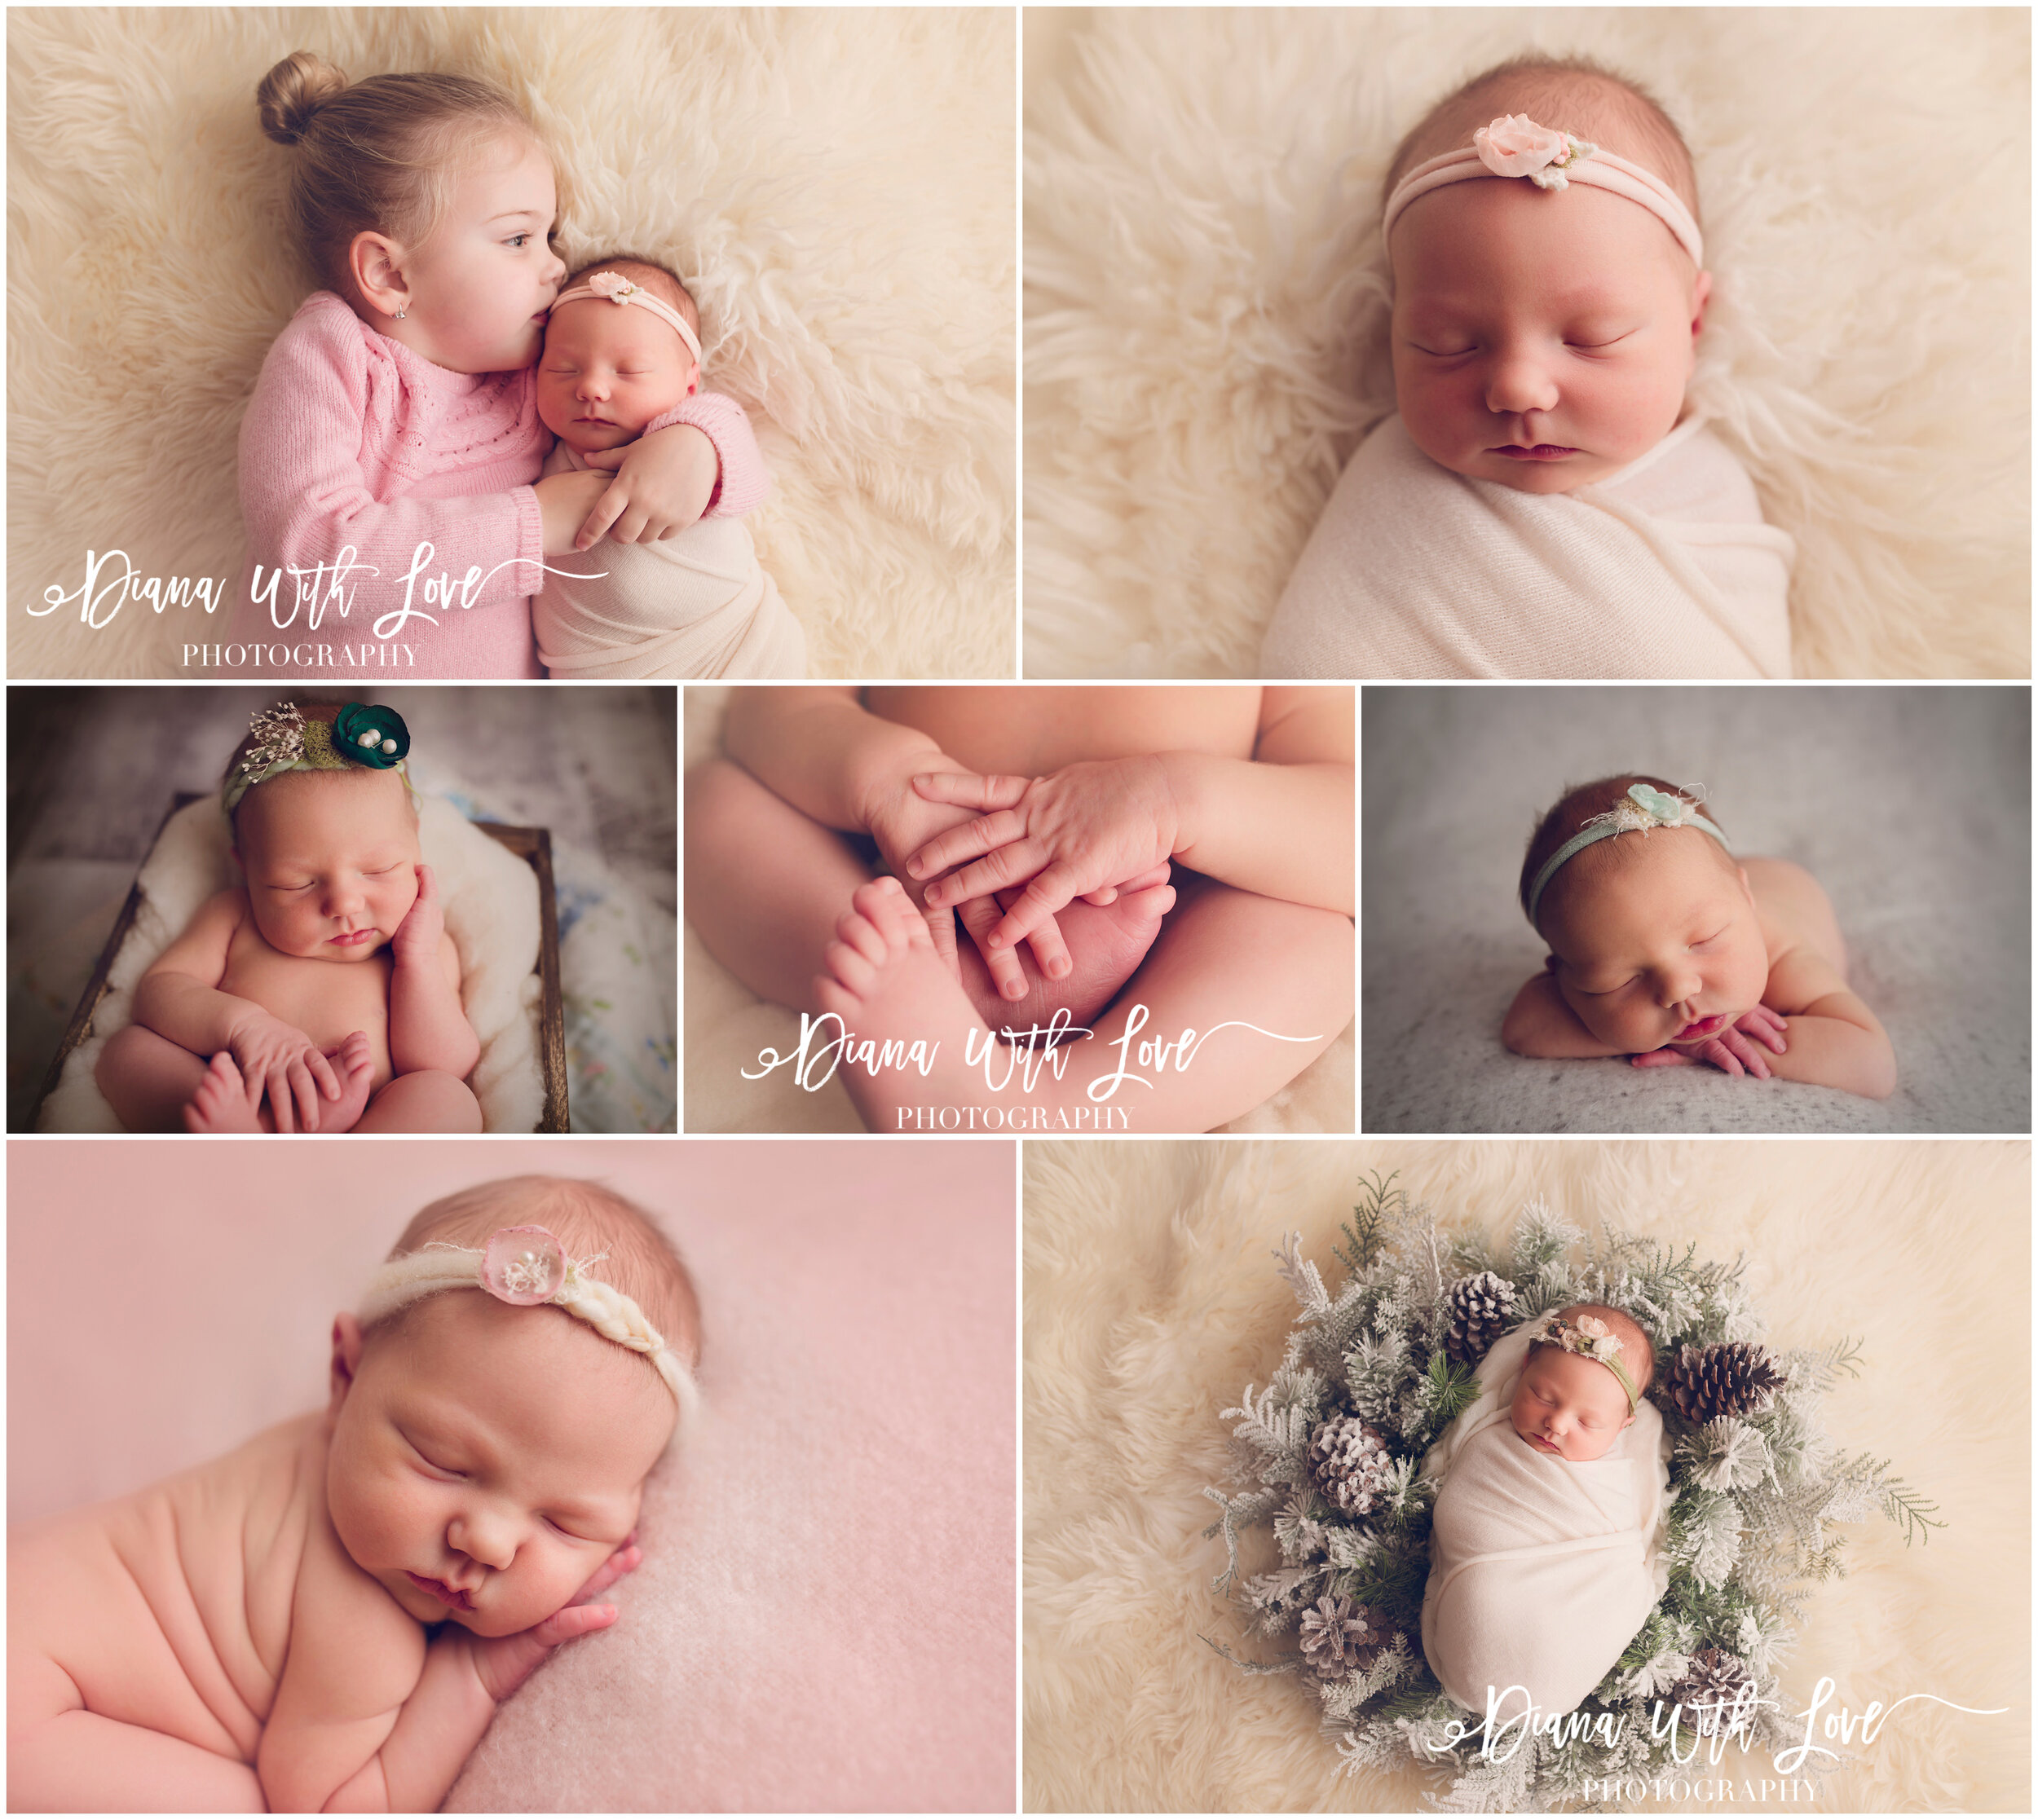
Grace’s Newborn Photo Session February 2018
Isla’s Newborn Session 2018
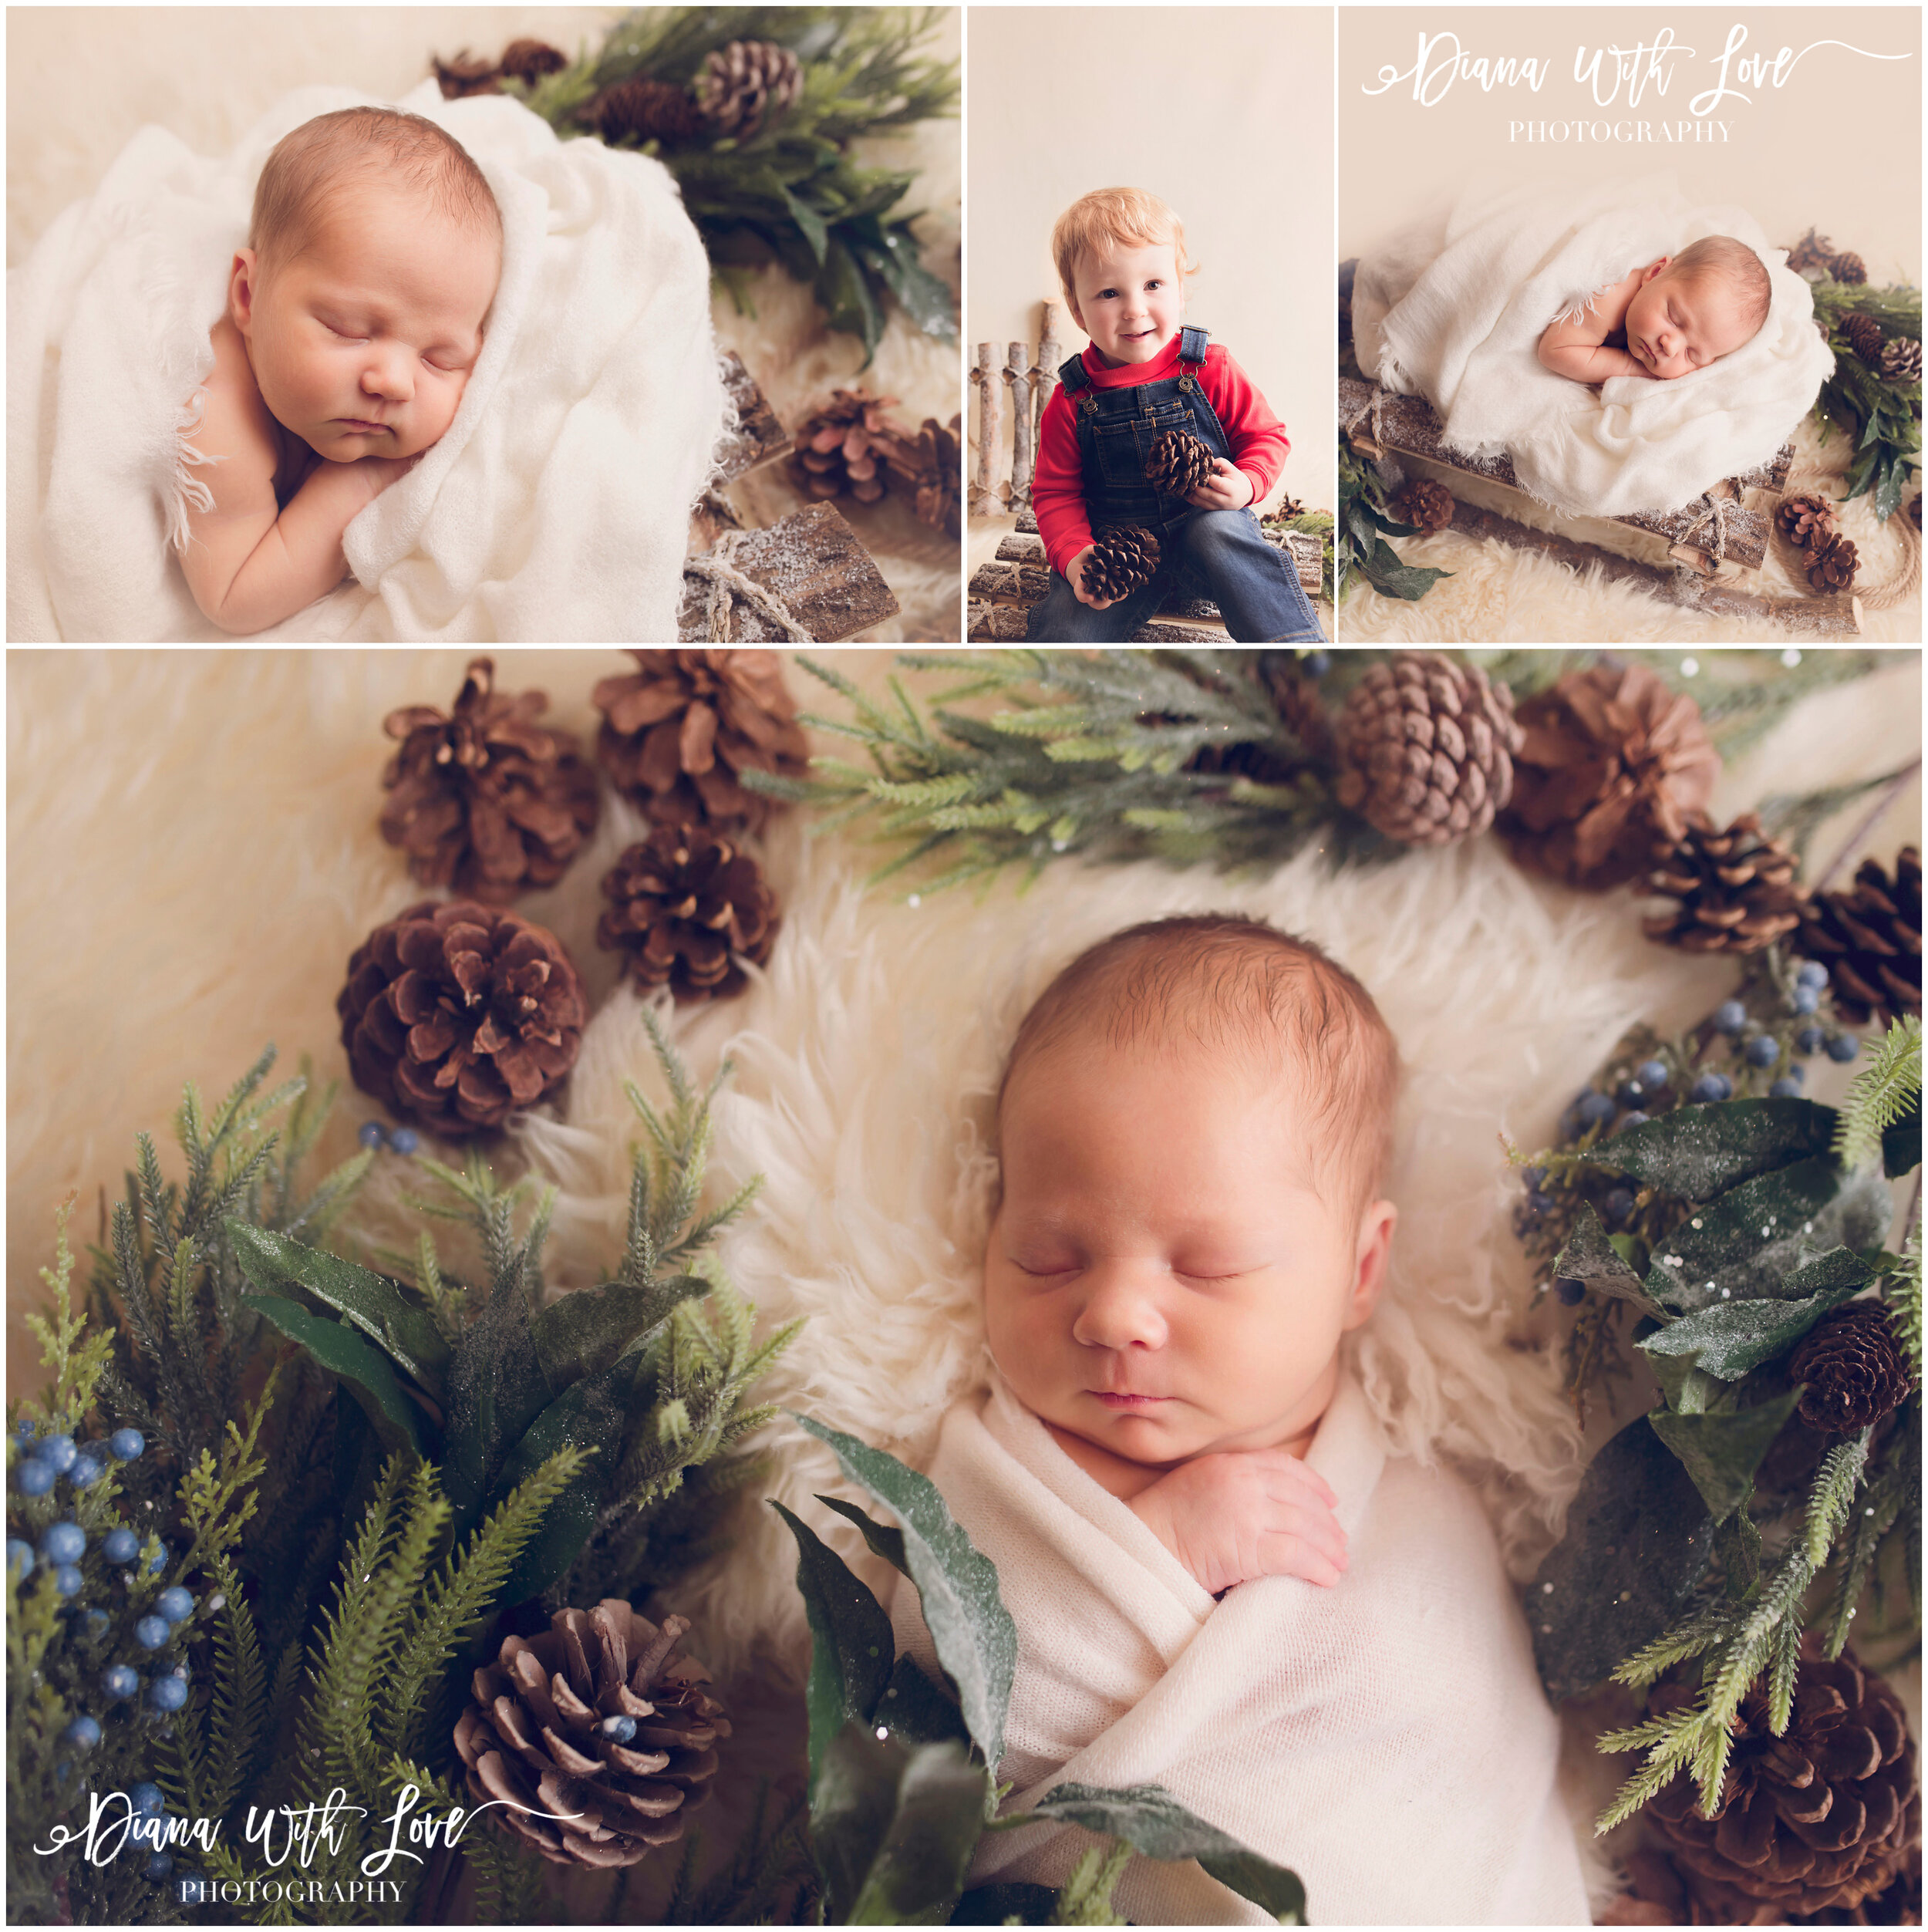
December 2017
My last session and last newborn of 2017! Have you guys noticed I’m catching up on about 4 years worth of blogging? LOL Only 3 and a bit more years left of catch up and hopefully I’ll stay caught up! There have definitely been some perks to self isolation during this Covid-19 pandemic.
November 2017
Such a beautiful family inside and out. I adored every moment photographing their new baby girl.


November 2017
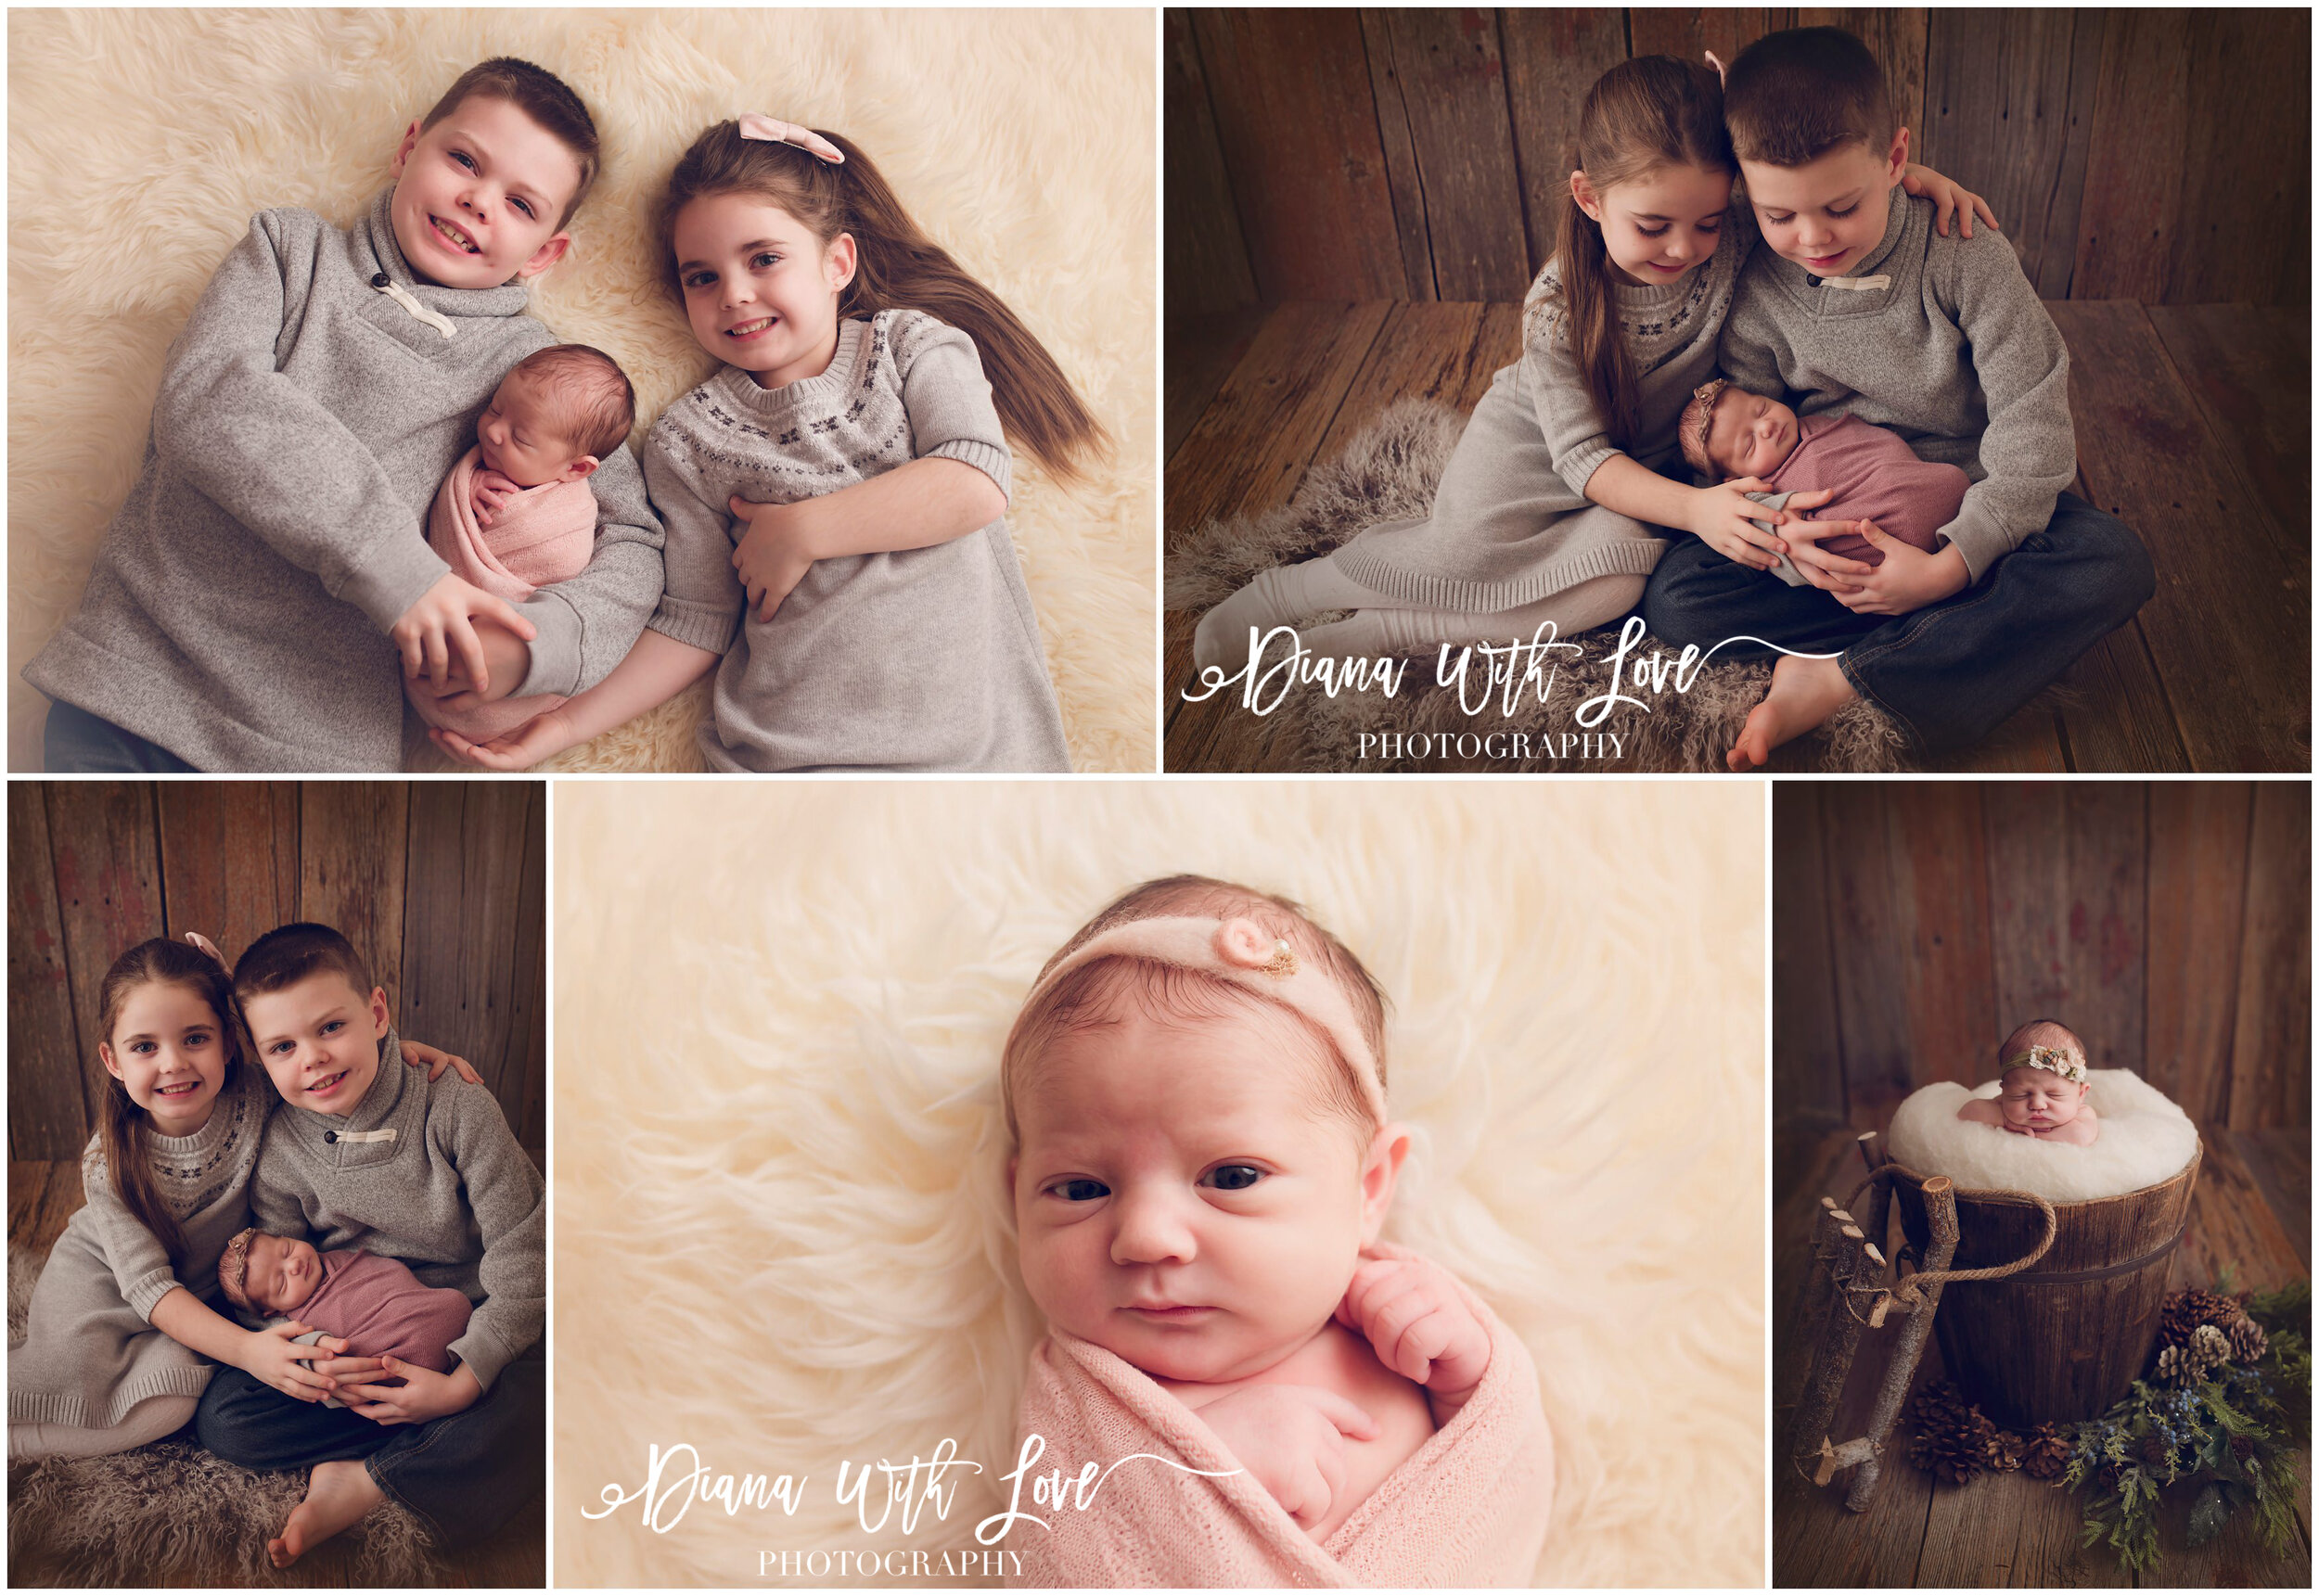
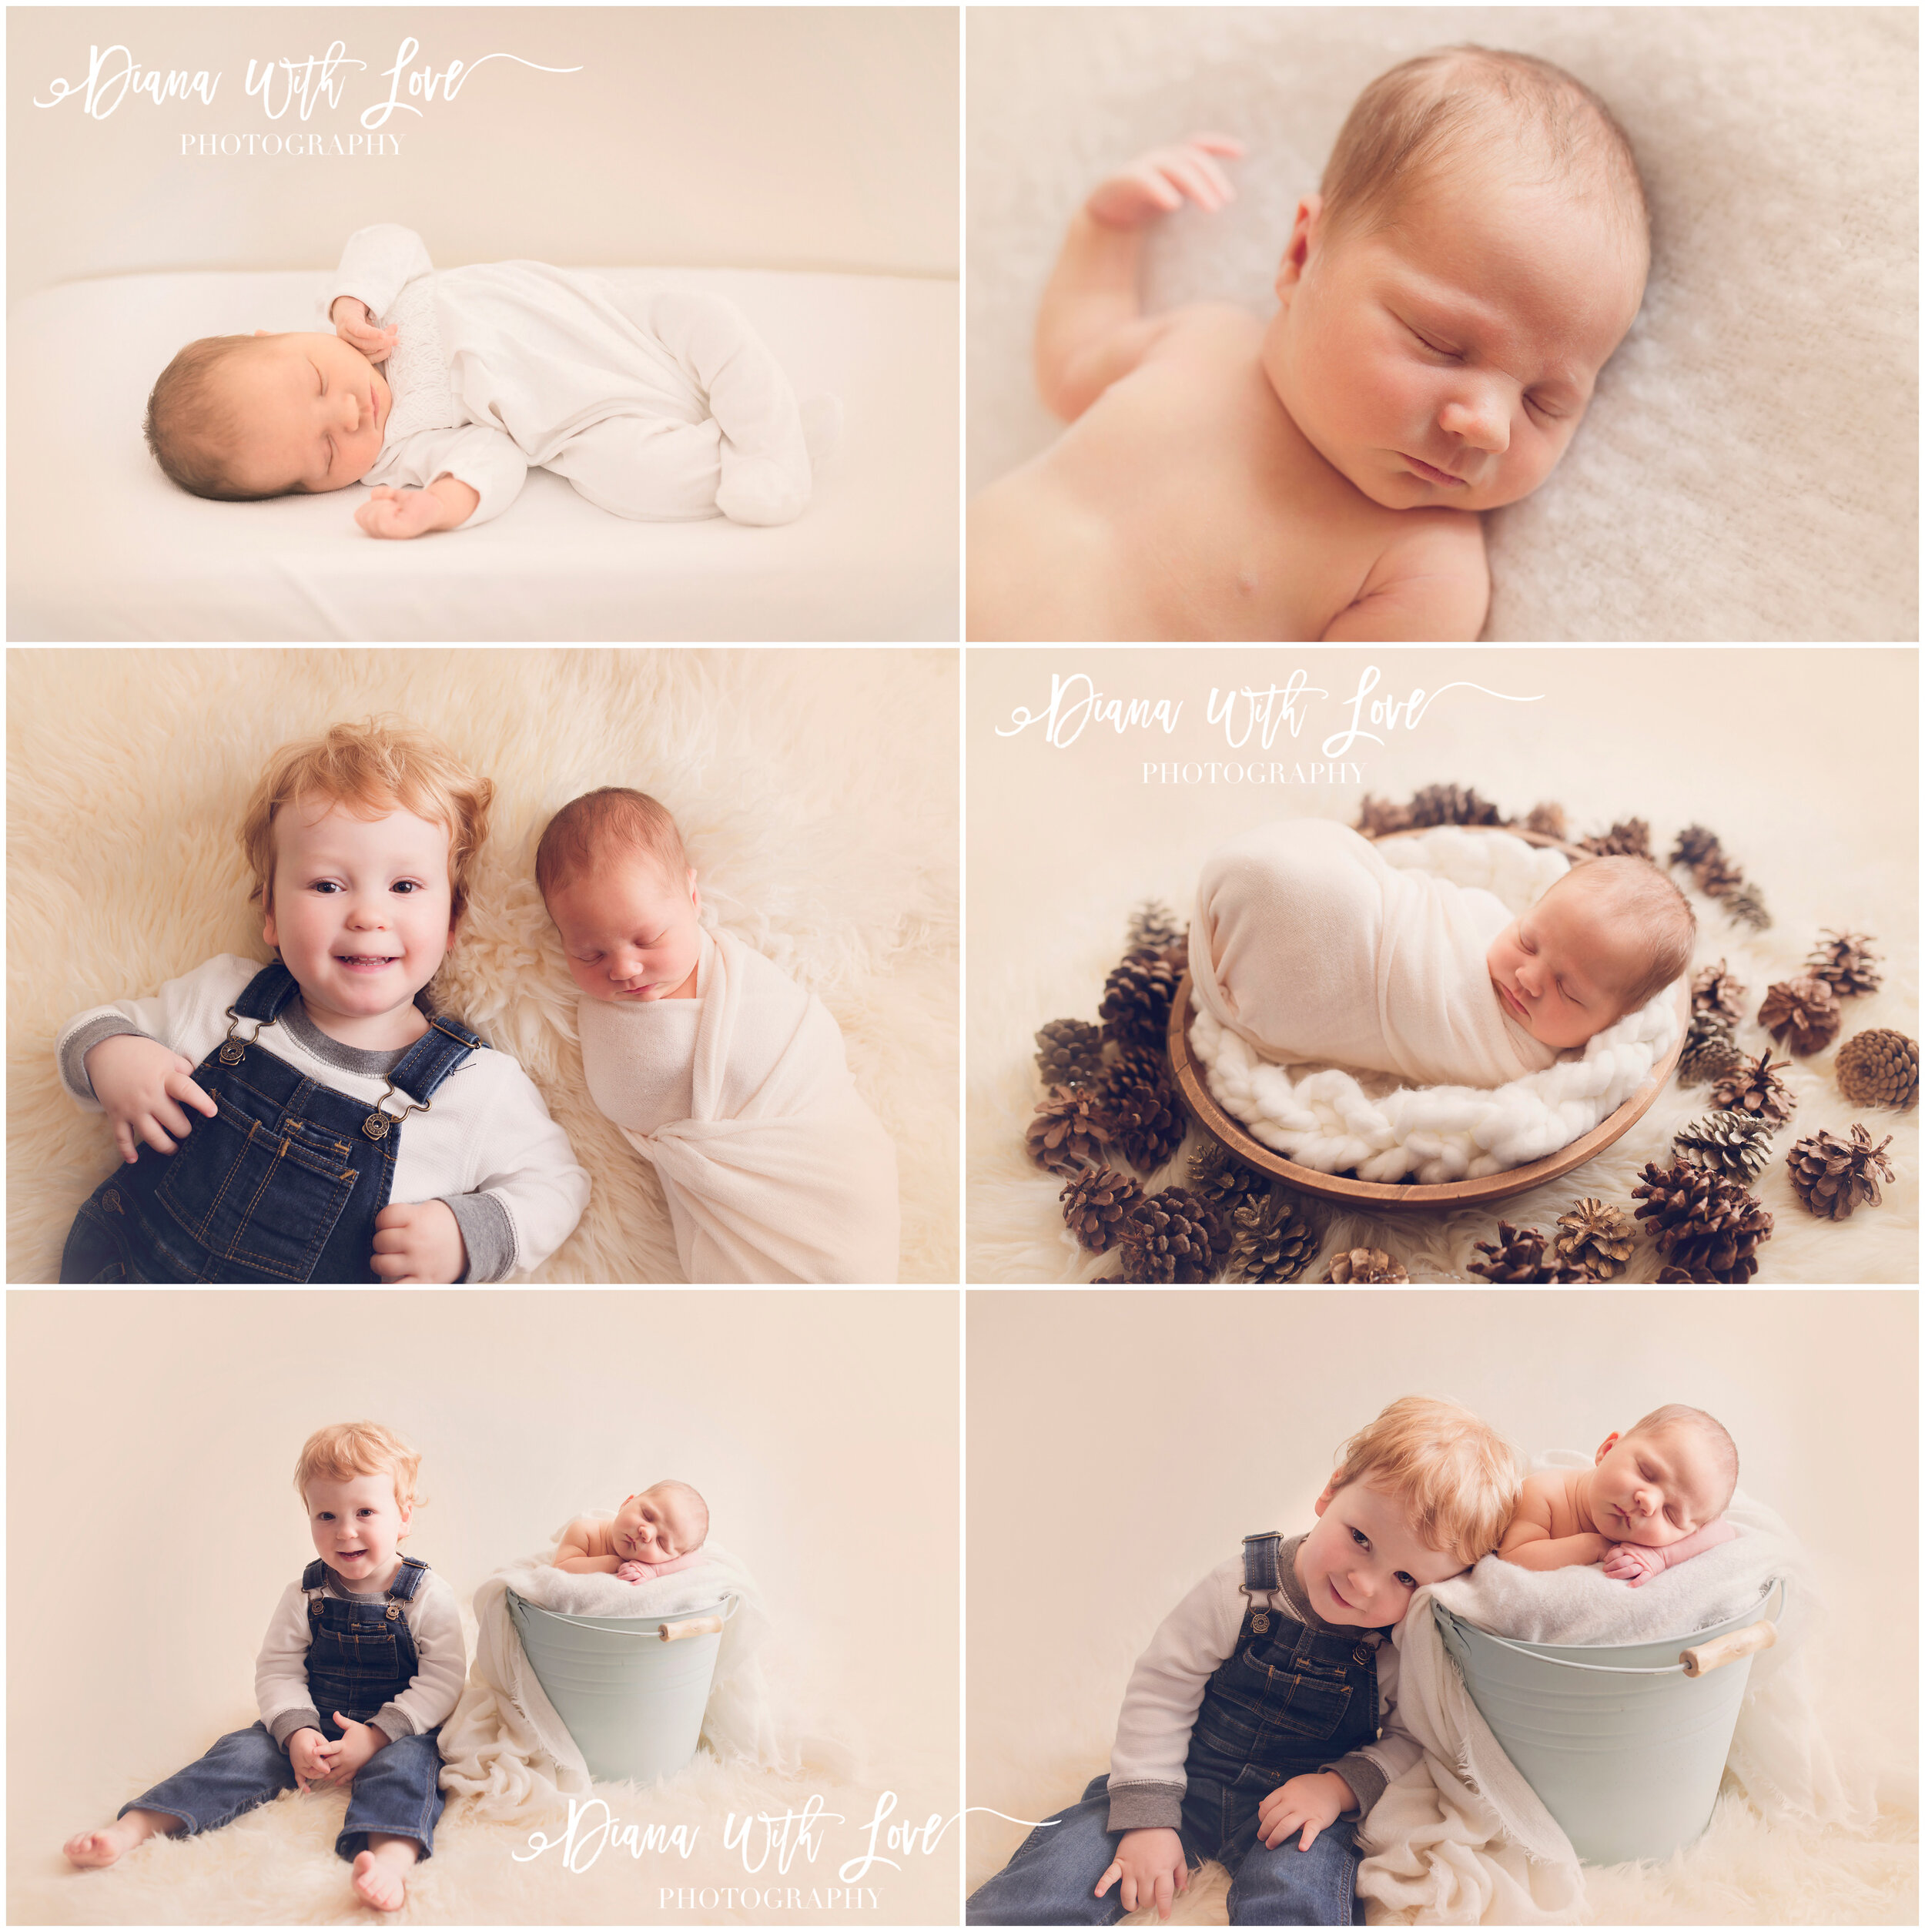
I loved photographing this family and their new addition. Fletcher was so loved, especially by his big brother and big sister! I don’t think I’ve ever gotten through family and sibling photos so quickly!

November 2017
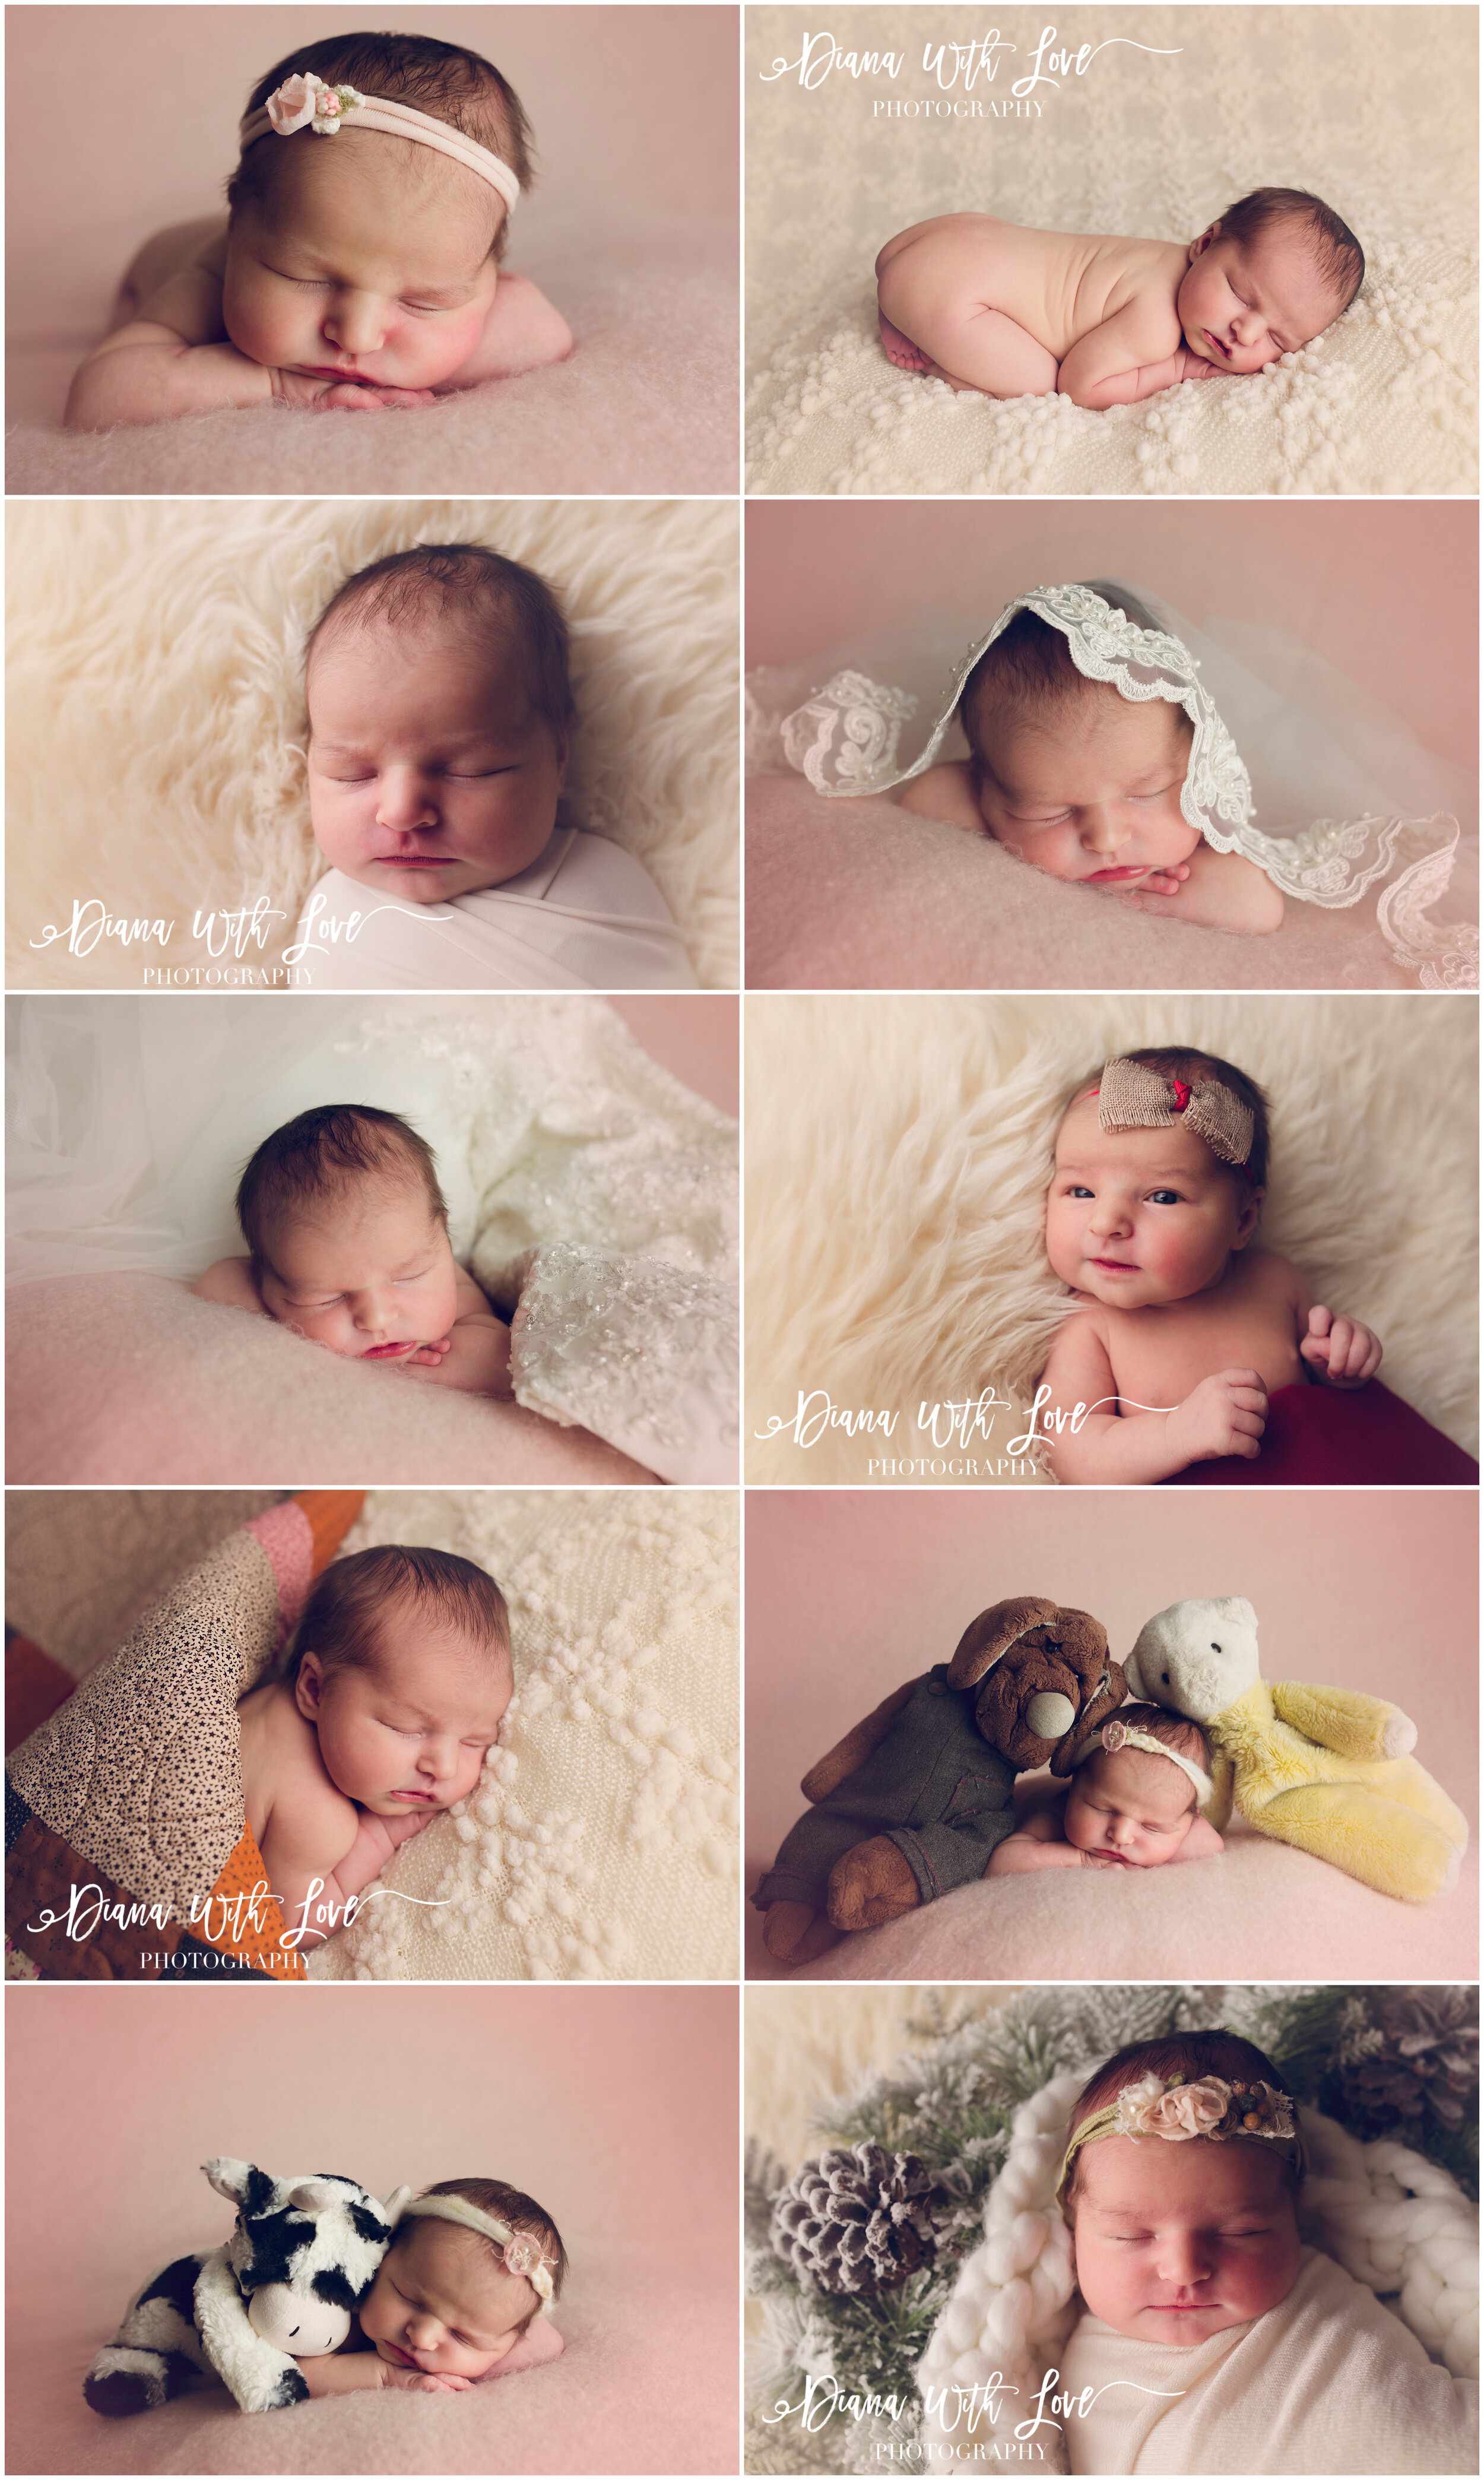
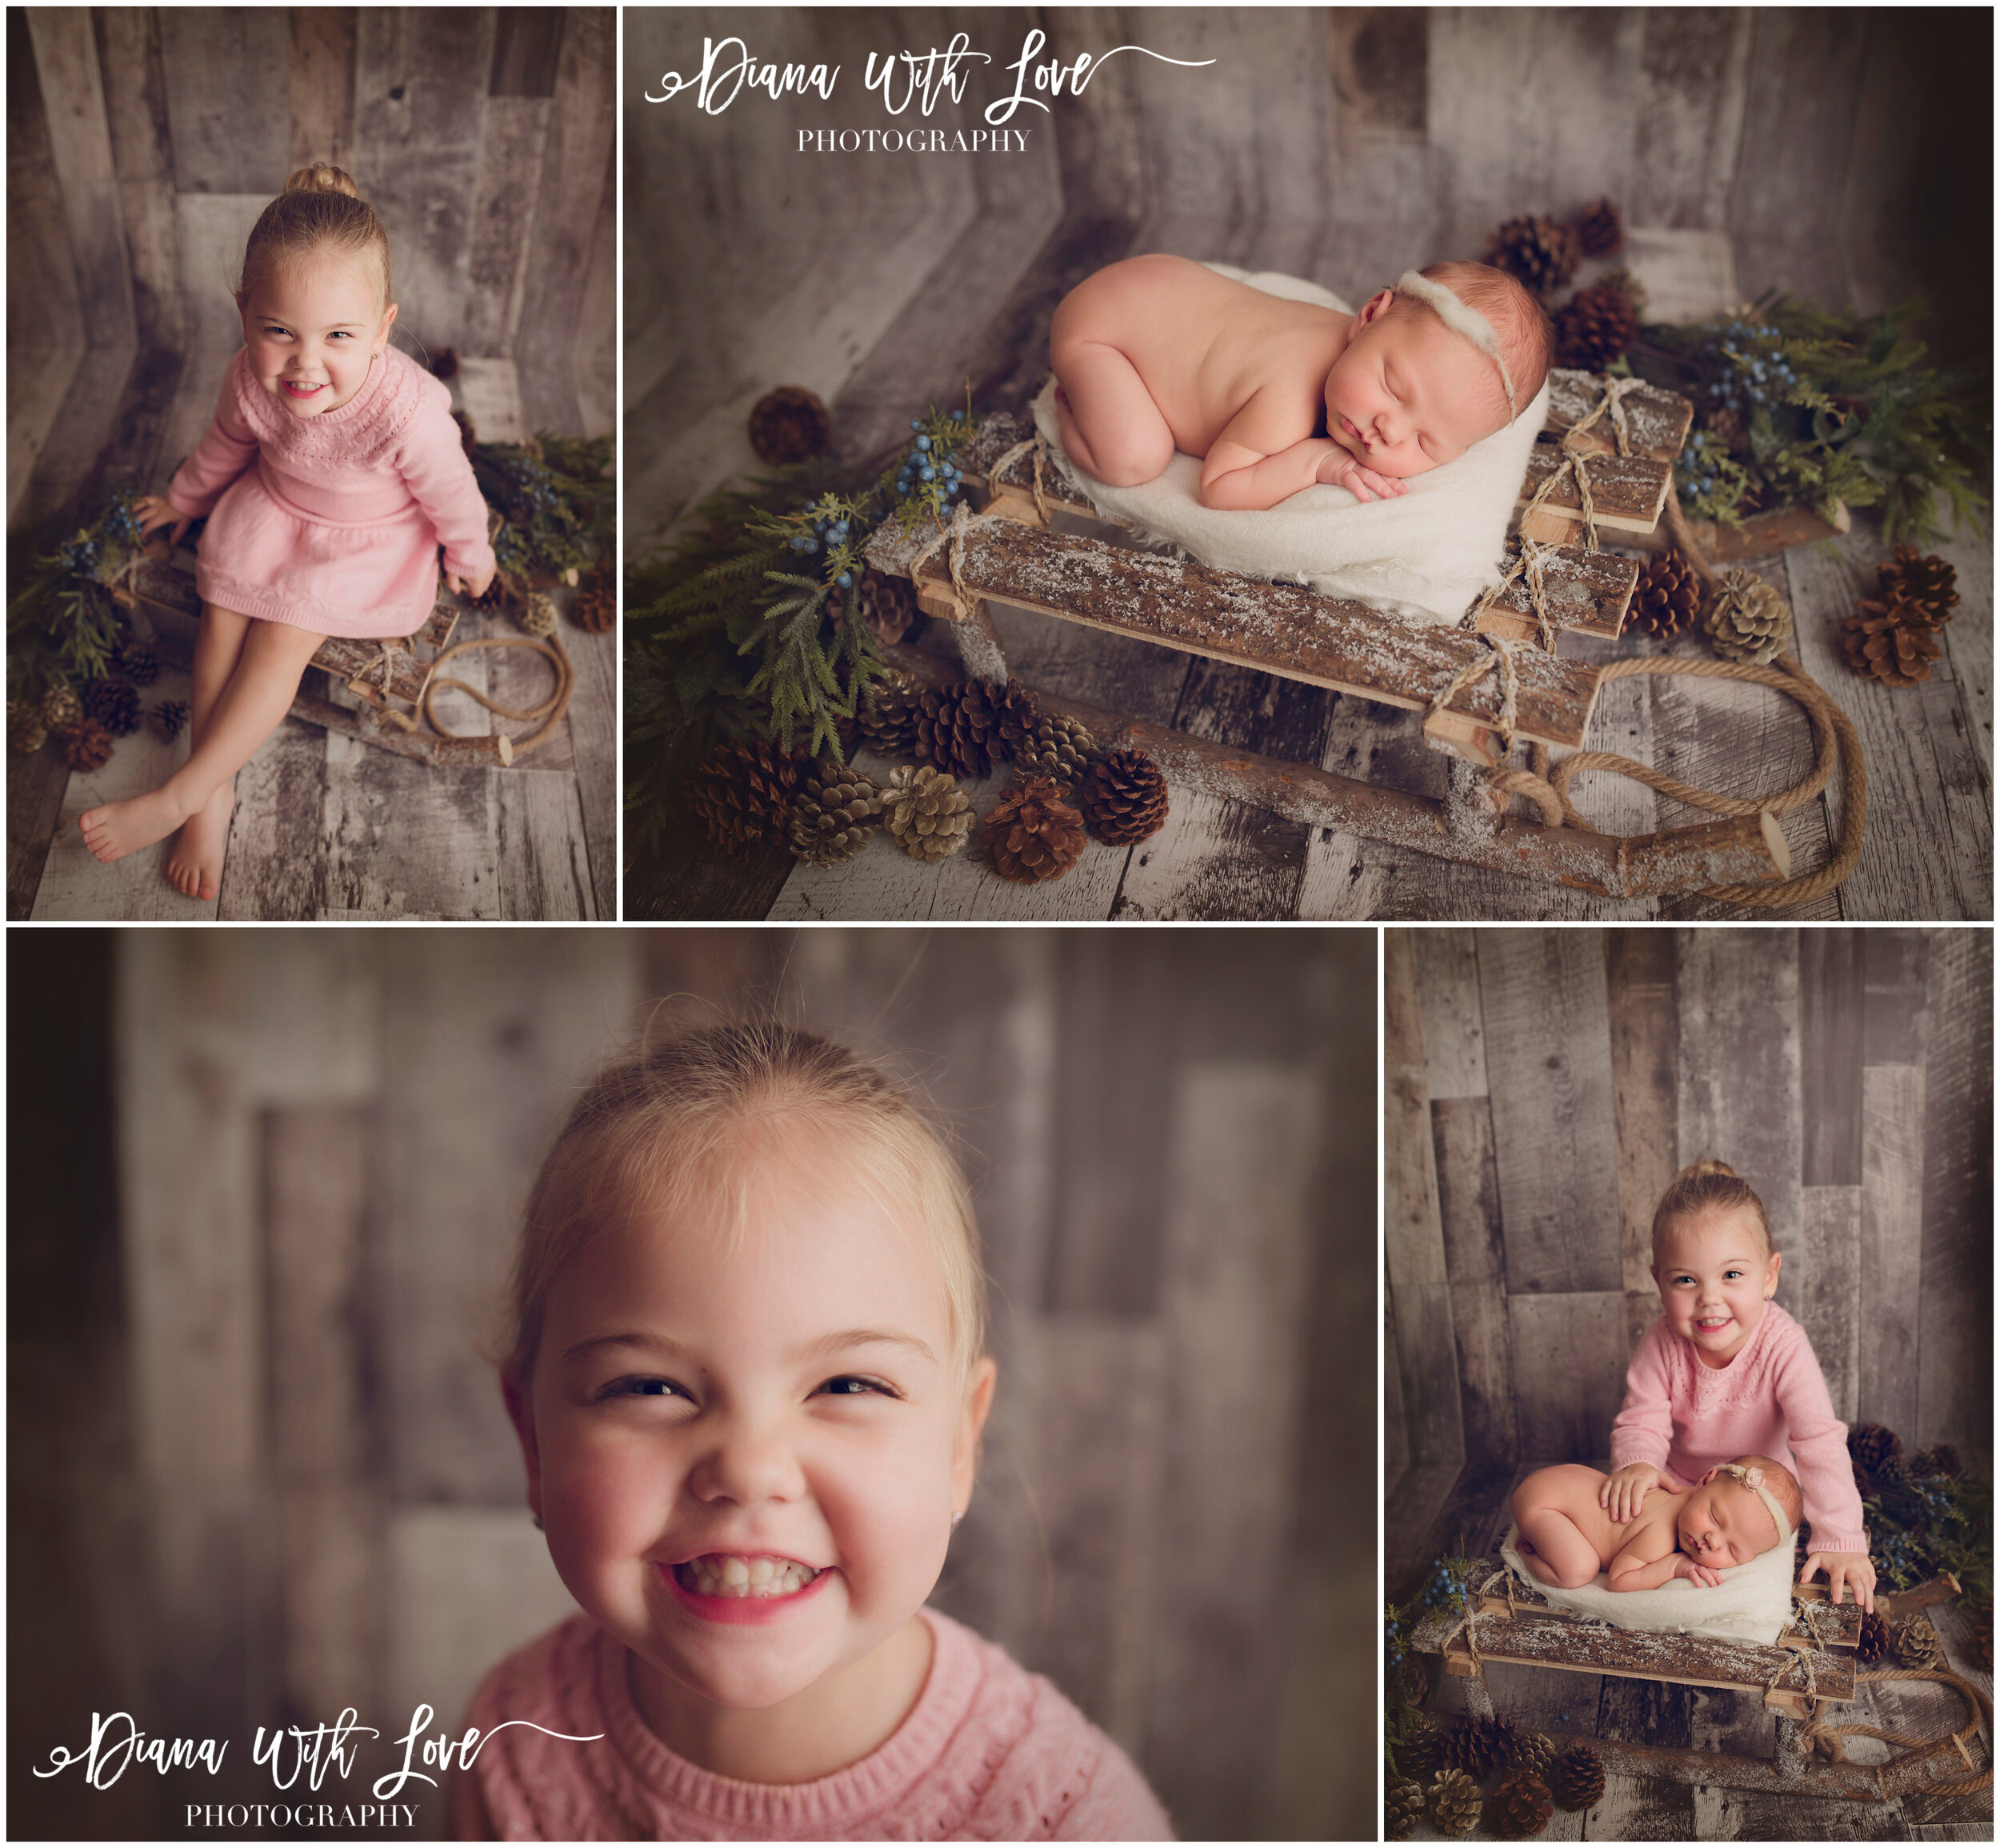
I’ll never get tired of photographing these wee little bubs and their families. We included some Christmas set ups too since we were so close to Christmas.
November 2017
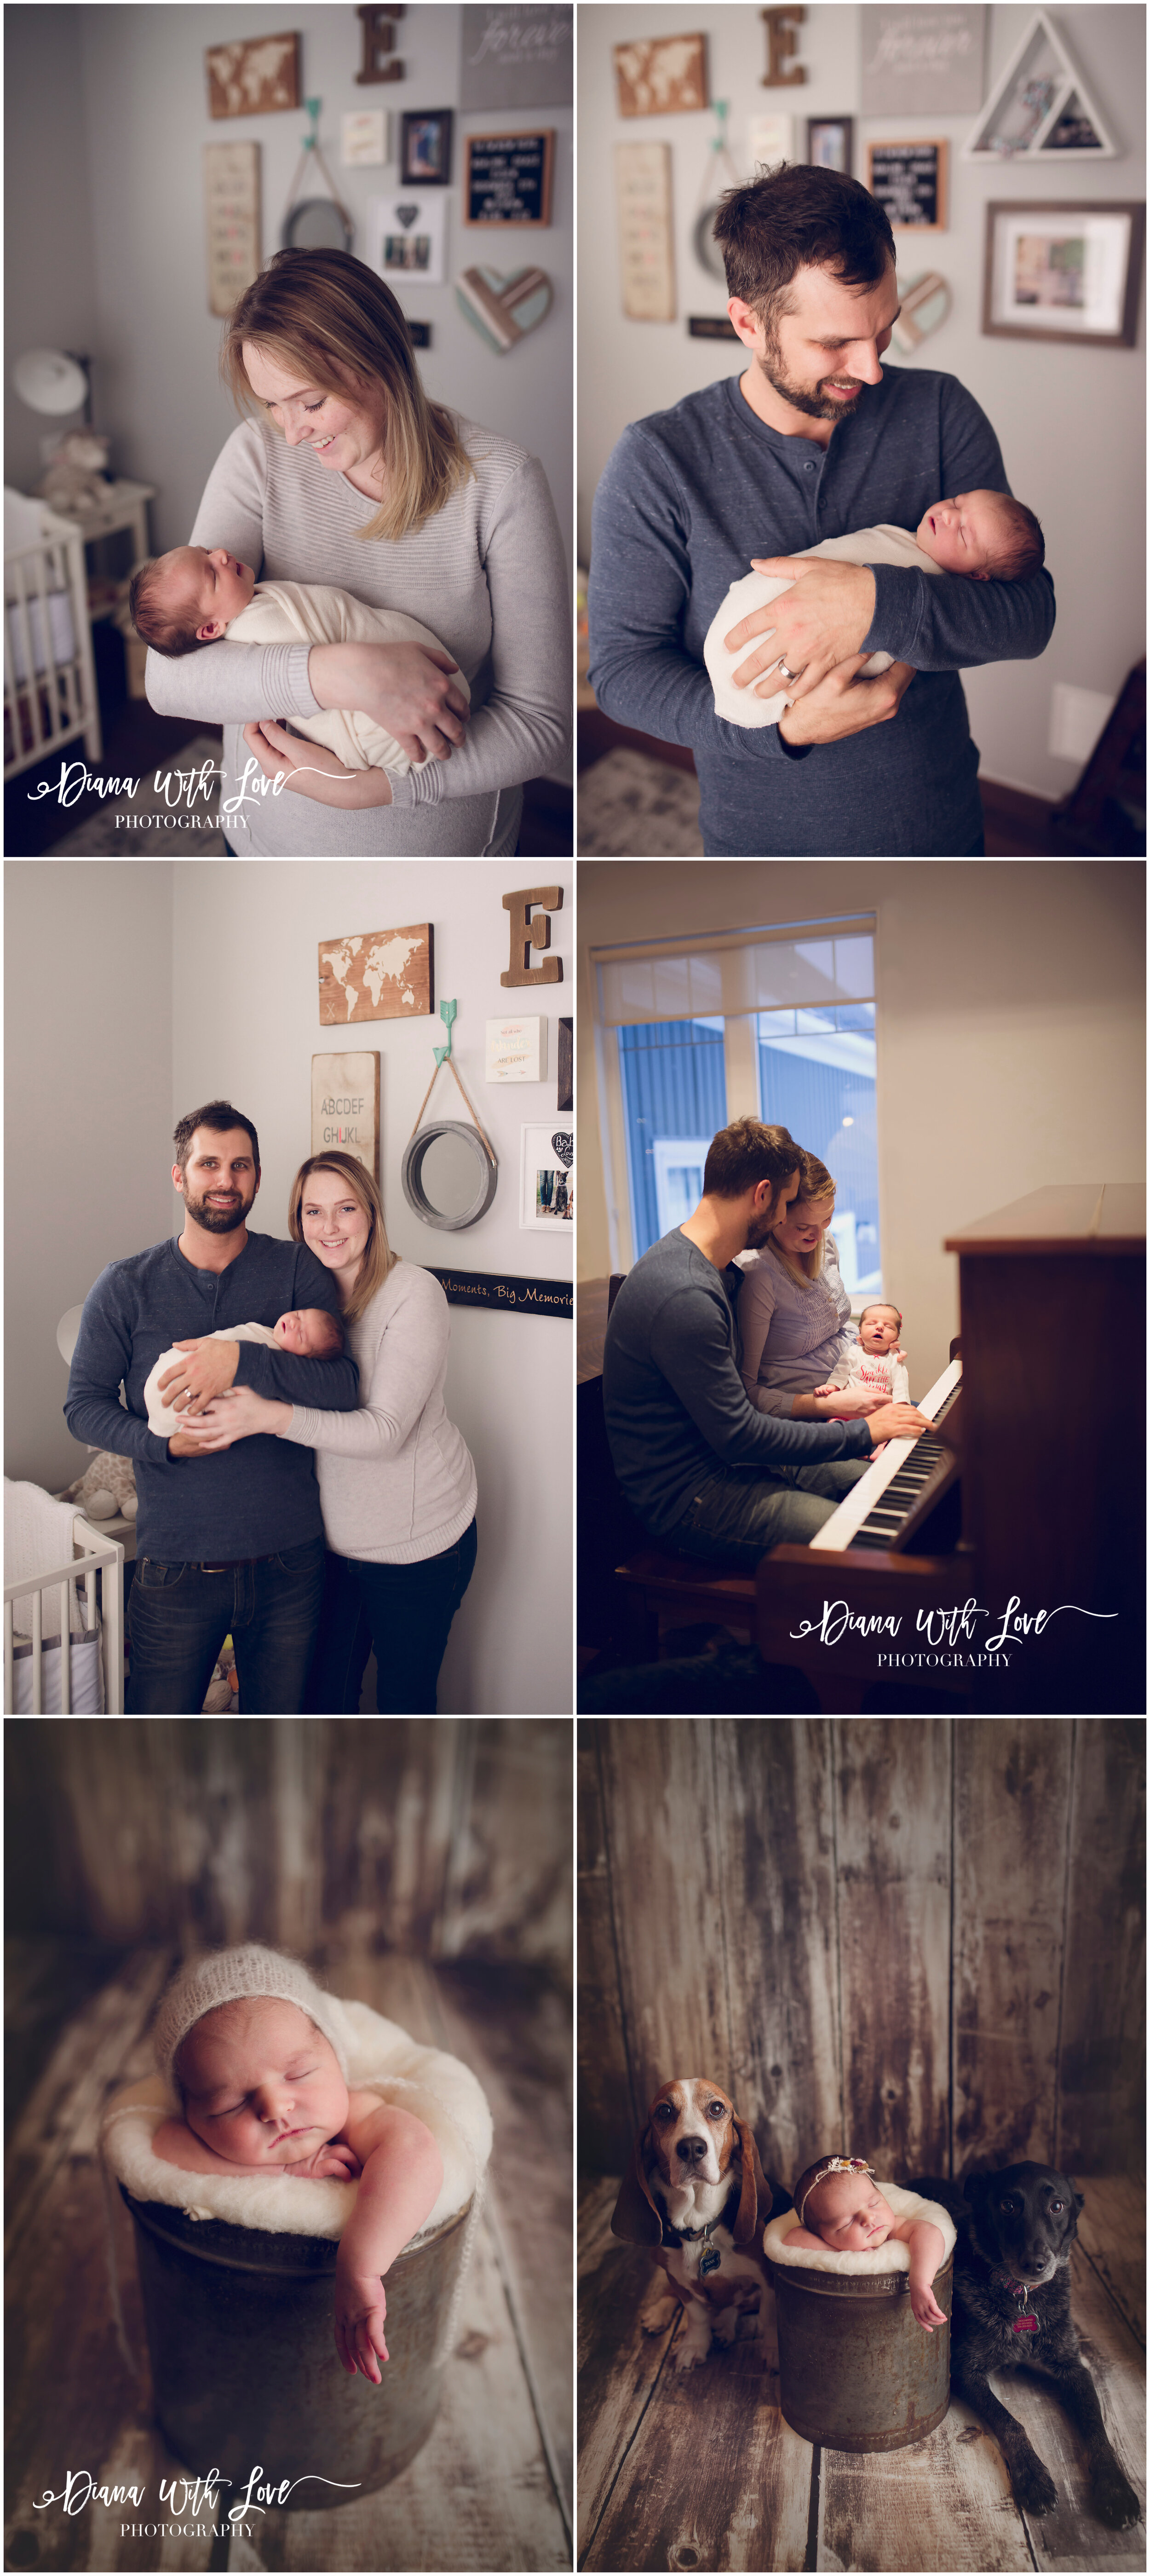
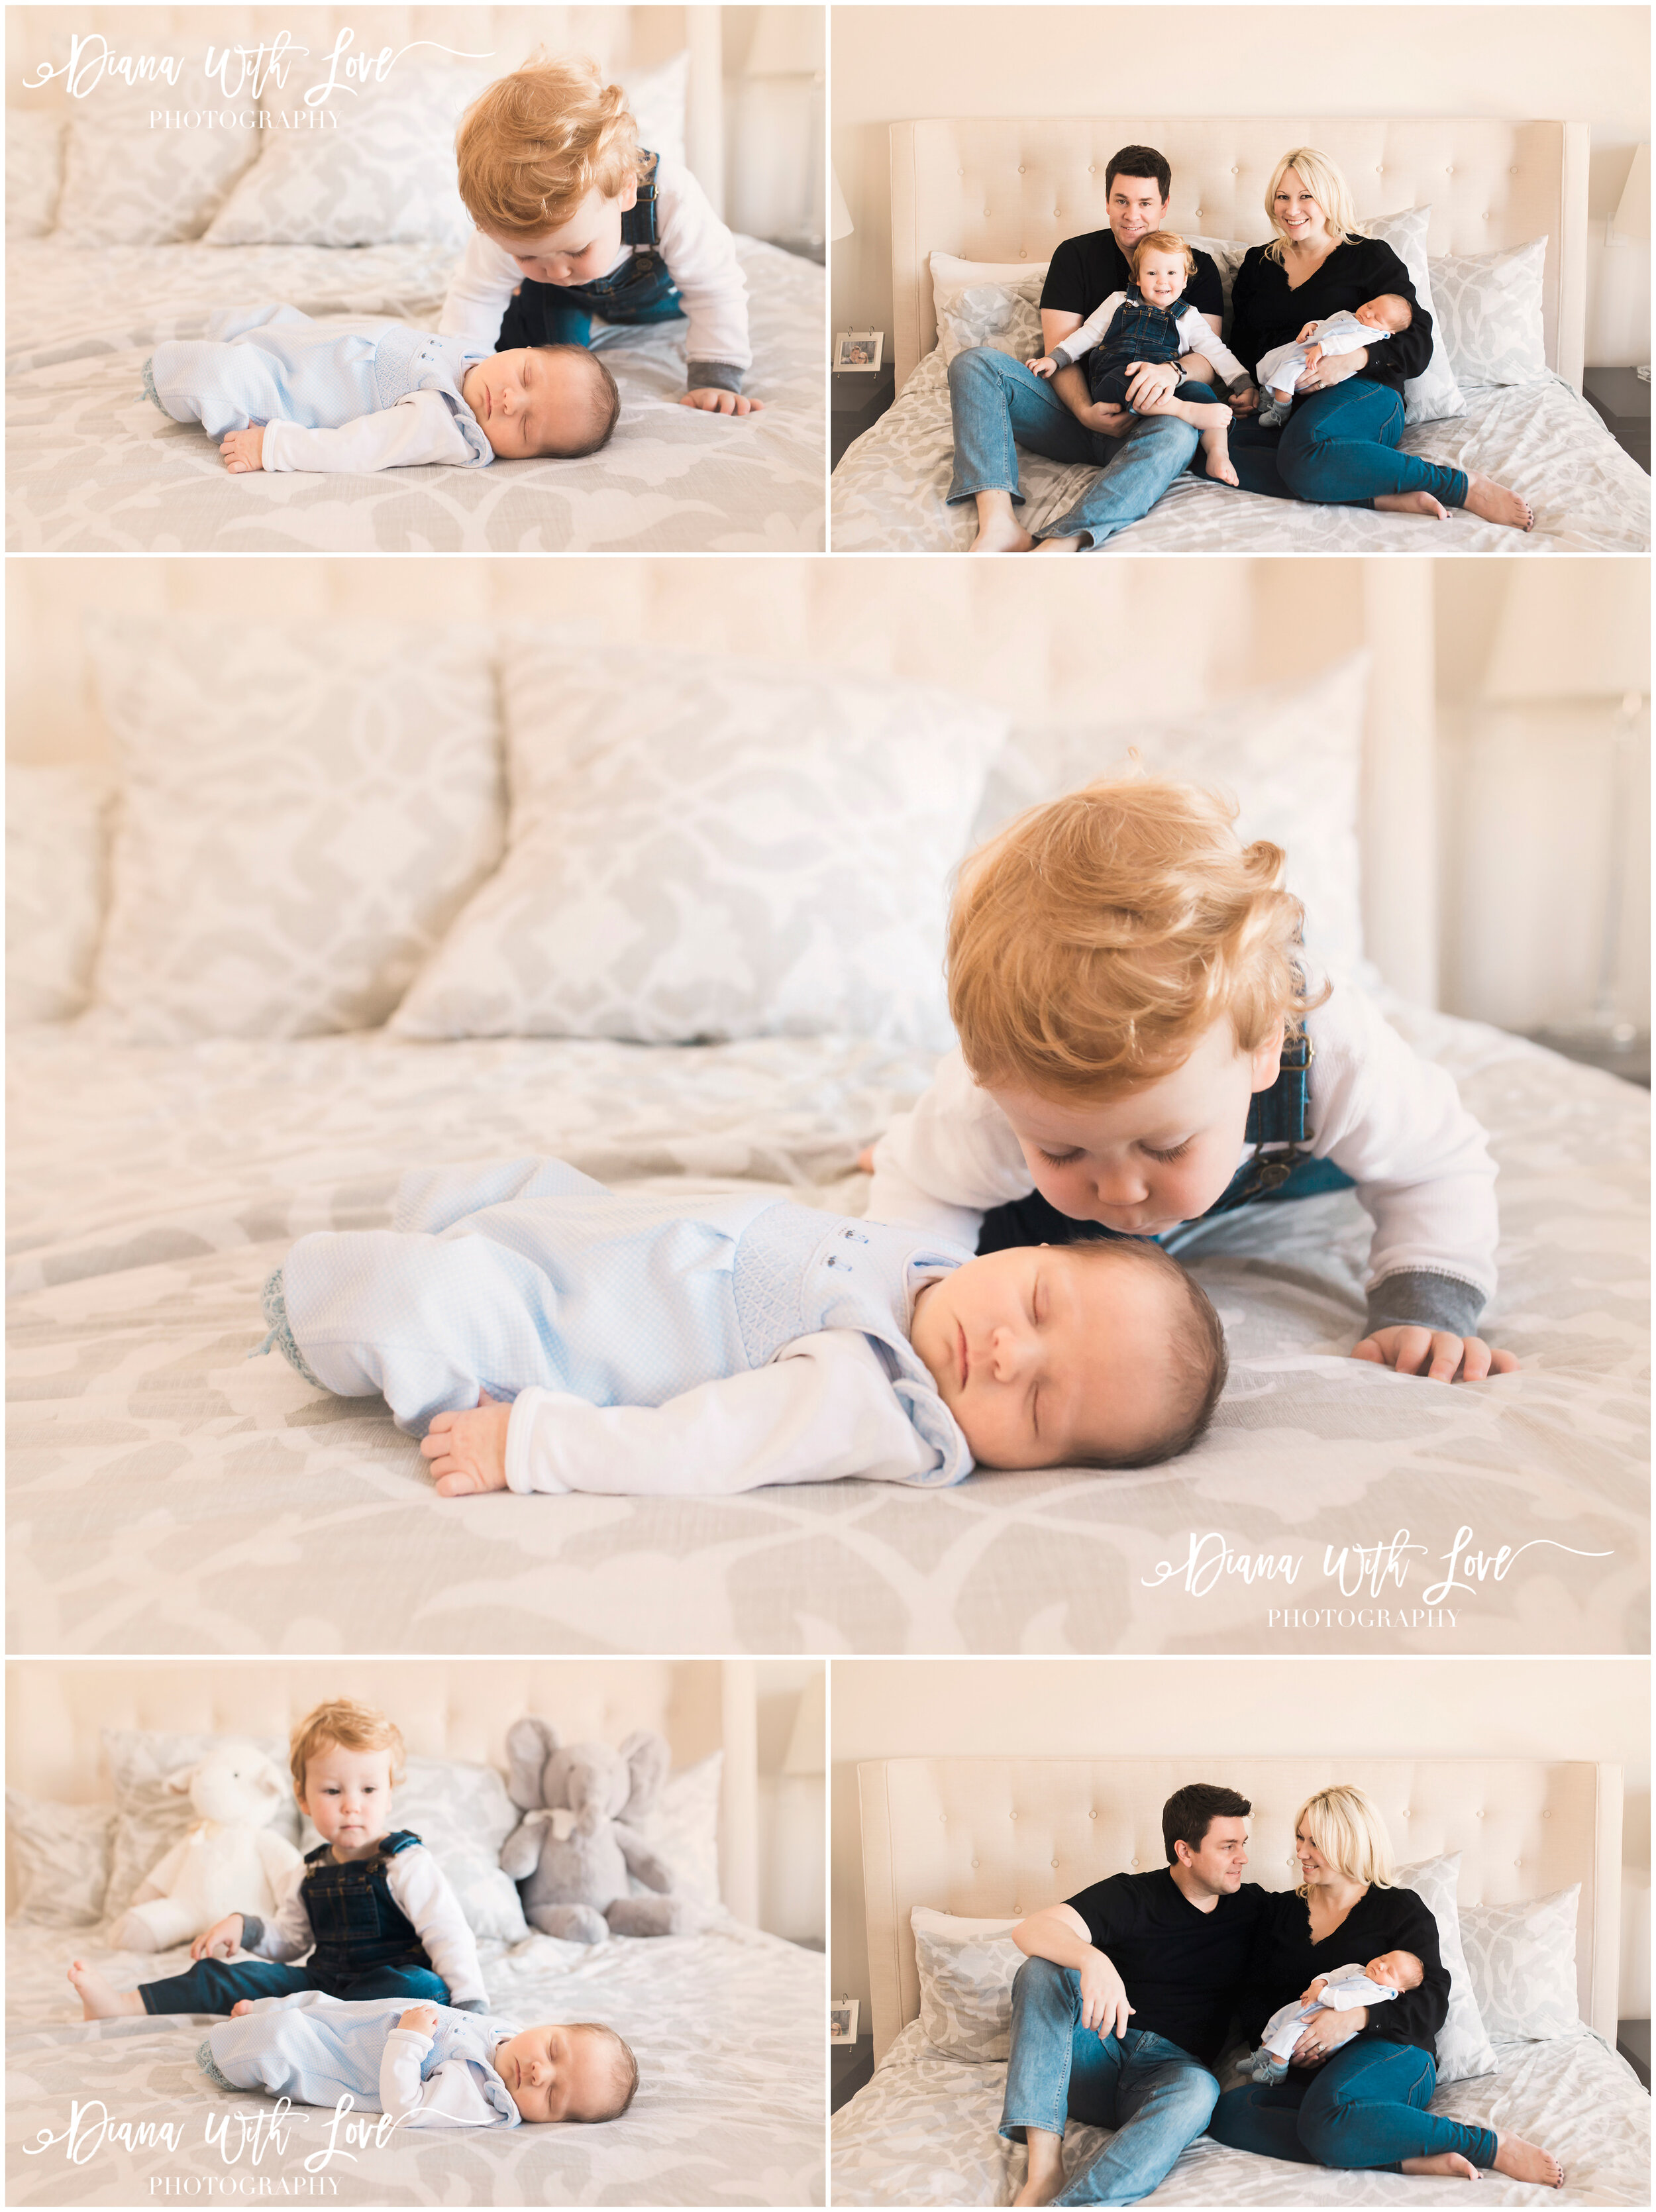
I love combining styled newborn sessions with lifestyle portraits in my clients’ homes. You get the best of both worlds with these sessions.


FOR MY AMAZING NEWBORN MOMS AND DADS:
PHOTOGRAPHING YOUR NEW BABY WHILE IN ISOLATION
Covid-19 has created quite the roller coaster ride this year. There are so many mixed emotions for all of us but I'm sure especially for parents expecting during this time. I want you to know that you are not alone; you are strong and incredible and even though things may look a little different right now, you will get through this time with a beautiful child in your arms at the end of it. ♡
The order for all non essential businesses to close, meant I had to shut my doors. This has been one of the hardest things I've had to do for so many reasons and I have been missing my clients tremendously! I know many of my clients are also feeling disappointed to be missing their family sessions and especially their newborn sessions. I want you to rest assured that as soon as the order lifts, we will get some beautiful photos of your babies and families. Right now our health and keeping each other safe is most important. This will become a story for these new babies to hear as they grow up. A story about the time the entire world stayed home to help keep each other safe.
While I can't be there to capture this special time with you, I do want to provide you with some tips for photographing your babies during those first few weeks. You can capture some beautiful images right from a point and shoot camera or even your cell phone! What makes a great image has a lot to do with lighting, angles and poses and of course the love they are done with.
Check out the full tutorial in video format on youtube! CLICK HERE
PREPARING YOUR BABY:
Babies are easiest to pose when they are sleepy and comfortable. The best time to do these photos is after a nice big feeding, right after they fall asleep. If your baby doesn't want to sleep, that's ok too! Capturing baby's wide open eyes is always my favourite, we just make sure that new babies are on their backs for these photos so they are safe.
SAFETY:
I highly recommend that both parents help to do these photos. In my studio I always have one parent right beside baby at all times to ensure babe is nice and safe. For poses at home, we are going to keep it pretty simple, but the extra hands will ensure your babies are protected and make these photos more enjoyable.
LOCATION:
Choose an area in your home that has great natural light. You'll want to be within about 1-2 meters from a window. Bedrooms work great, couches or even an empty area on the floor if you are just doing photos of baby on their own.
HEAT:
Remember that babies need to be warm and can't regulate their own body heat. They are used to being inside of mom at 36-37C. If you are stripping your baby down for any of these photos, make sure to have a heater close by and crank the heat up in your home. My studio is kept at about 26-28C for newborn sessions. The warmer the better to keep baby comfortable.
LIGHTING:
Wait for a sunny day outside to do your photos so you can make sure you have as much natural light to work with in your home. I like to do these mid day when the sun is high and bright. Make sure that all other lights in your home are off so they don't throw off the white balance in your photos, You'll want to make sure that there is no direct sun on your baby either. You can use a white sheet to filter the light over the window or wait til there is no direct light in the area you'd like to use.
ANGLES:
My general rule of thumb is to make sure you can't see up baby's nostrils. Keep your camera aimed a little higher. We want to make sure we see baby's face first. In each of the poses below, I'll explain how to angle baby and your camera.
CAMERA SETTINGS:
Keep your settings simple. Don't use filters or enhancement modes on your camera. Once you take the photo, most cell phones give you the capability to edit the exposure (how light or dark your photo is) and white balance (how warm or cool the colours are). These will be your 2 best tools to use after you take your photos if they need adjustments. If you would like some help editing your photos, please email me and I can give you a hand.
Also, keep your camera off any zoom features. Instead move your actual camera to get closer or further from baby when you are composing your photo.
COLOURS:
Use soft and neutral colours for clothing and blanket shots. This will help create a timeless look and will also help avoid any crazy colour casts on your skin. Coloured clothing can reflect on to skin tones so keep it light and soft so your skin tones stay as true as possible. With professional gear and lighting it's easier to remove colour cast but when working with a point and shoot or phone camera, you'll want to get it right in camera.
POSES:
Unless you have training in newborn posing, you want to keep the poses simple so your baby remains safe. Don't try to mimic something you saw on a professional newborn photographers website as most of these poses have taken a lot of training for us to create safely. I'm going to break down how to create a few of my favourite simple poses for you.
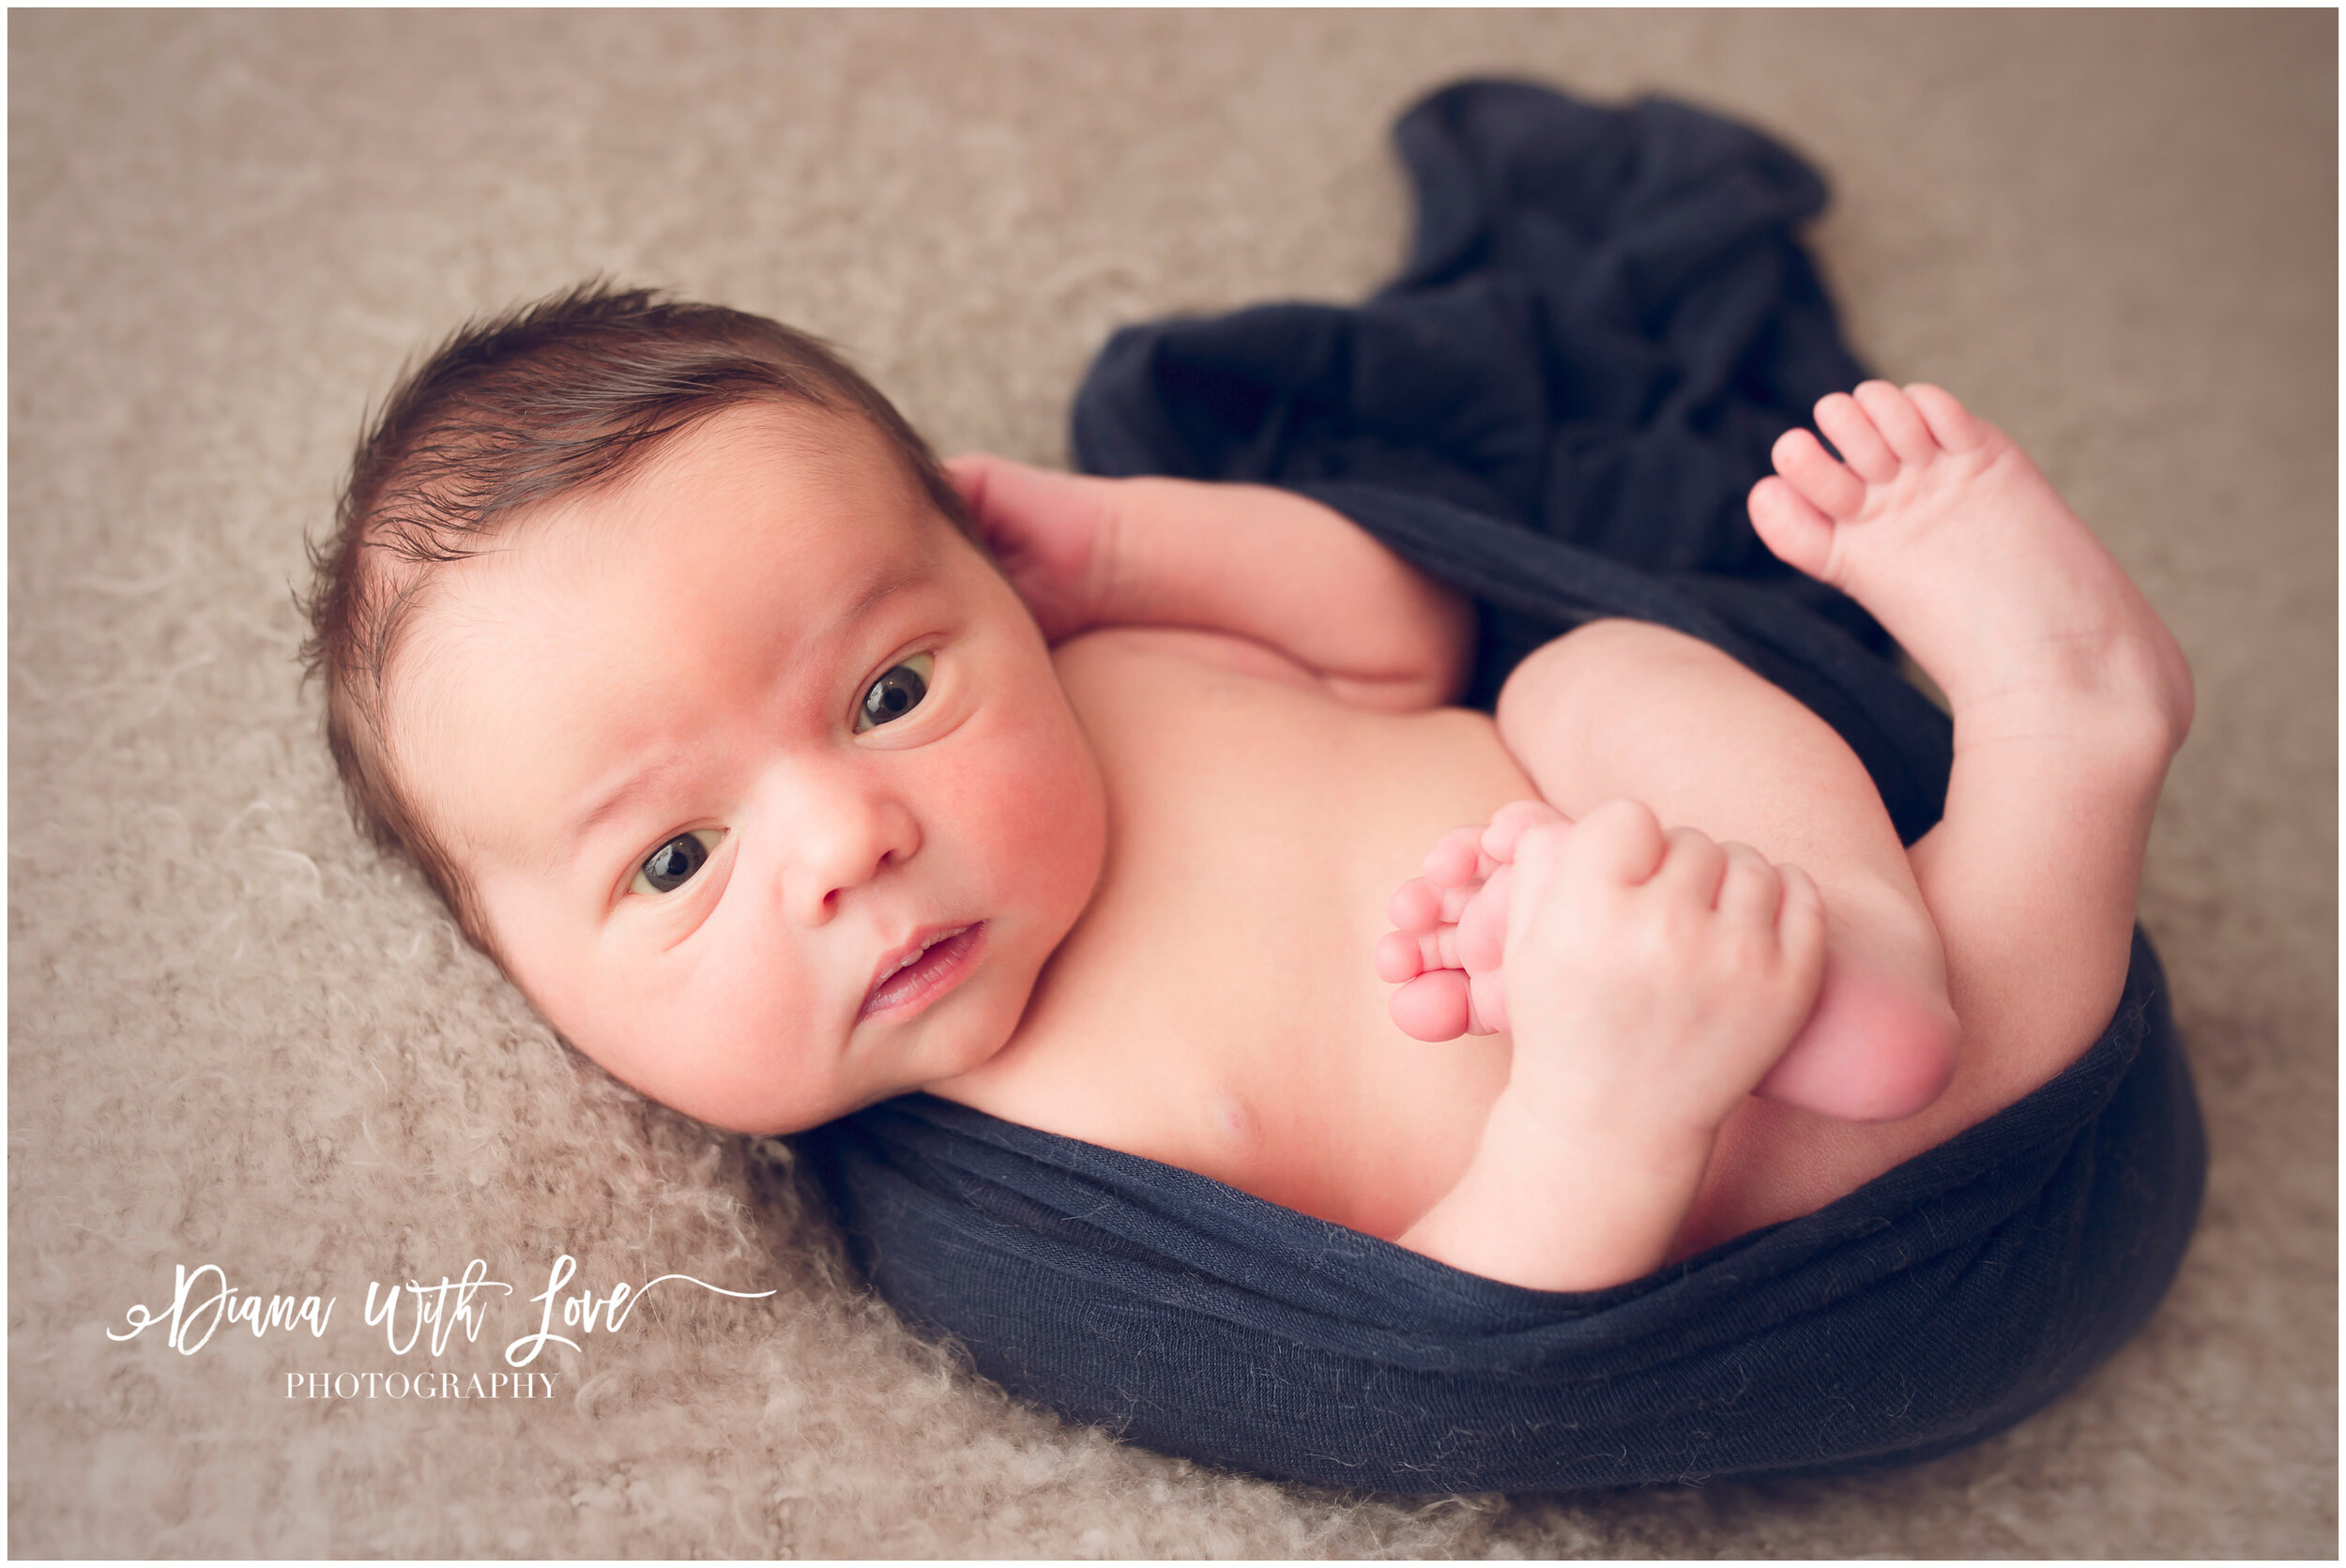
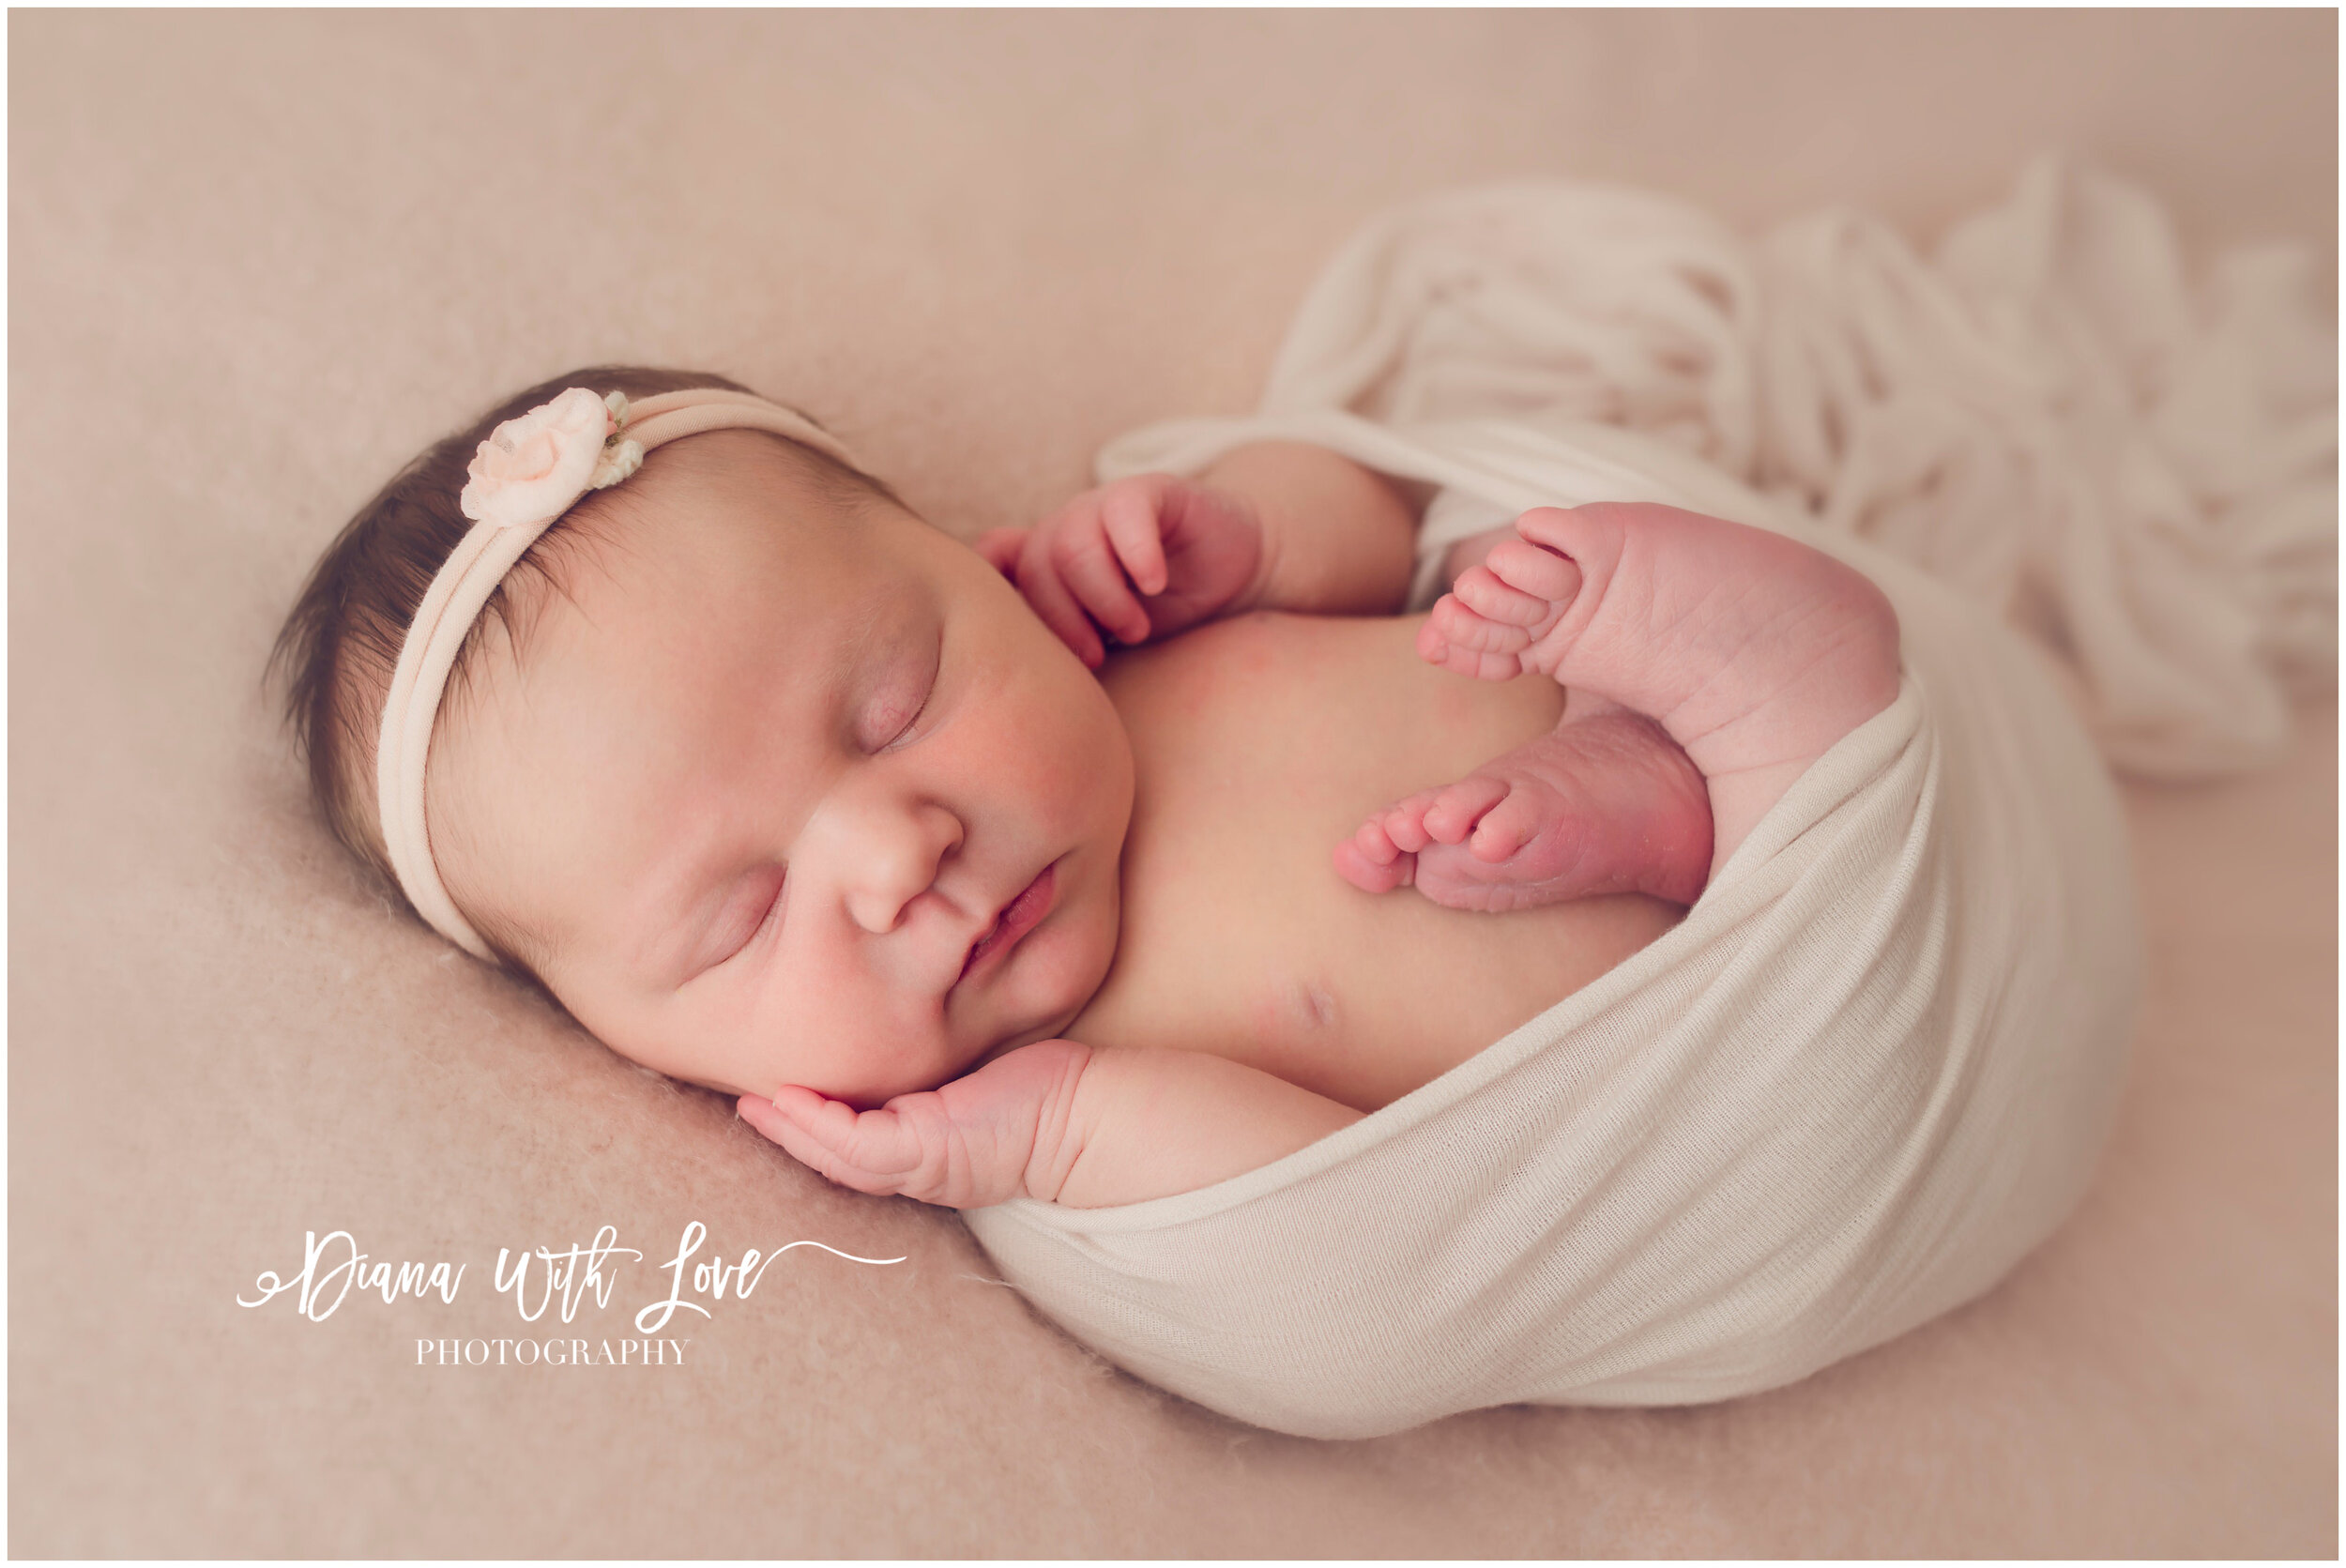
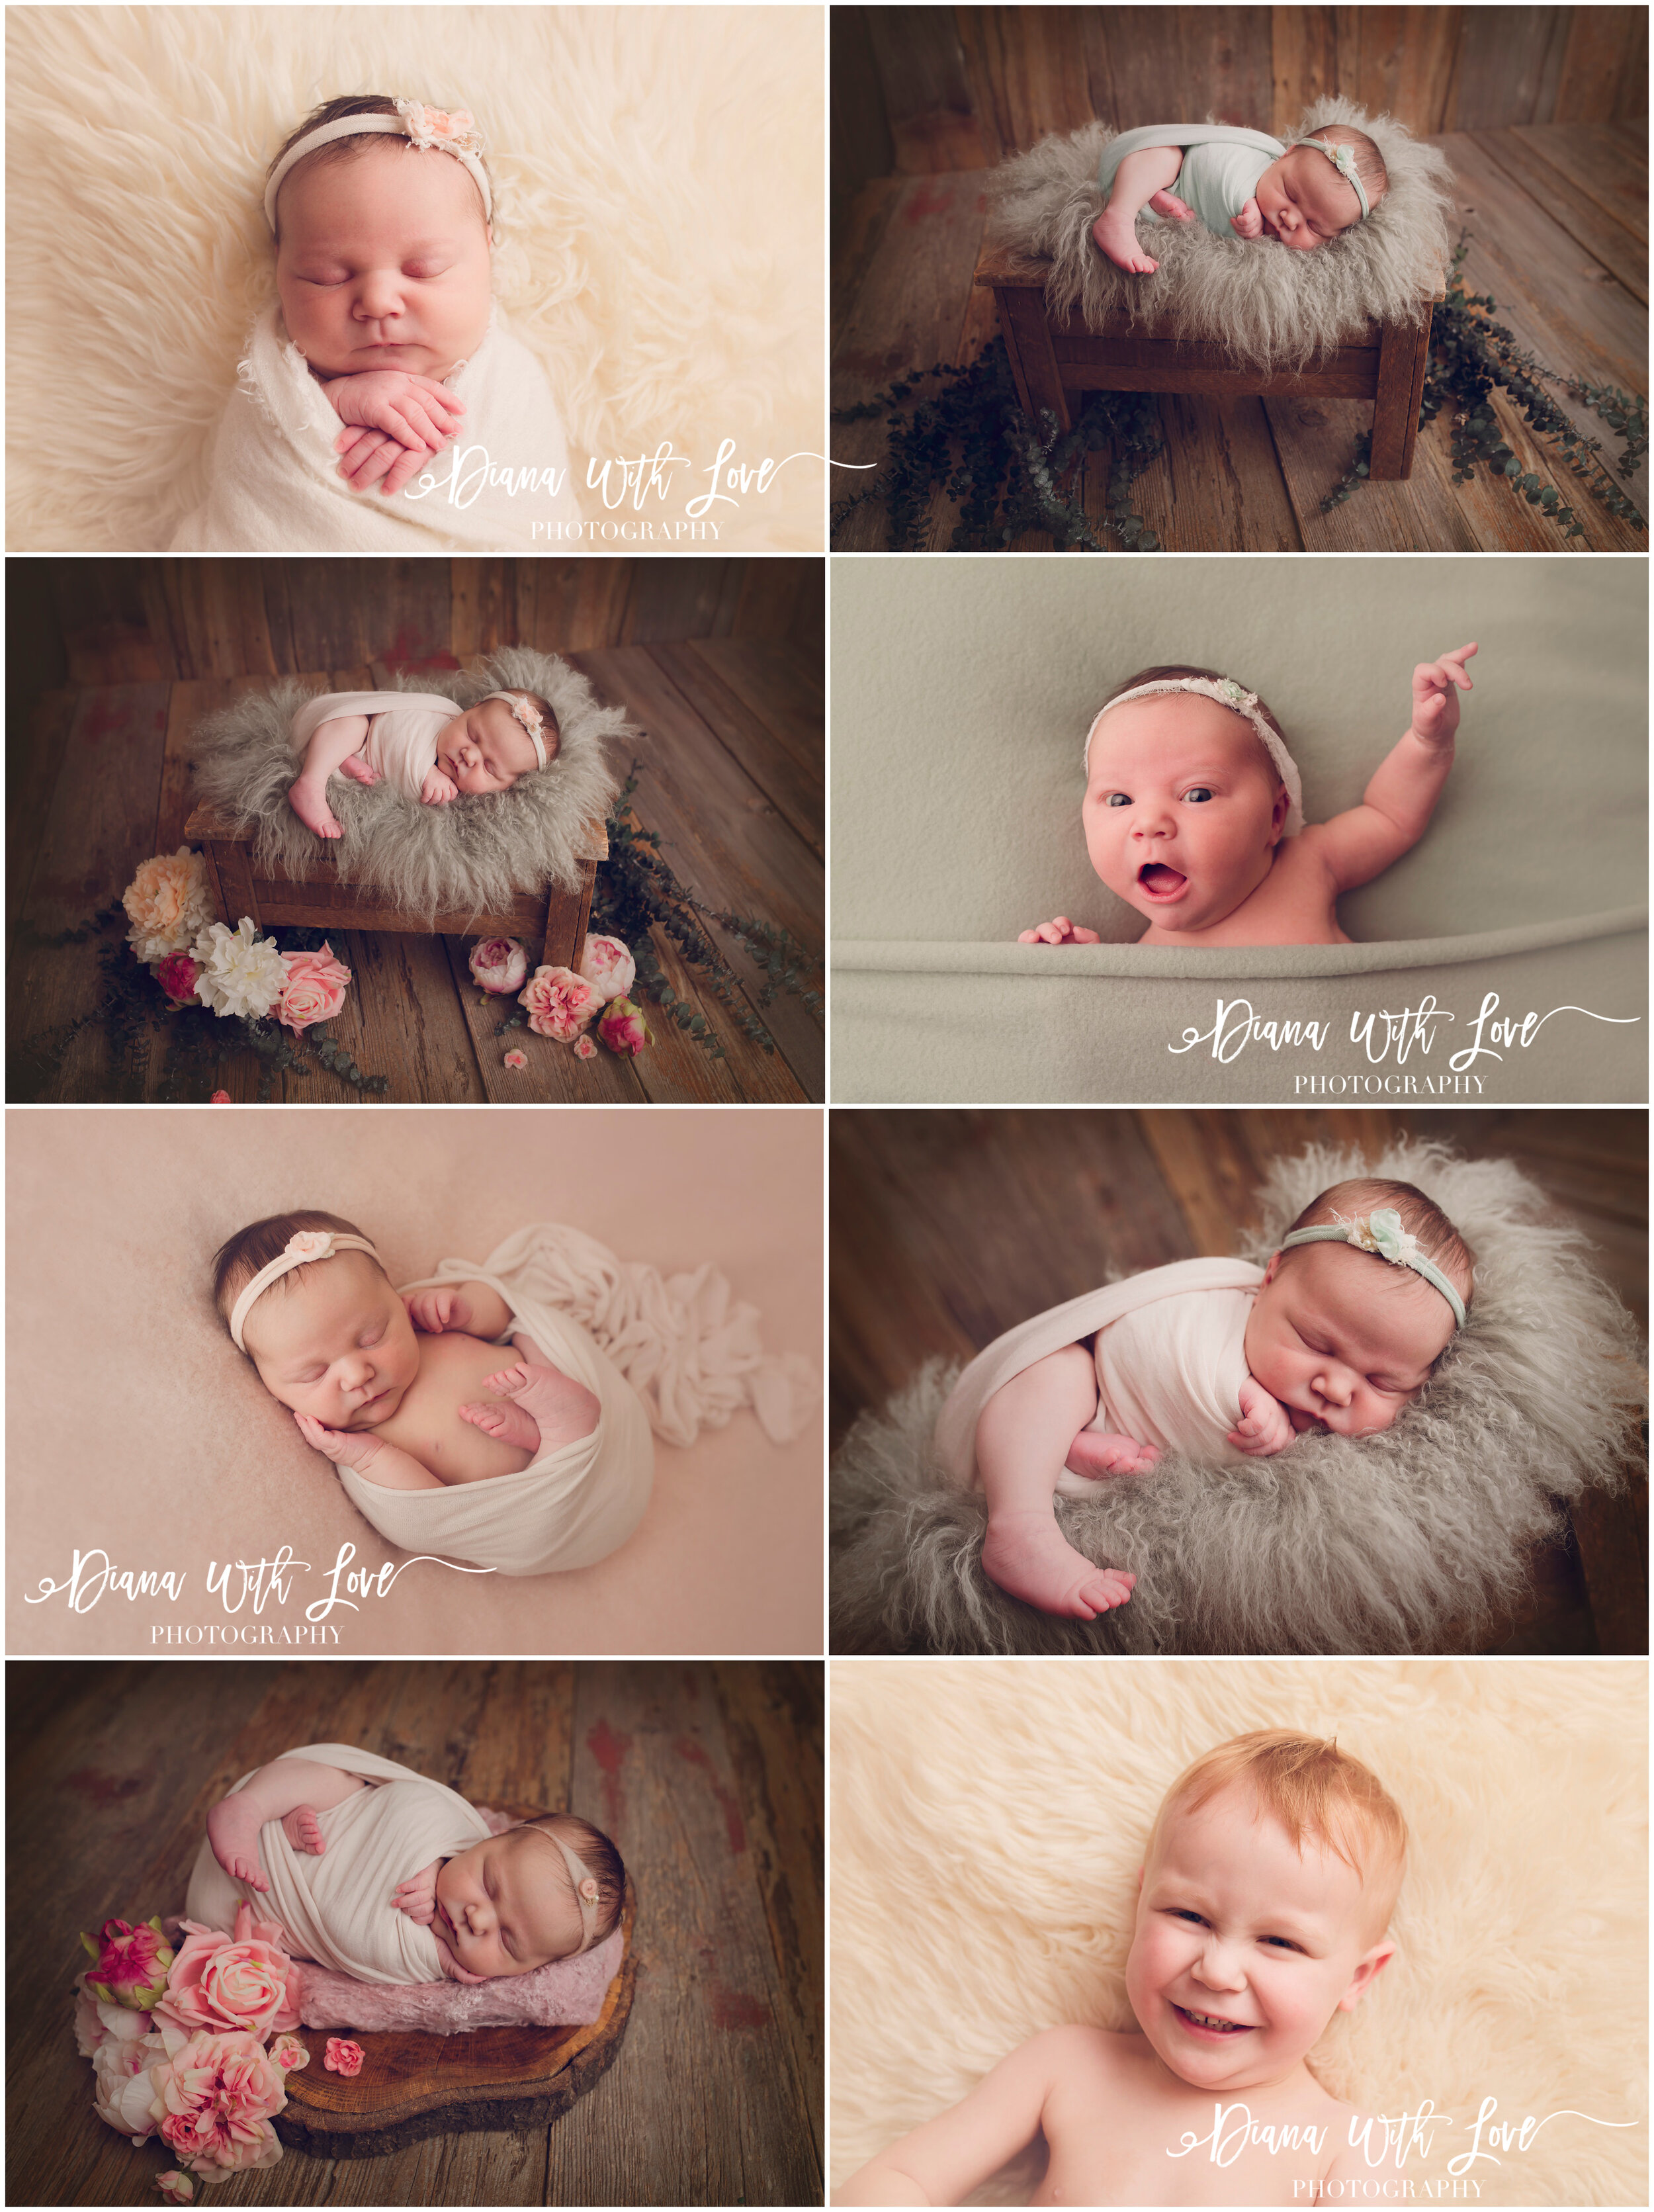
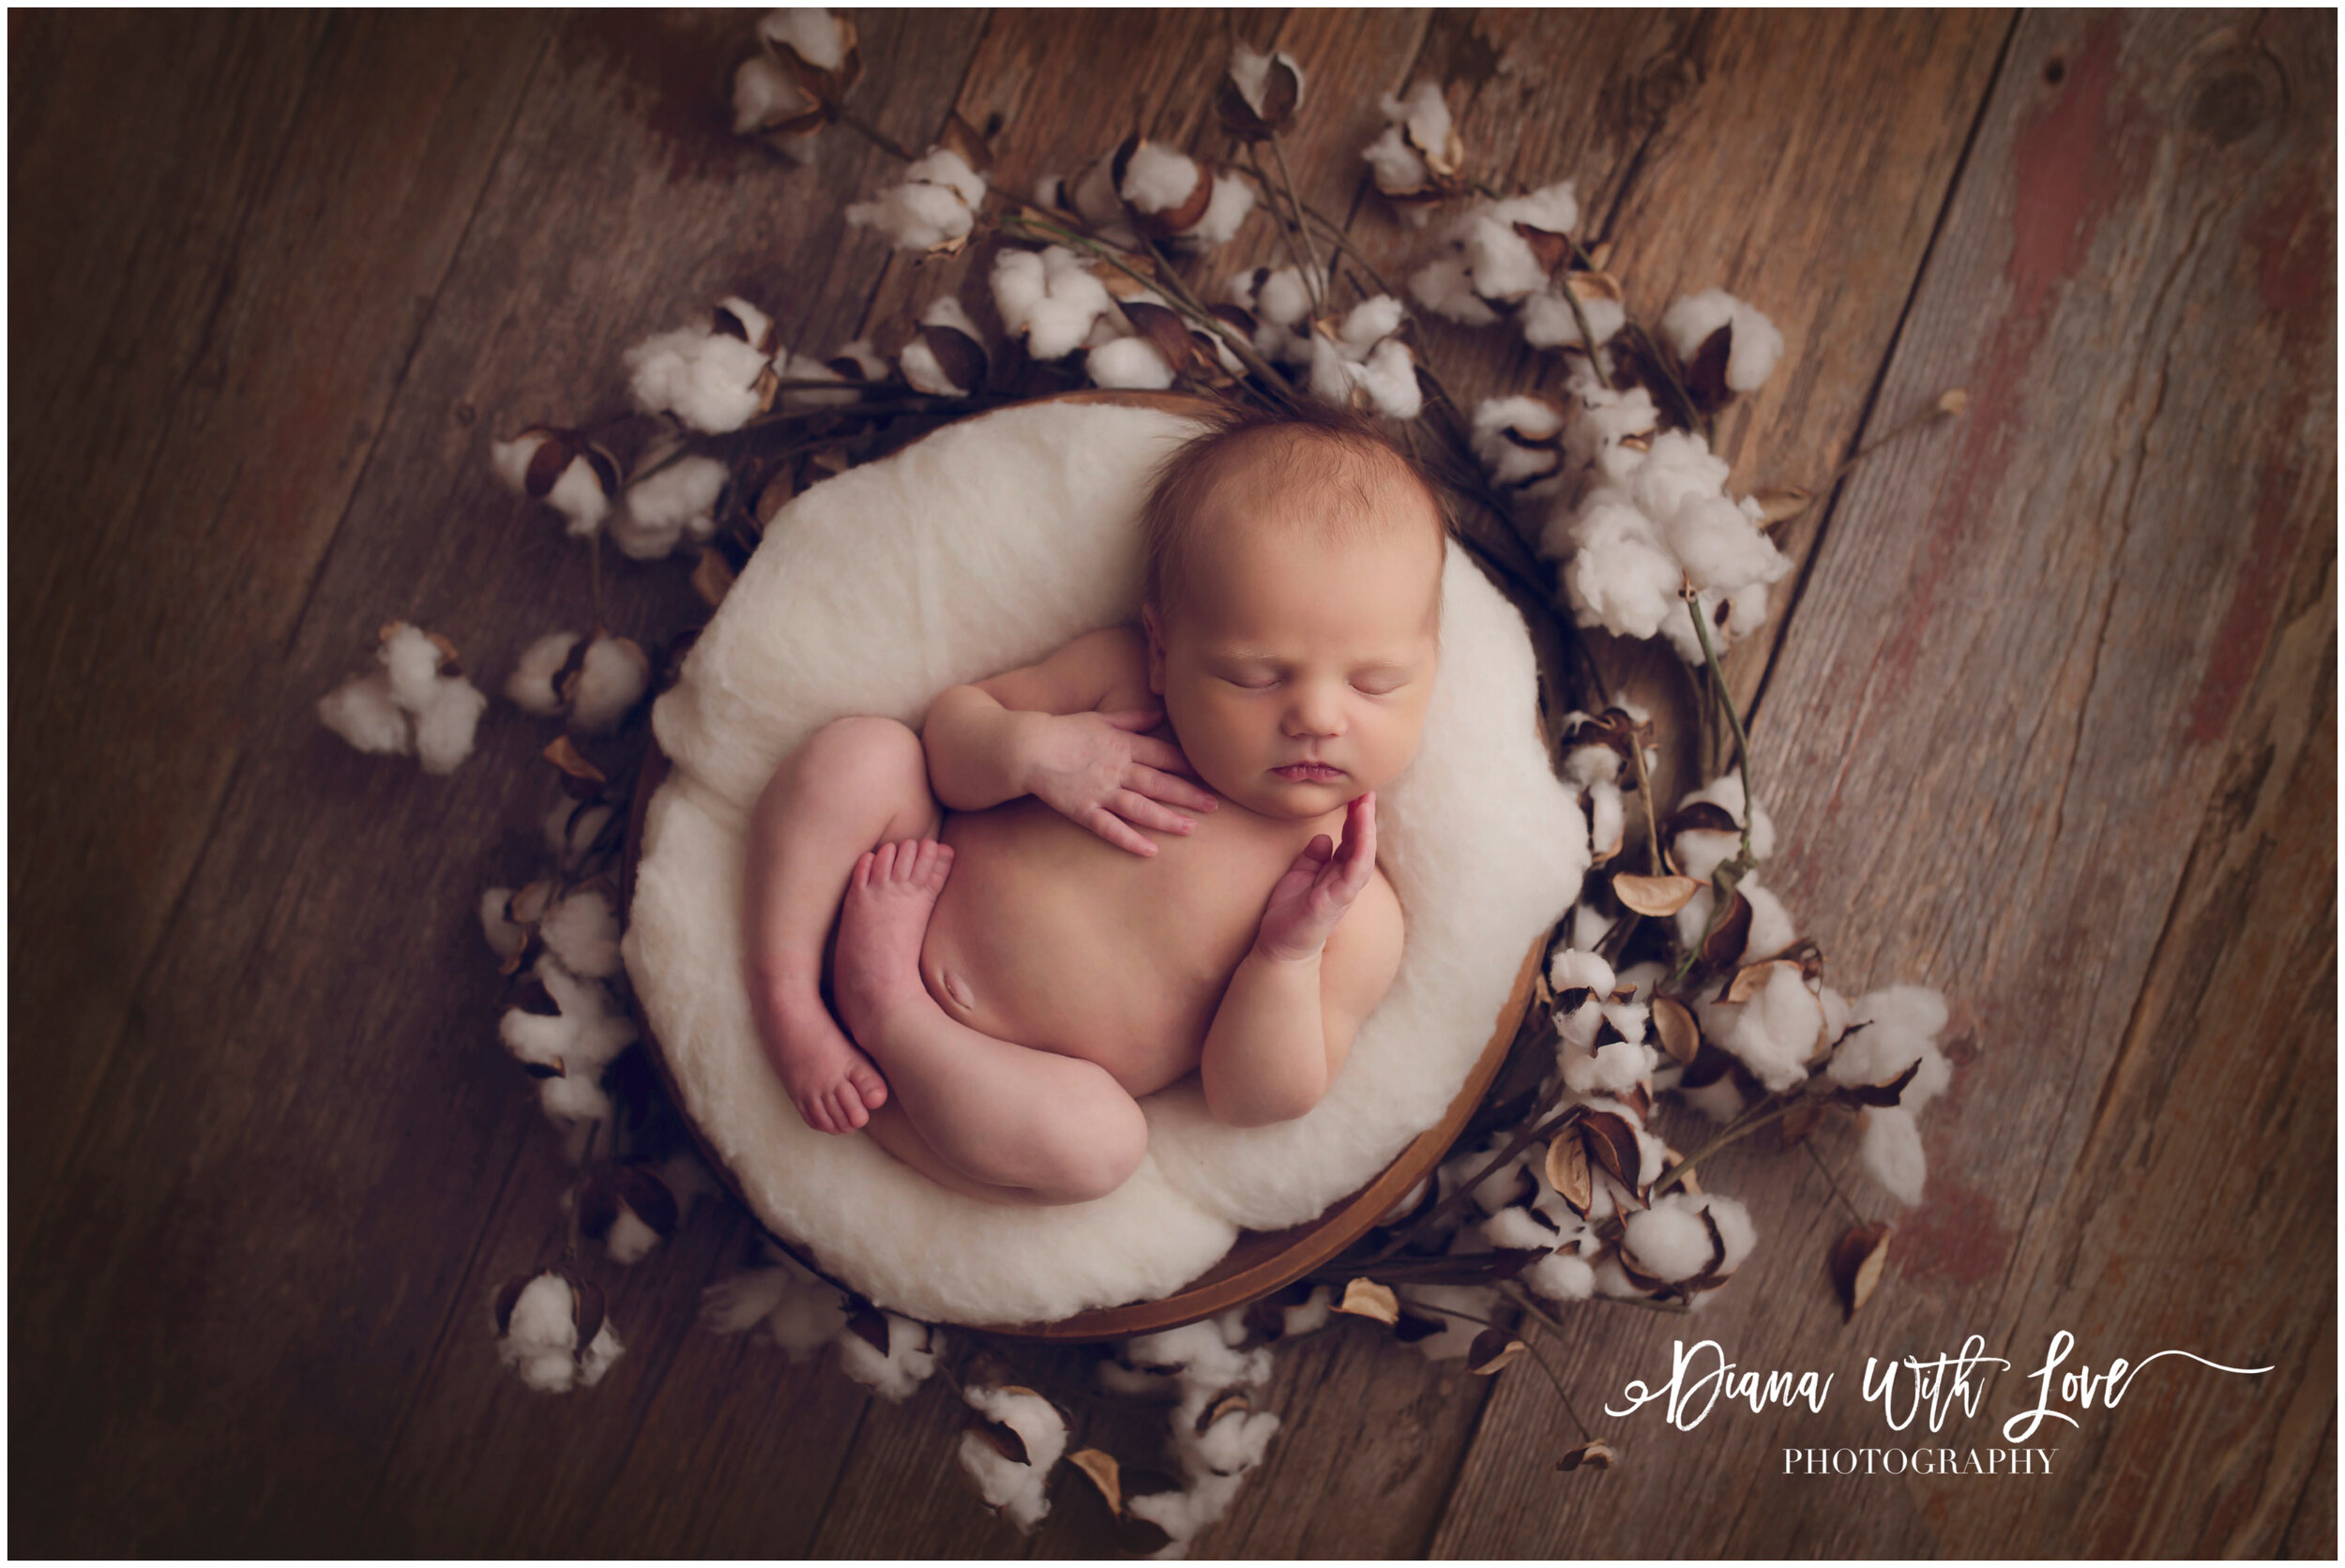
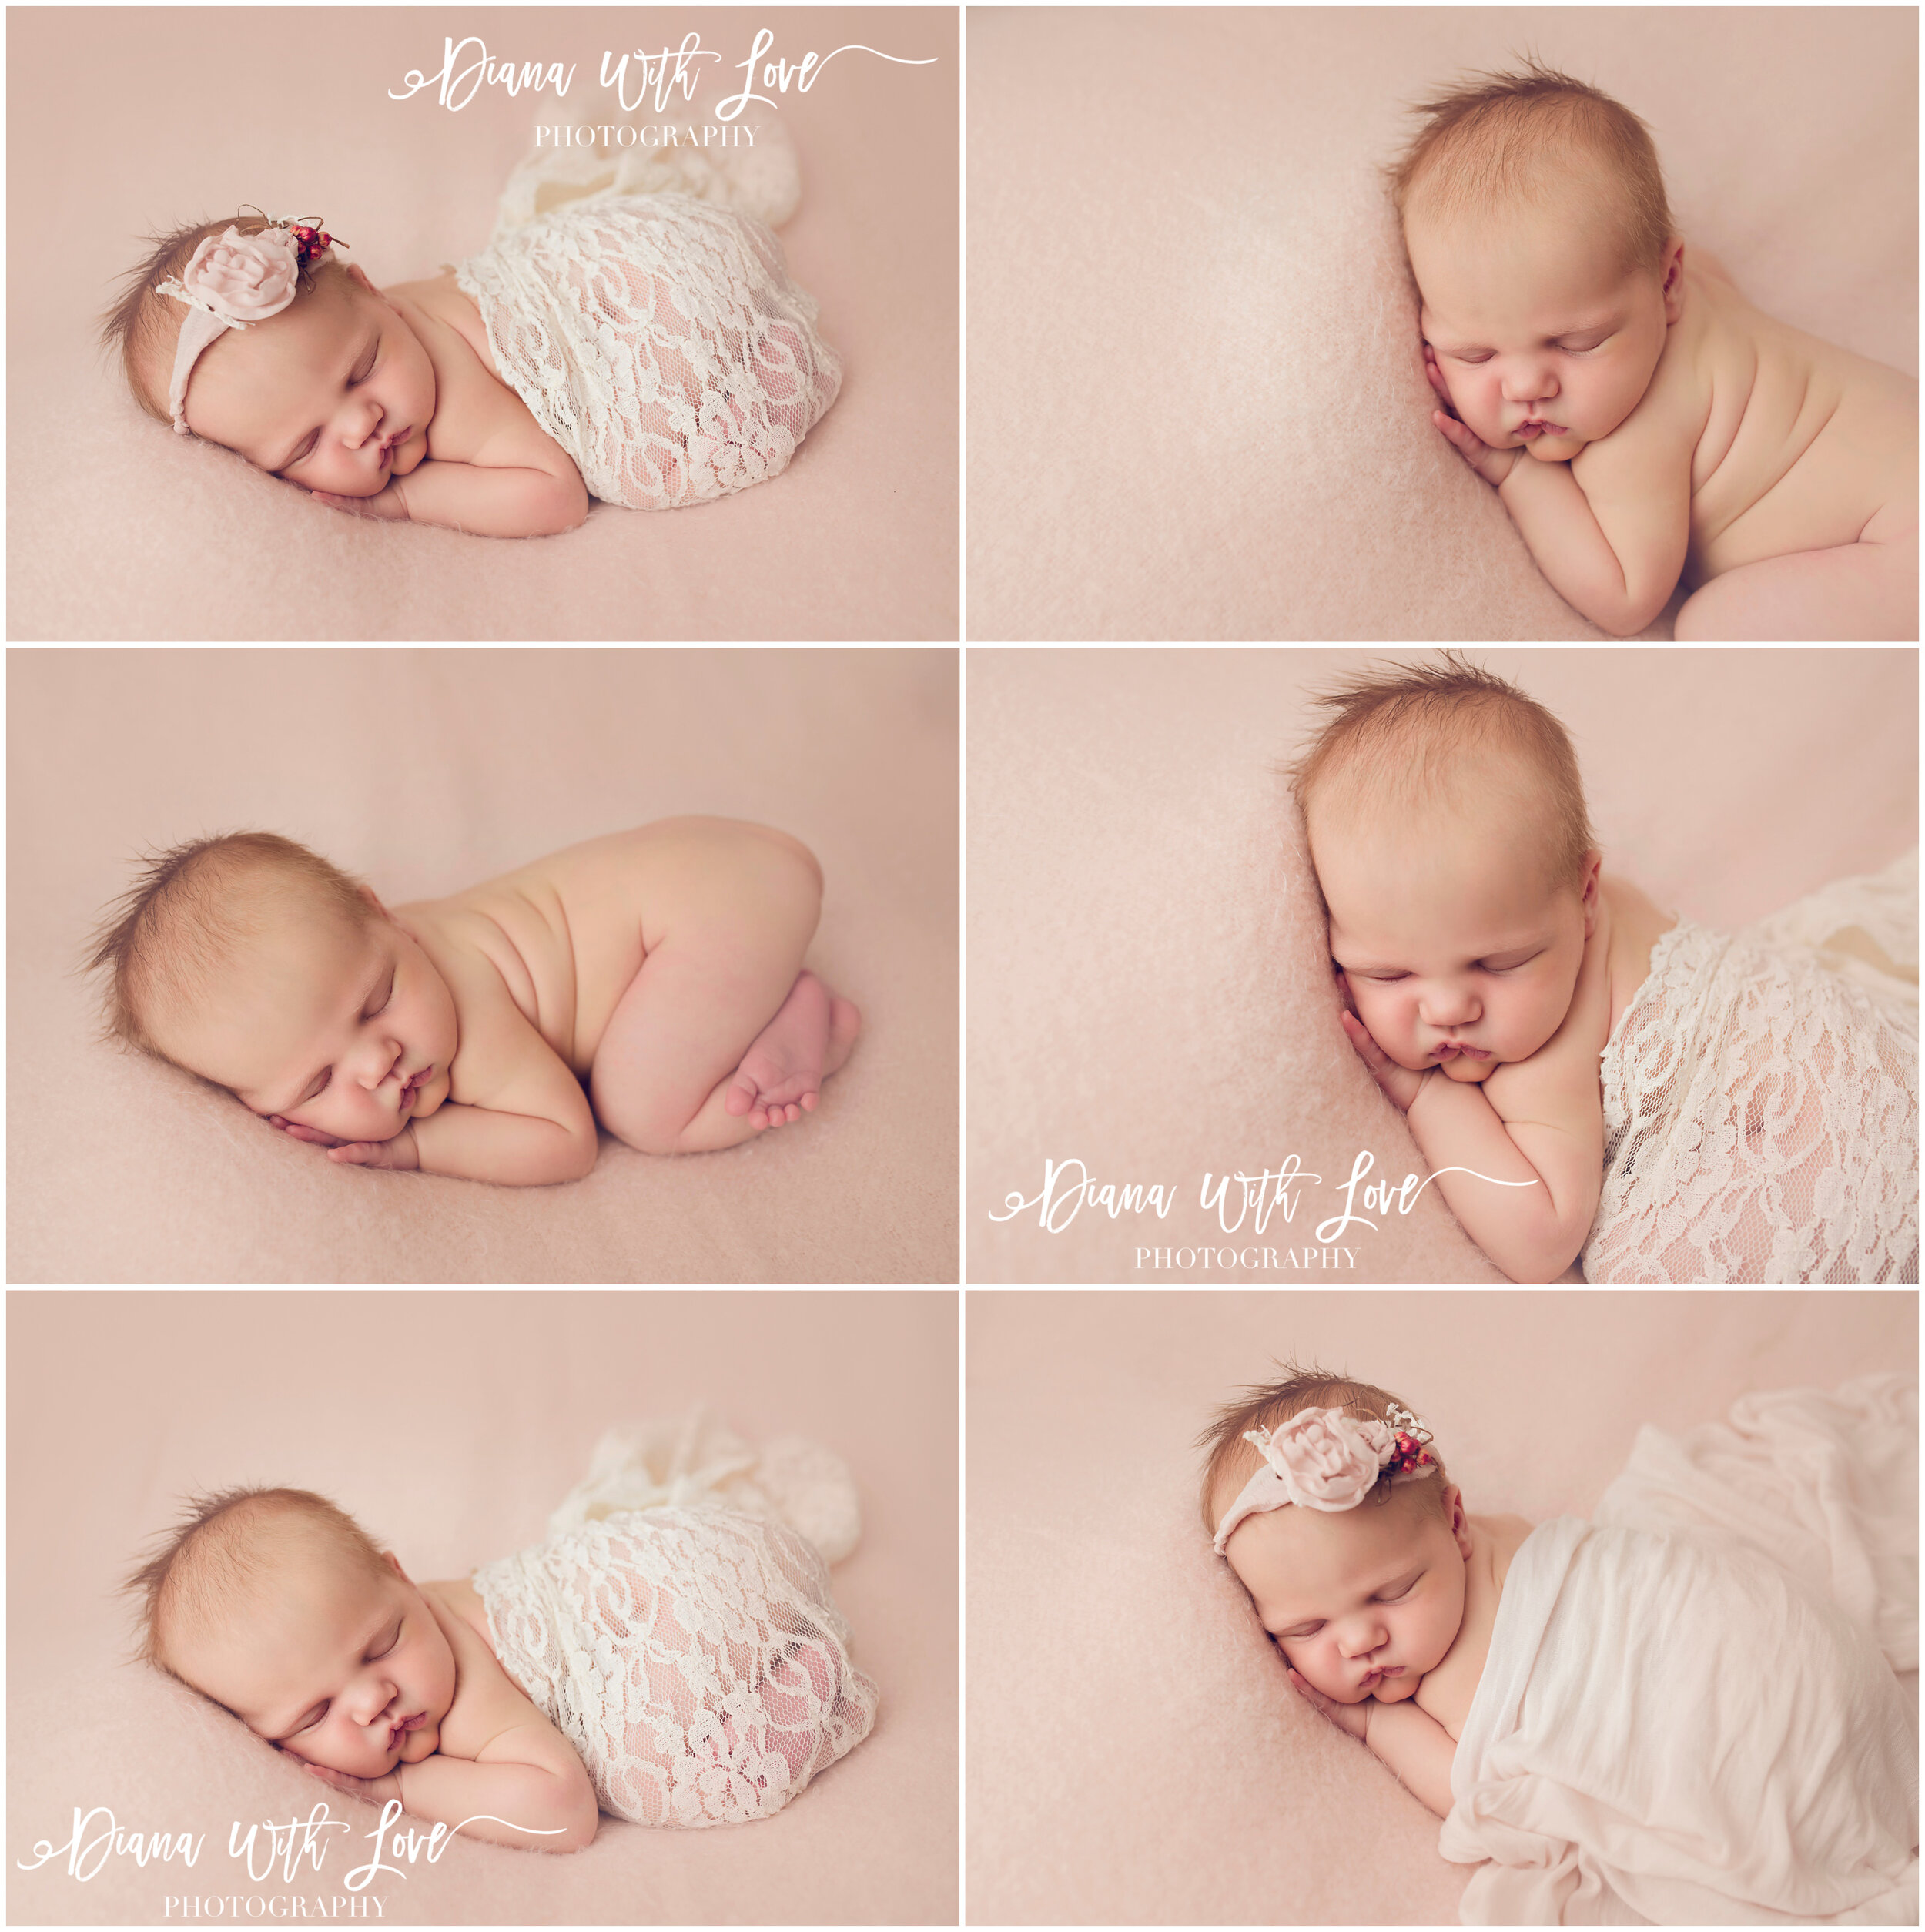
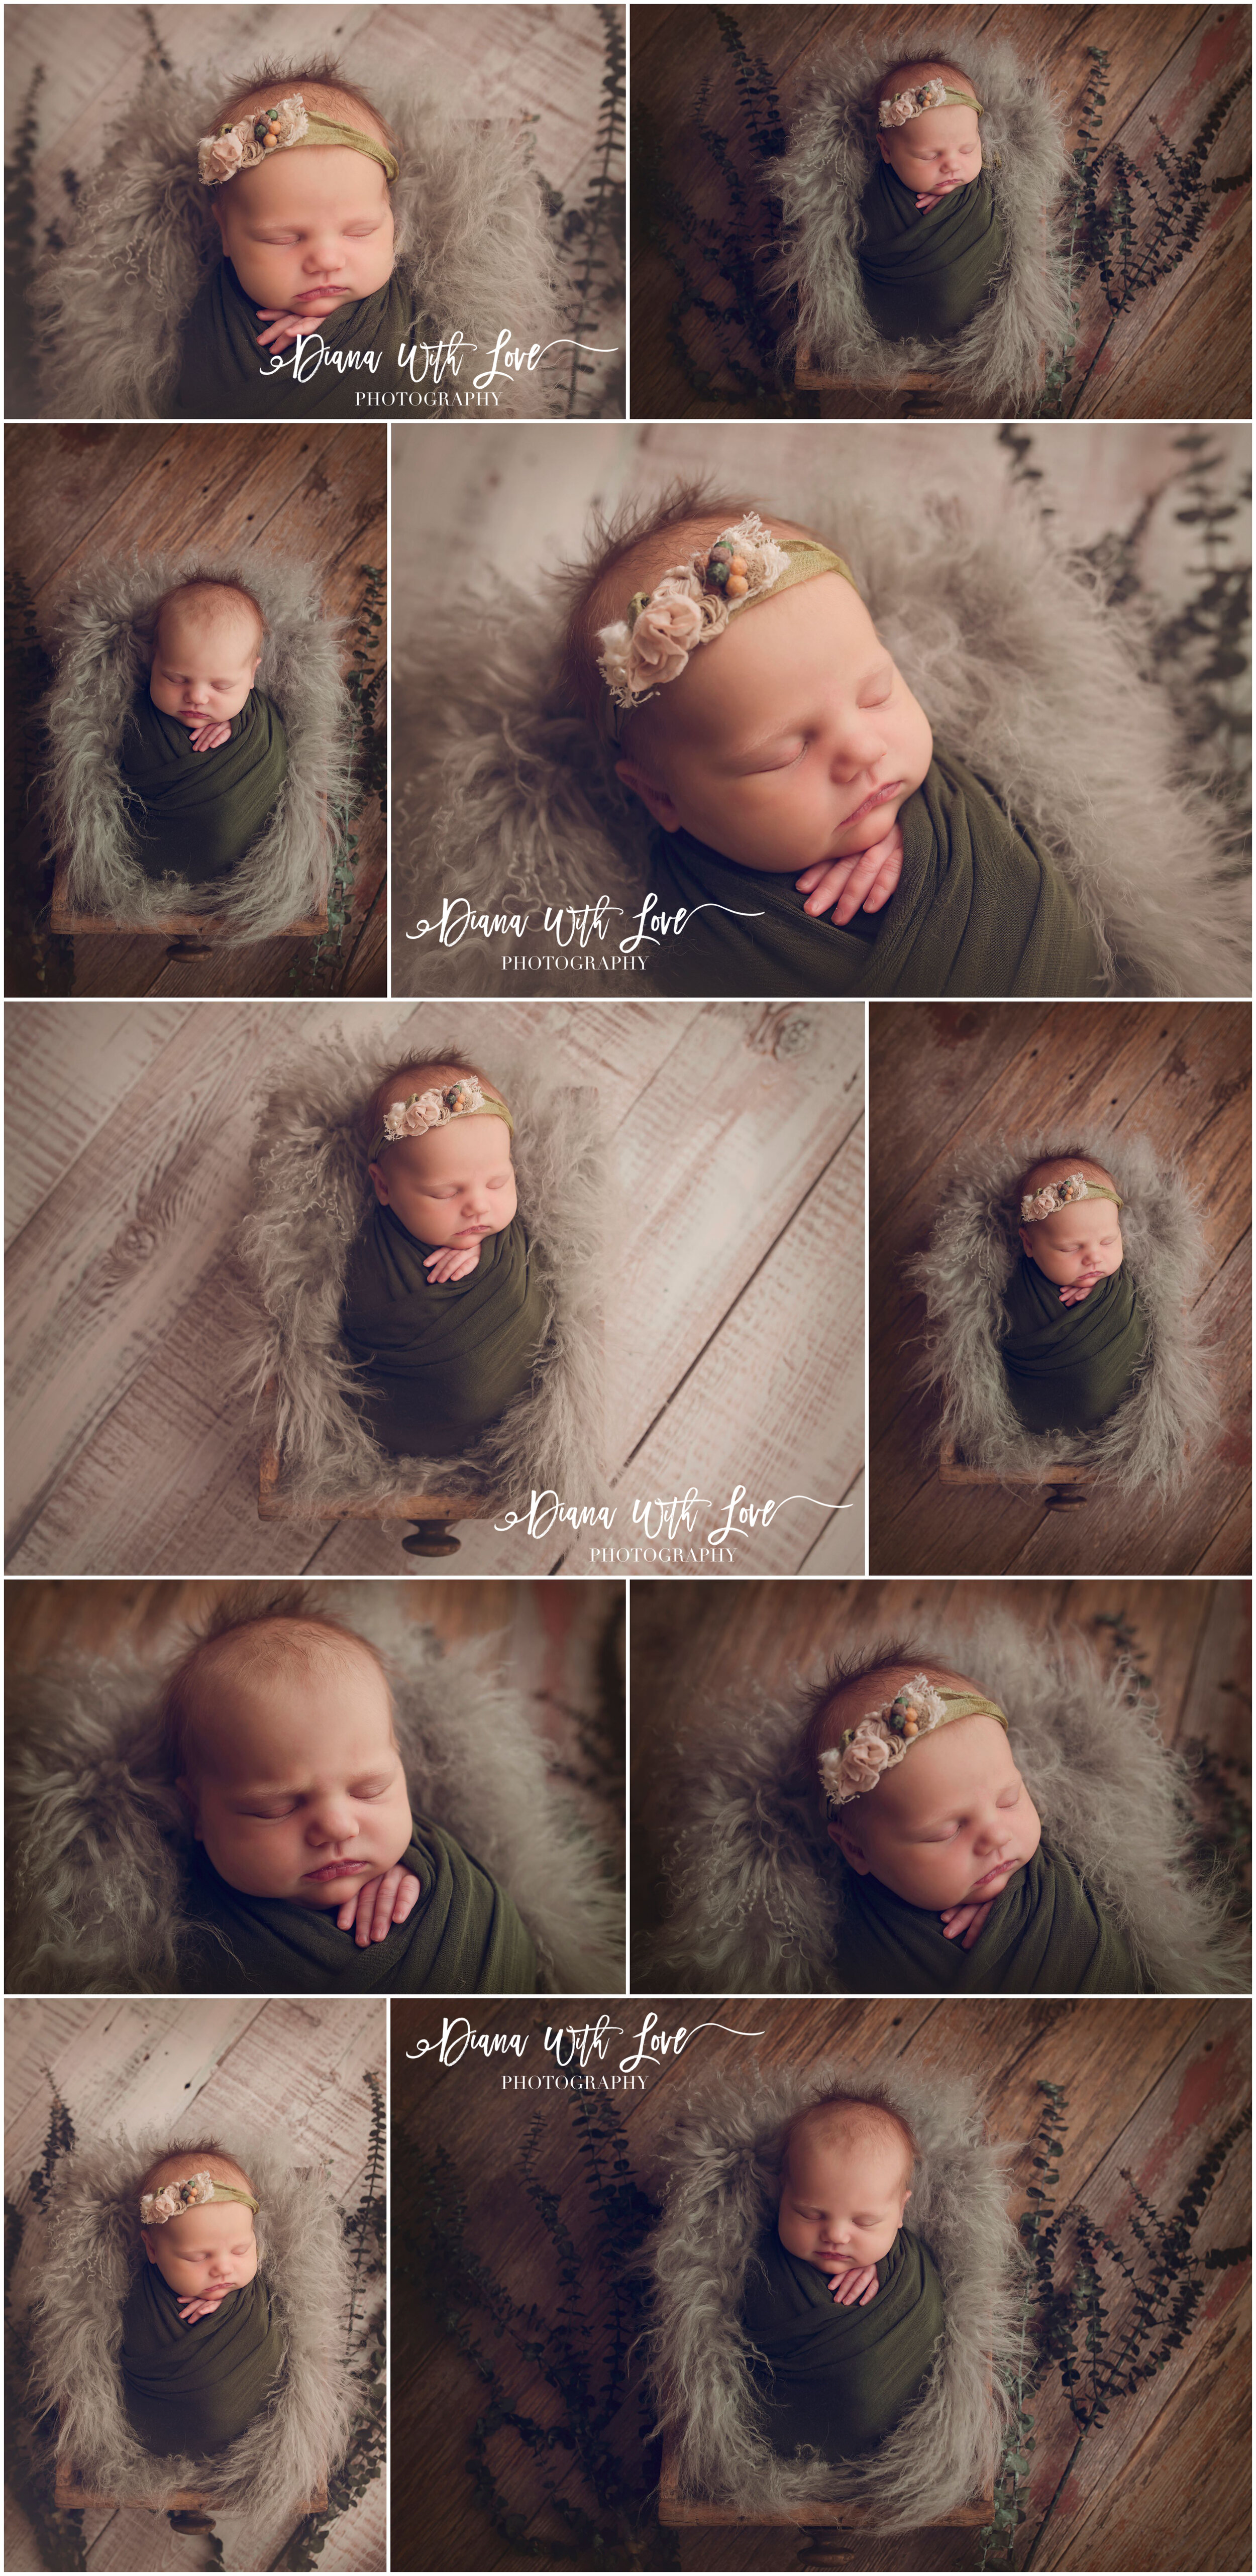
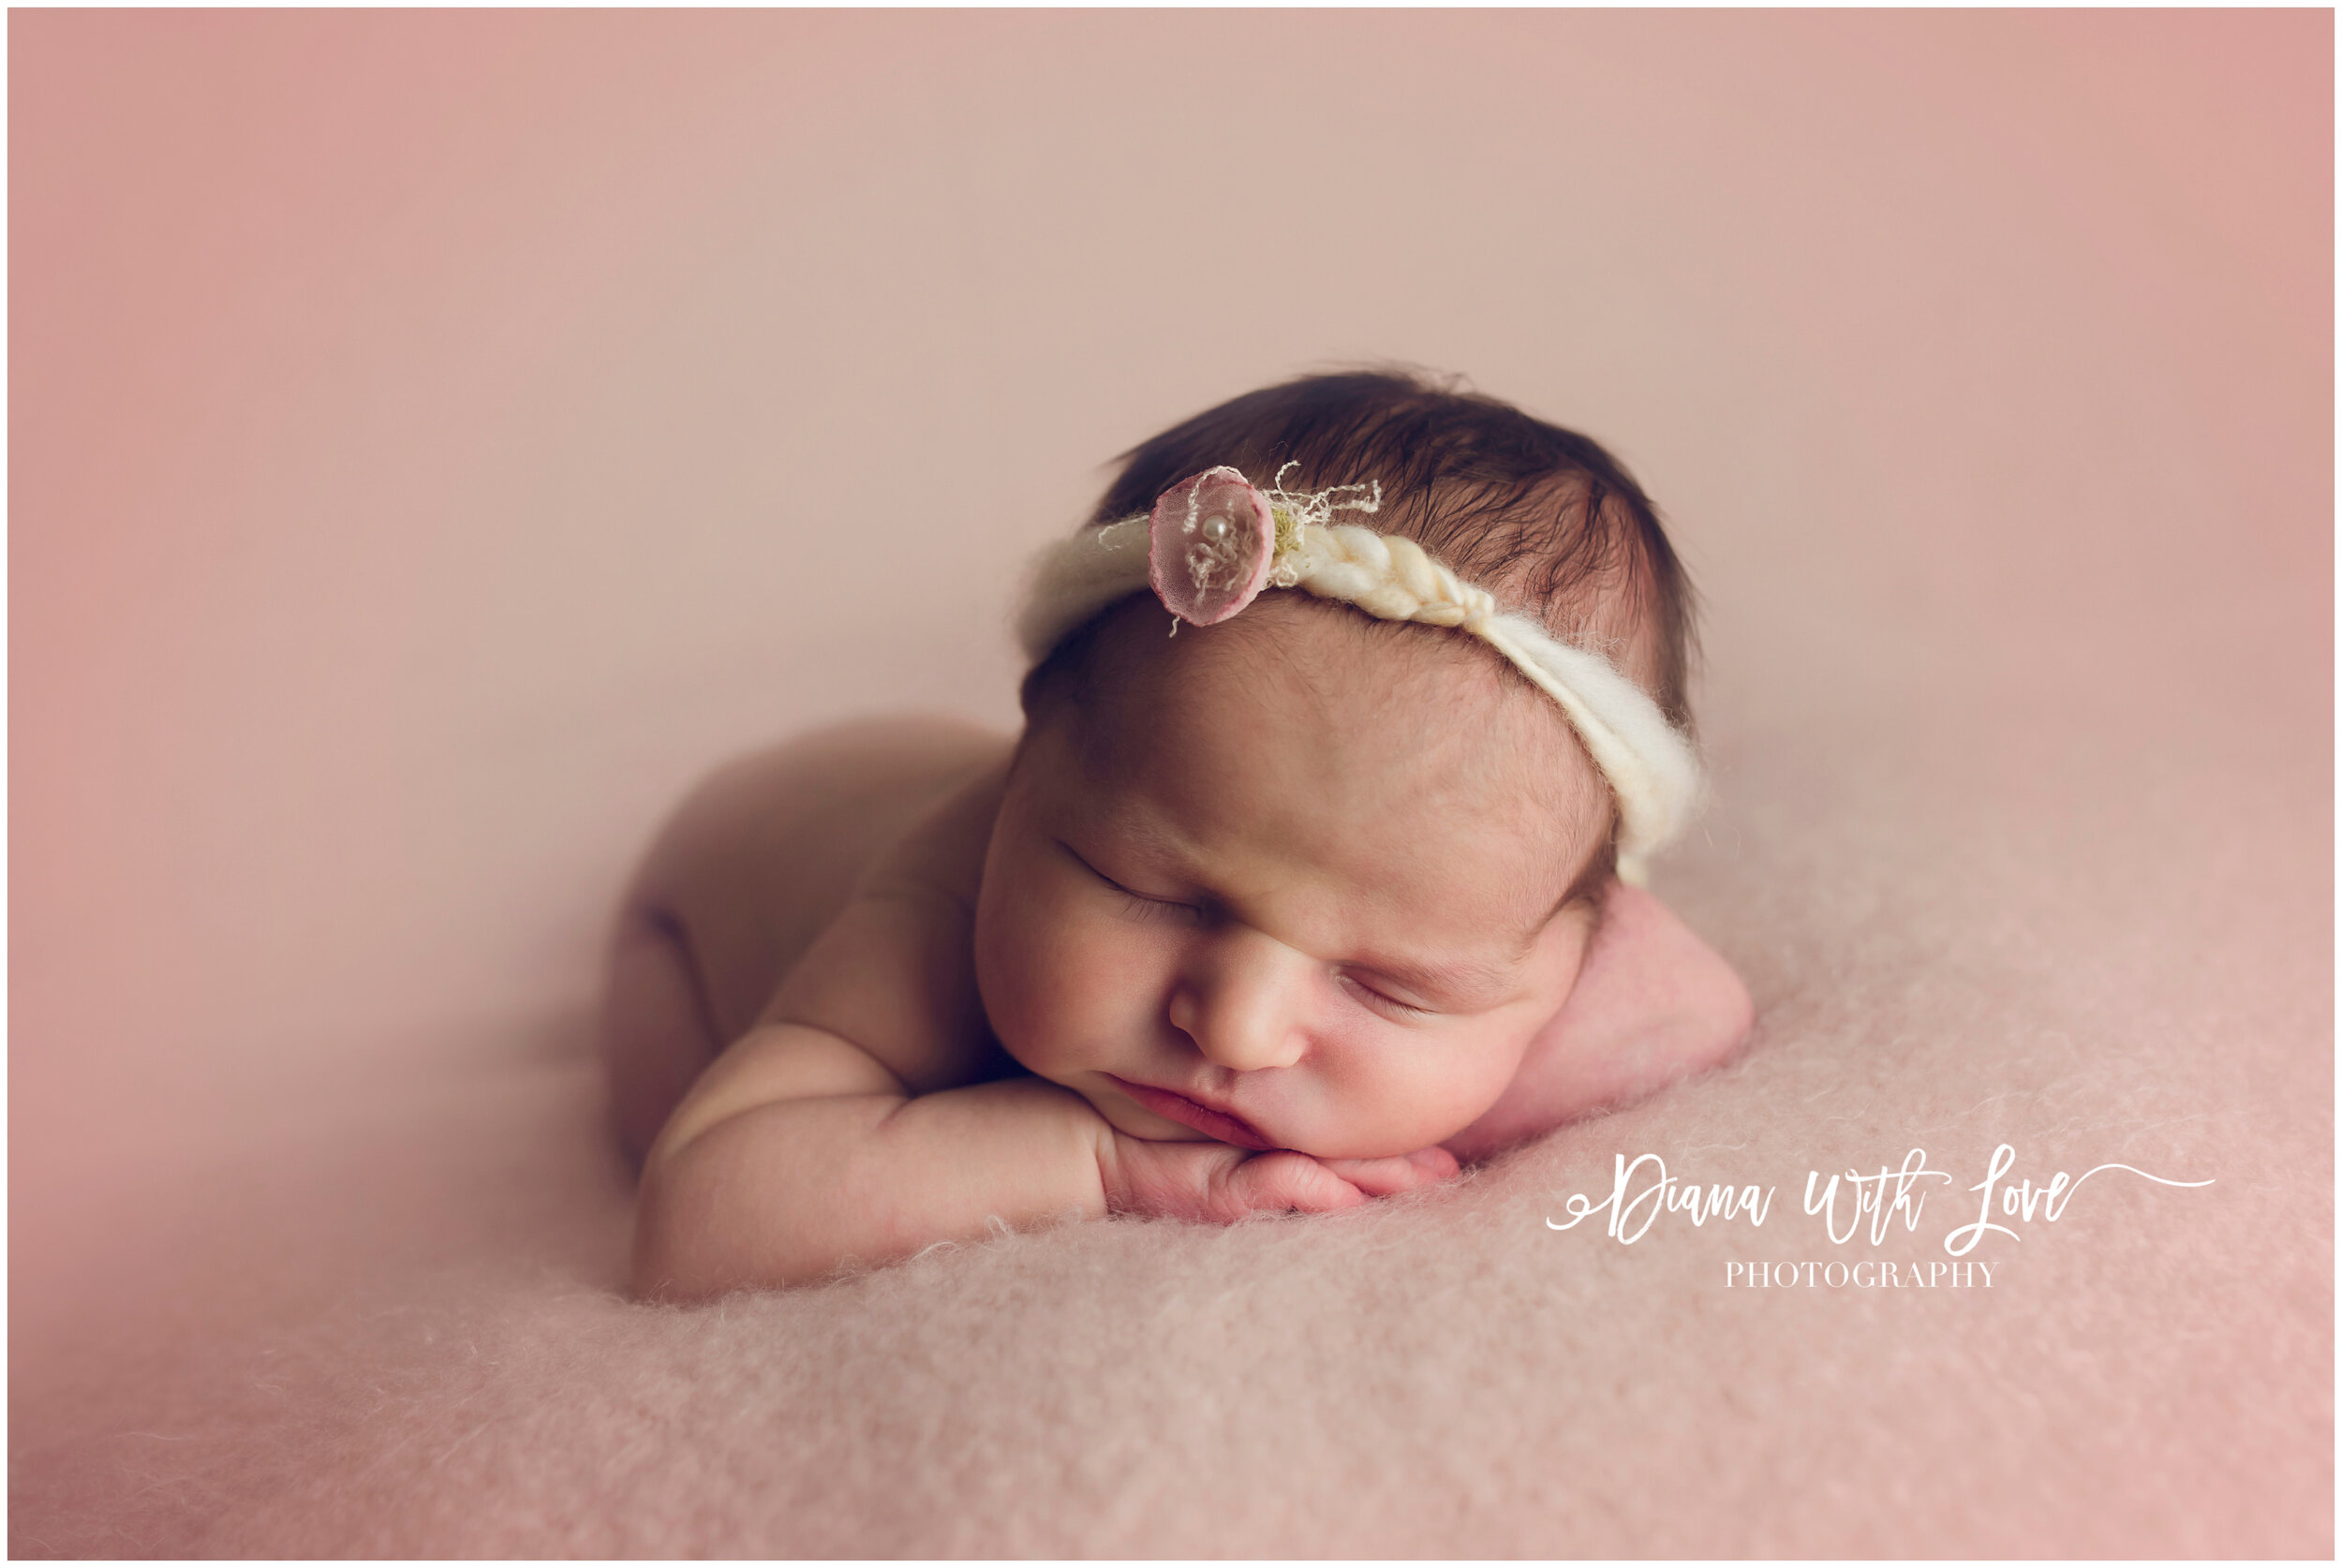
POSE 1: BABY ONLY, BACK LAYING

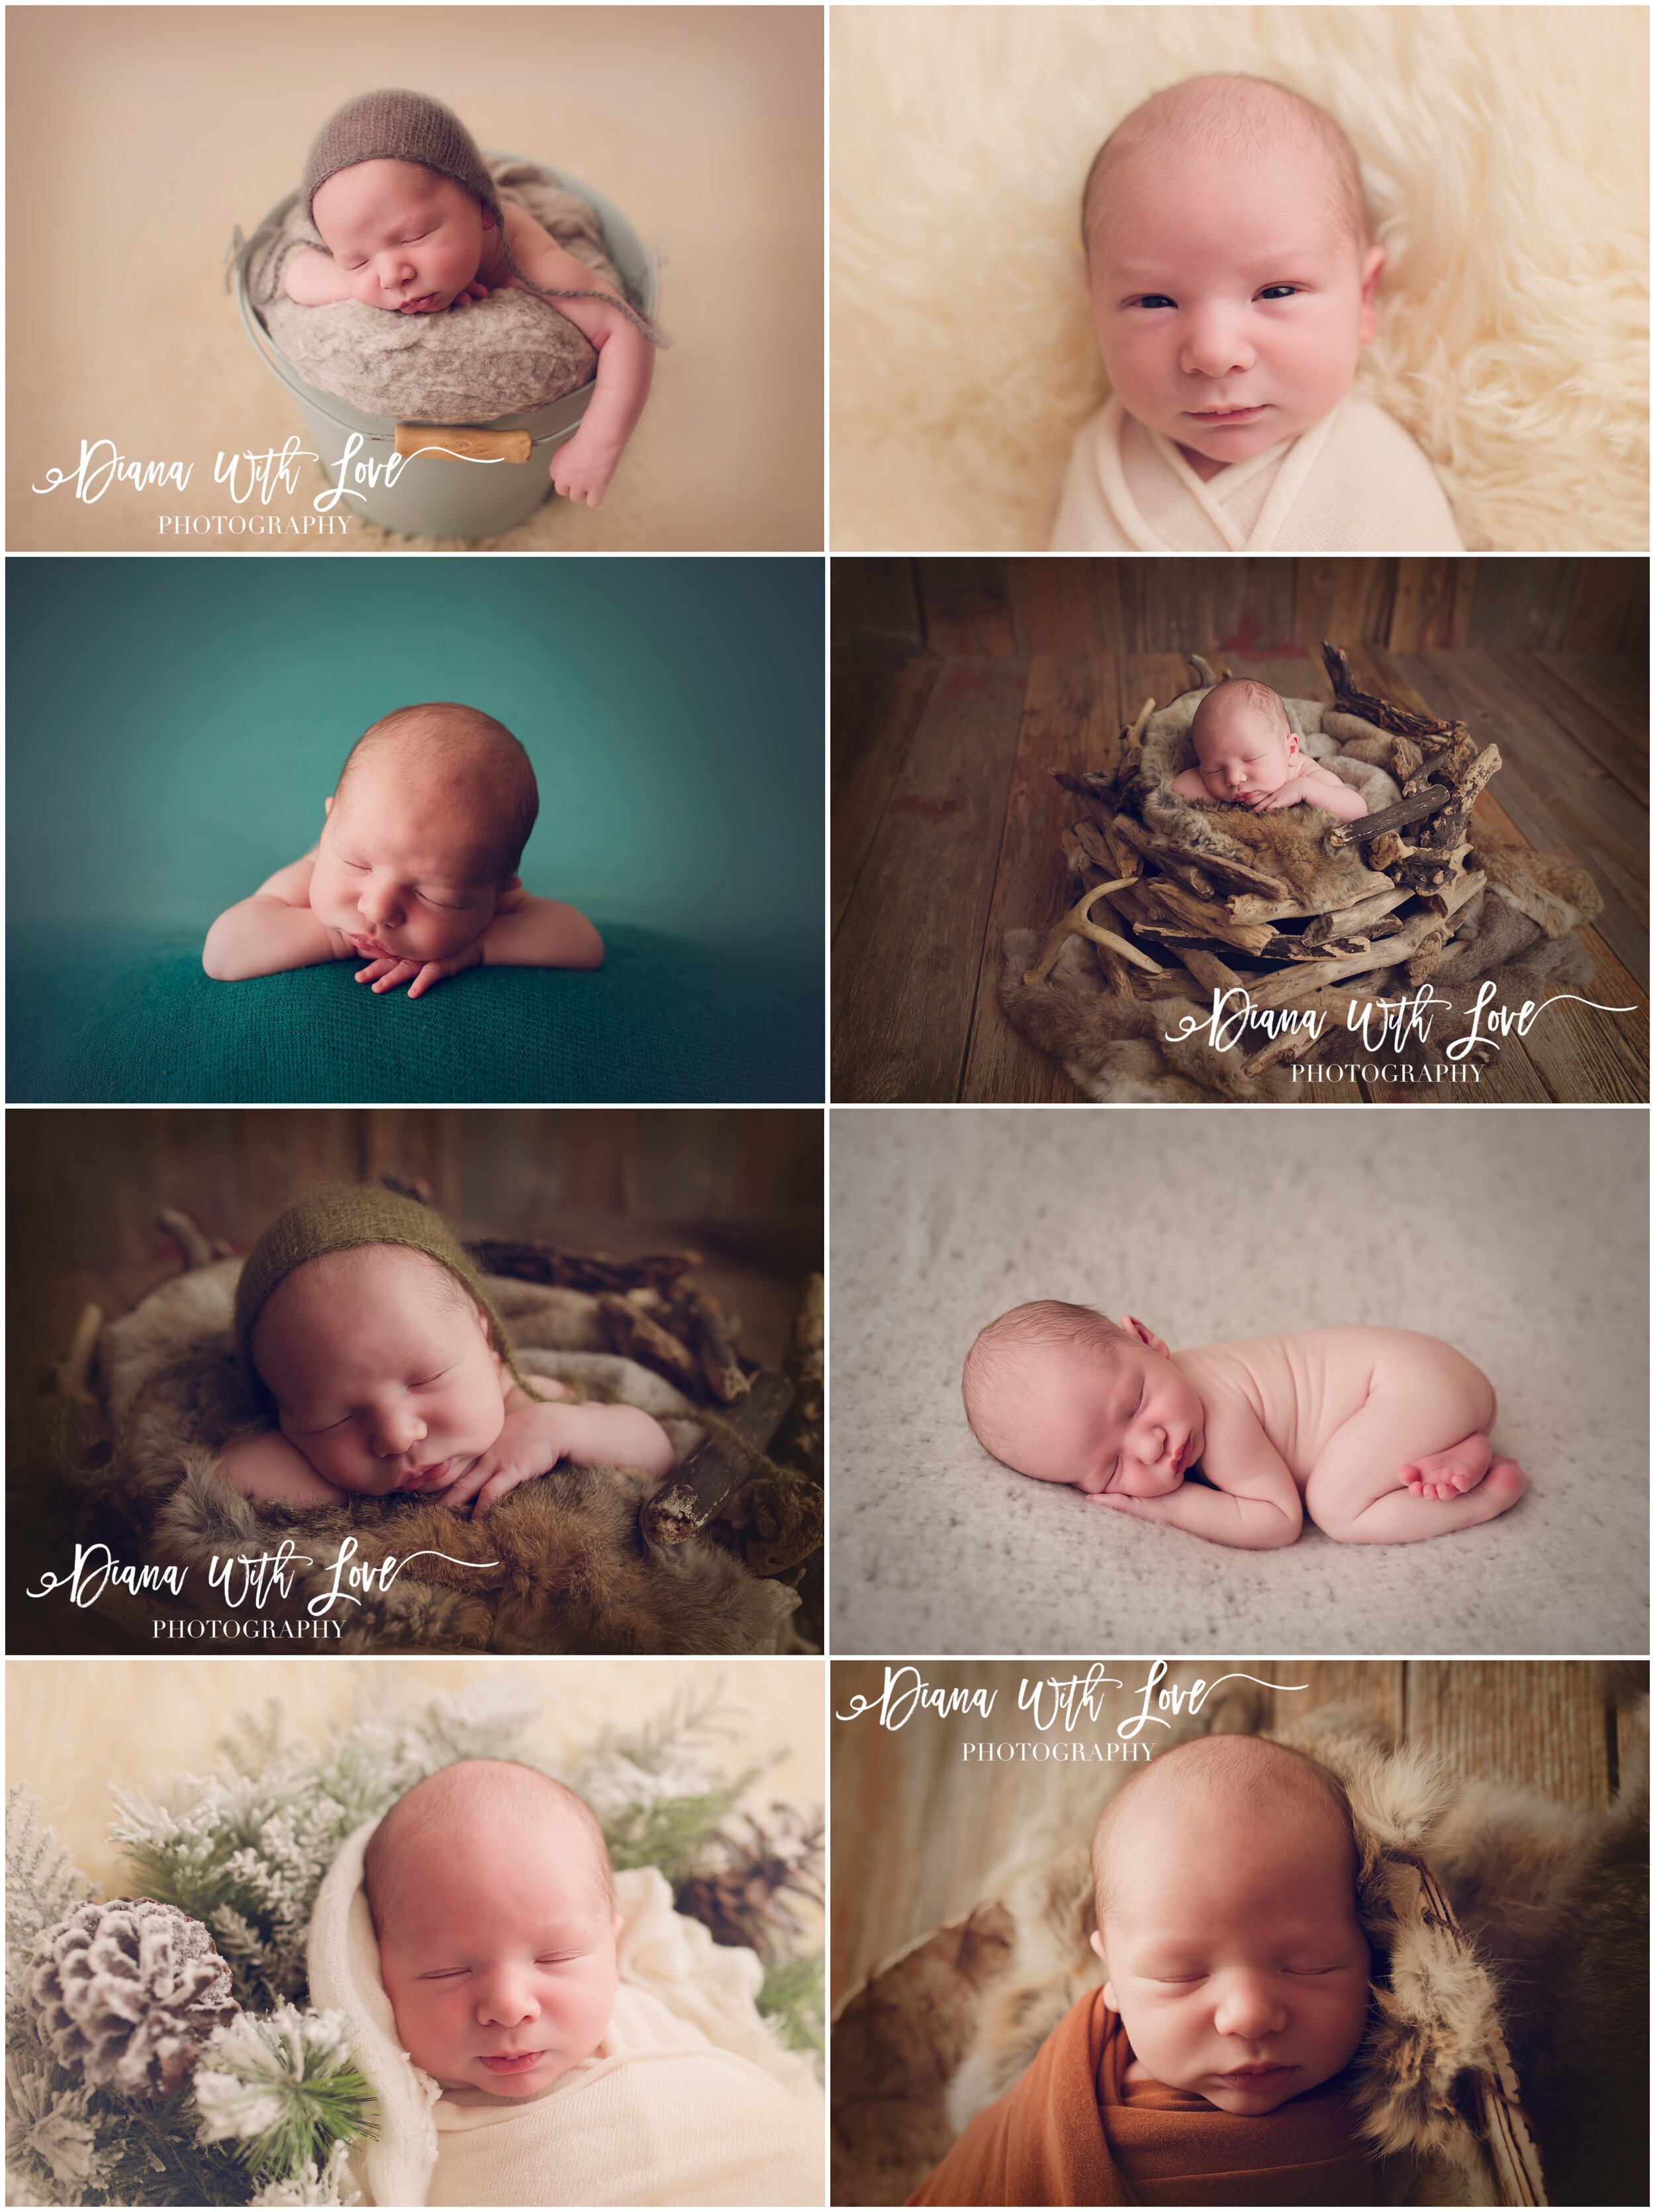
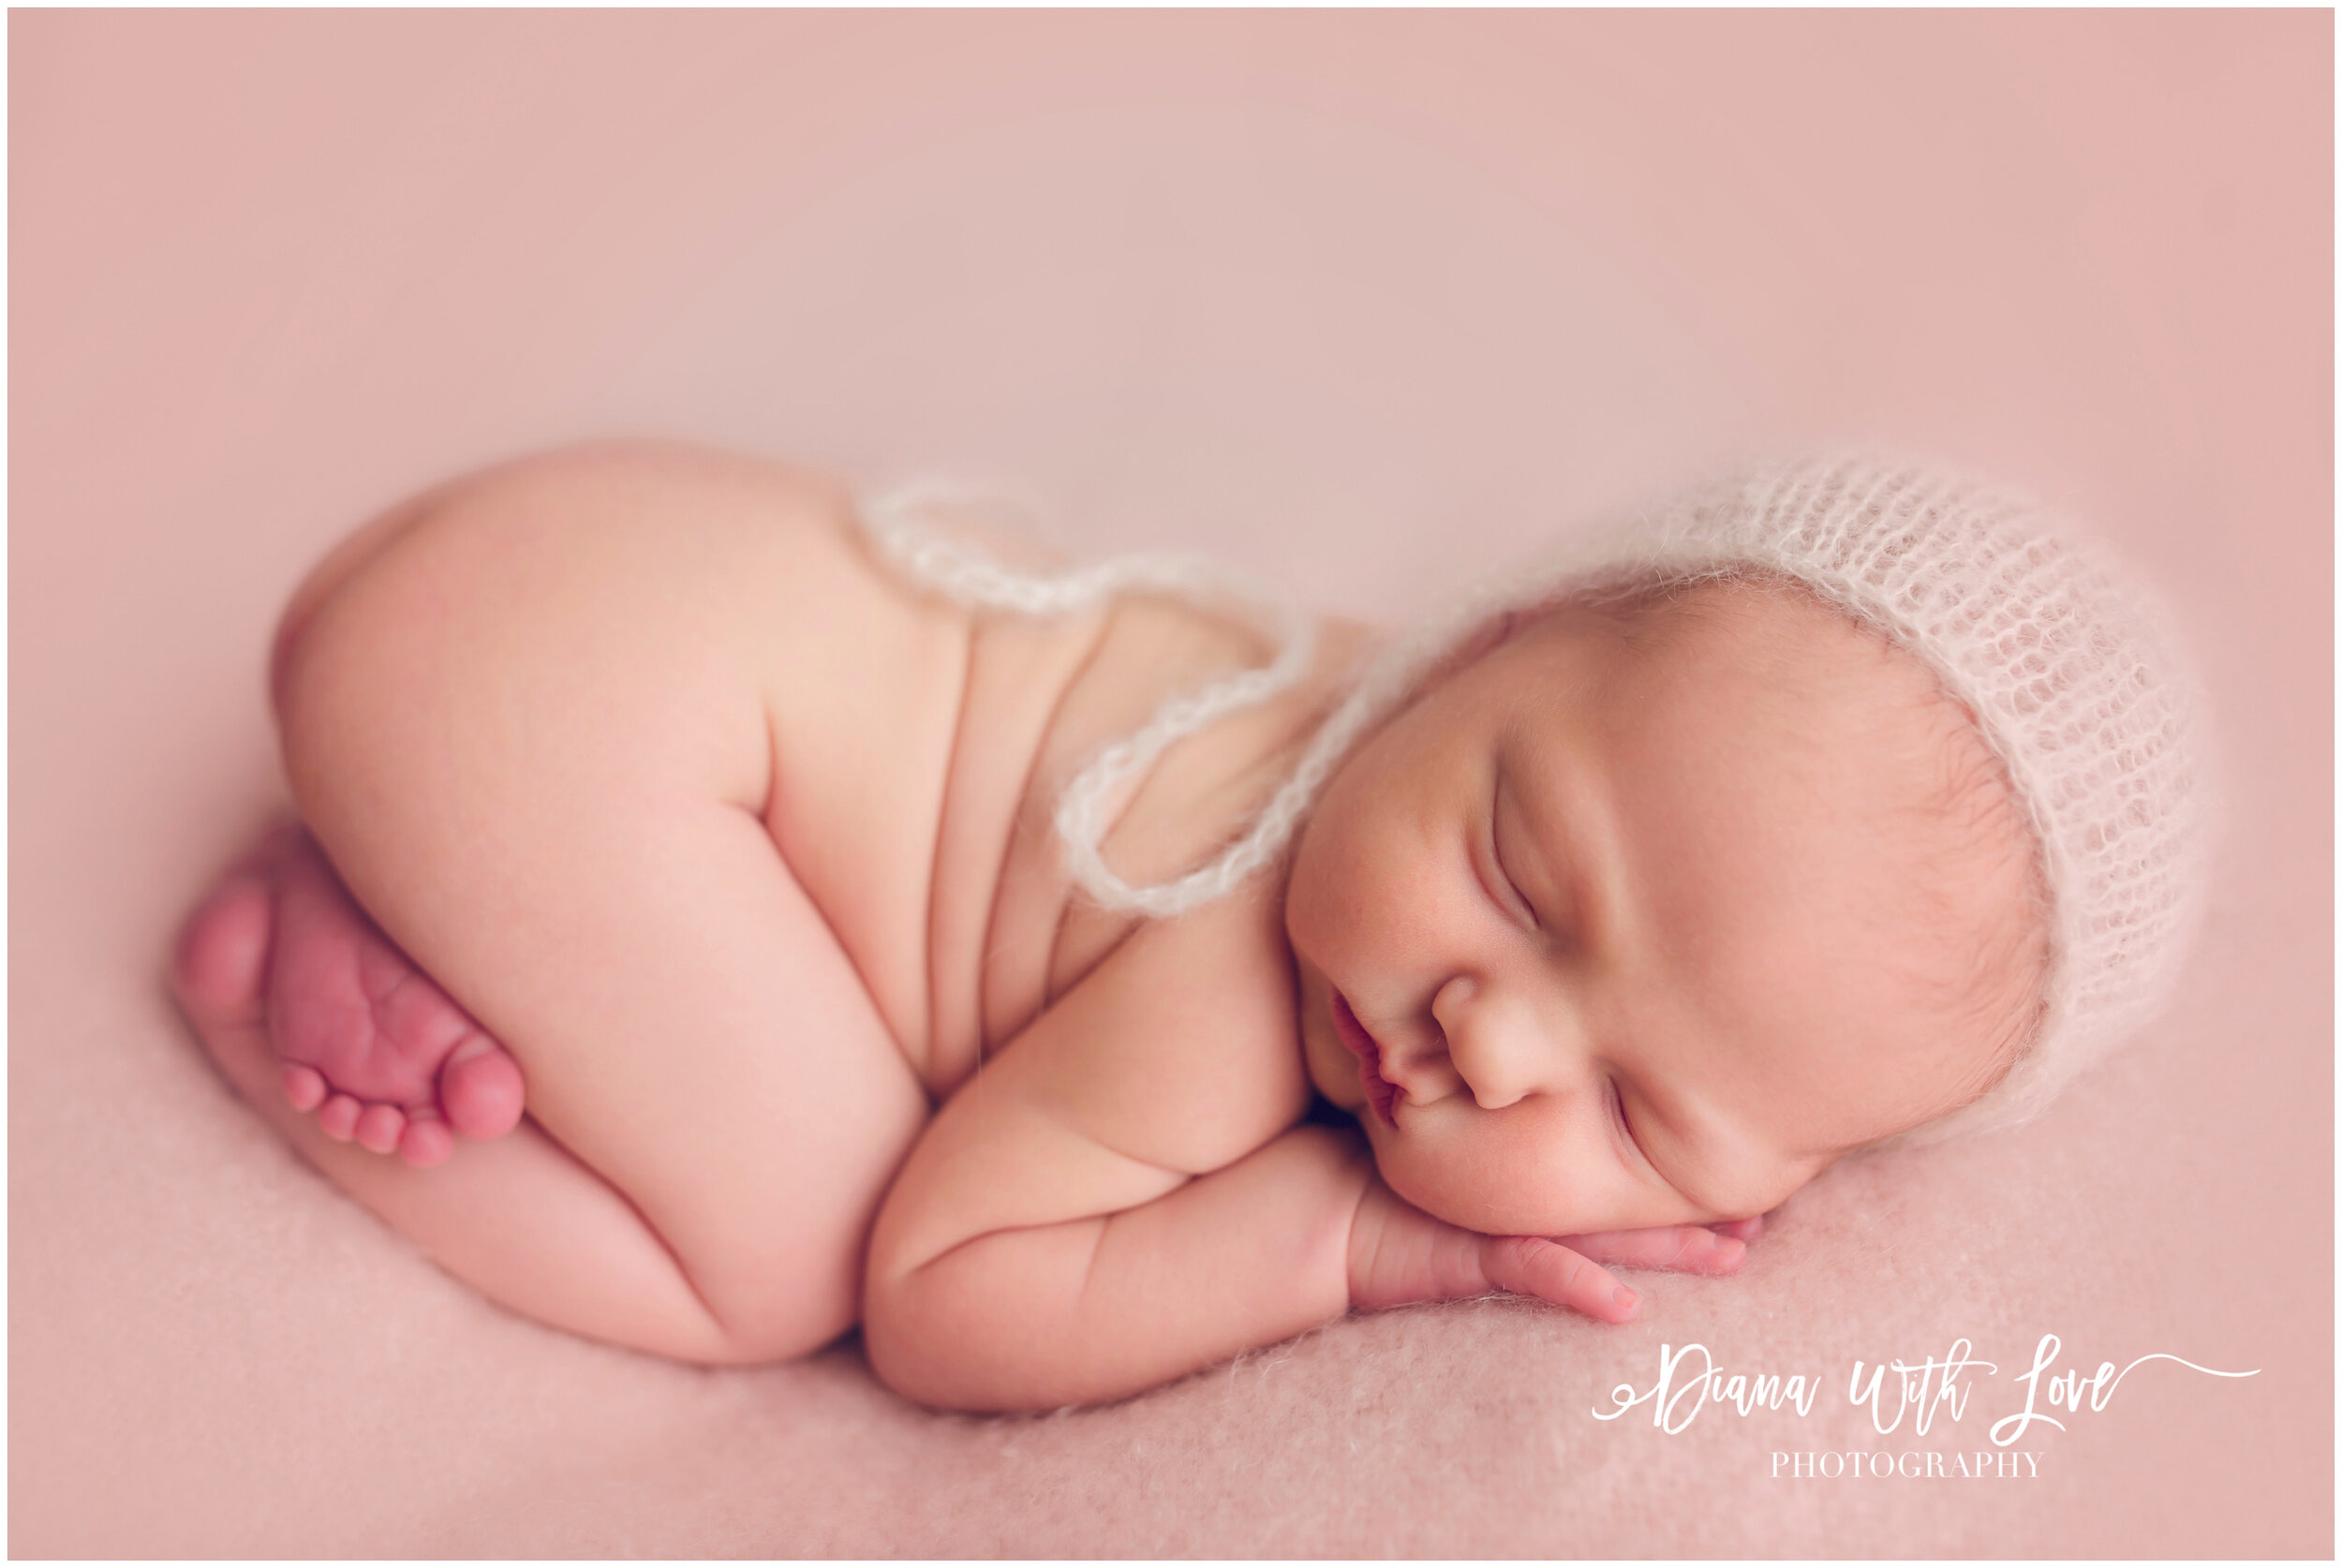
This is my favourite pose and usually a go to especially when I have babies that are a little fussy. These are best done on the floor within a few feet from a window. You'll want to lay a few layers of blankets or towels down to create a soft area for baby to lay. You can also use an extra blanket or towel under baby's head so it is a little more elevated. You only want a slight elevation of no more than 1-2 inches. Then lay a nice blanket or fur down and make sure it's flat and not wrinkled. Lay your baby so their body is parallel to the window. In most of the photos above, the window is to the right of baby. Look at the shadows on baby's face and make sure they are softly falling across the side of their face. You can also angle baby so their head is closer to the window.
Make sure your partner is beside baby to ensure they don't kick their way off especially if you have elevated baby's head.
You are going to angle your camera directly on top of baby. Make sure you can't see up baby's nostrils. And take your photo!
Take some from further away or close up or even try a shot from the side (just don't block the window light with your own body). You can have baby in a nice outfit or just a diaper. Use hats and headbands to change up the look. You can even fold the blanket over or use a scarf to cover baby's bottom half.
To get those adorable and sometimes silly faces, give it time. Talk to your baby to get their eyes on you. If babe is completely asleep, bring the blanket up high like photo number one. You can use clips or something weighted to help keep the fabric in place.
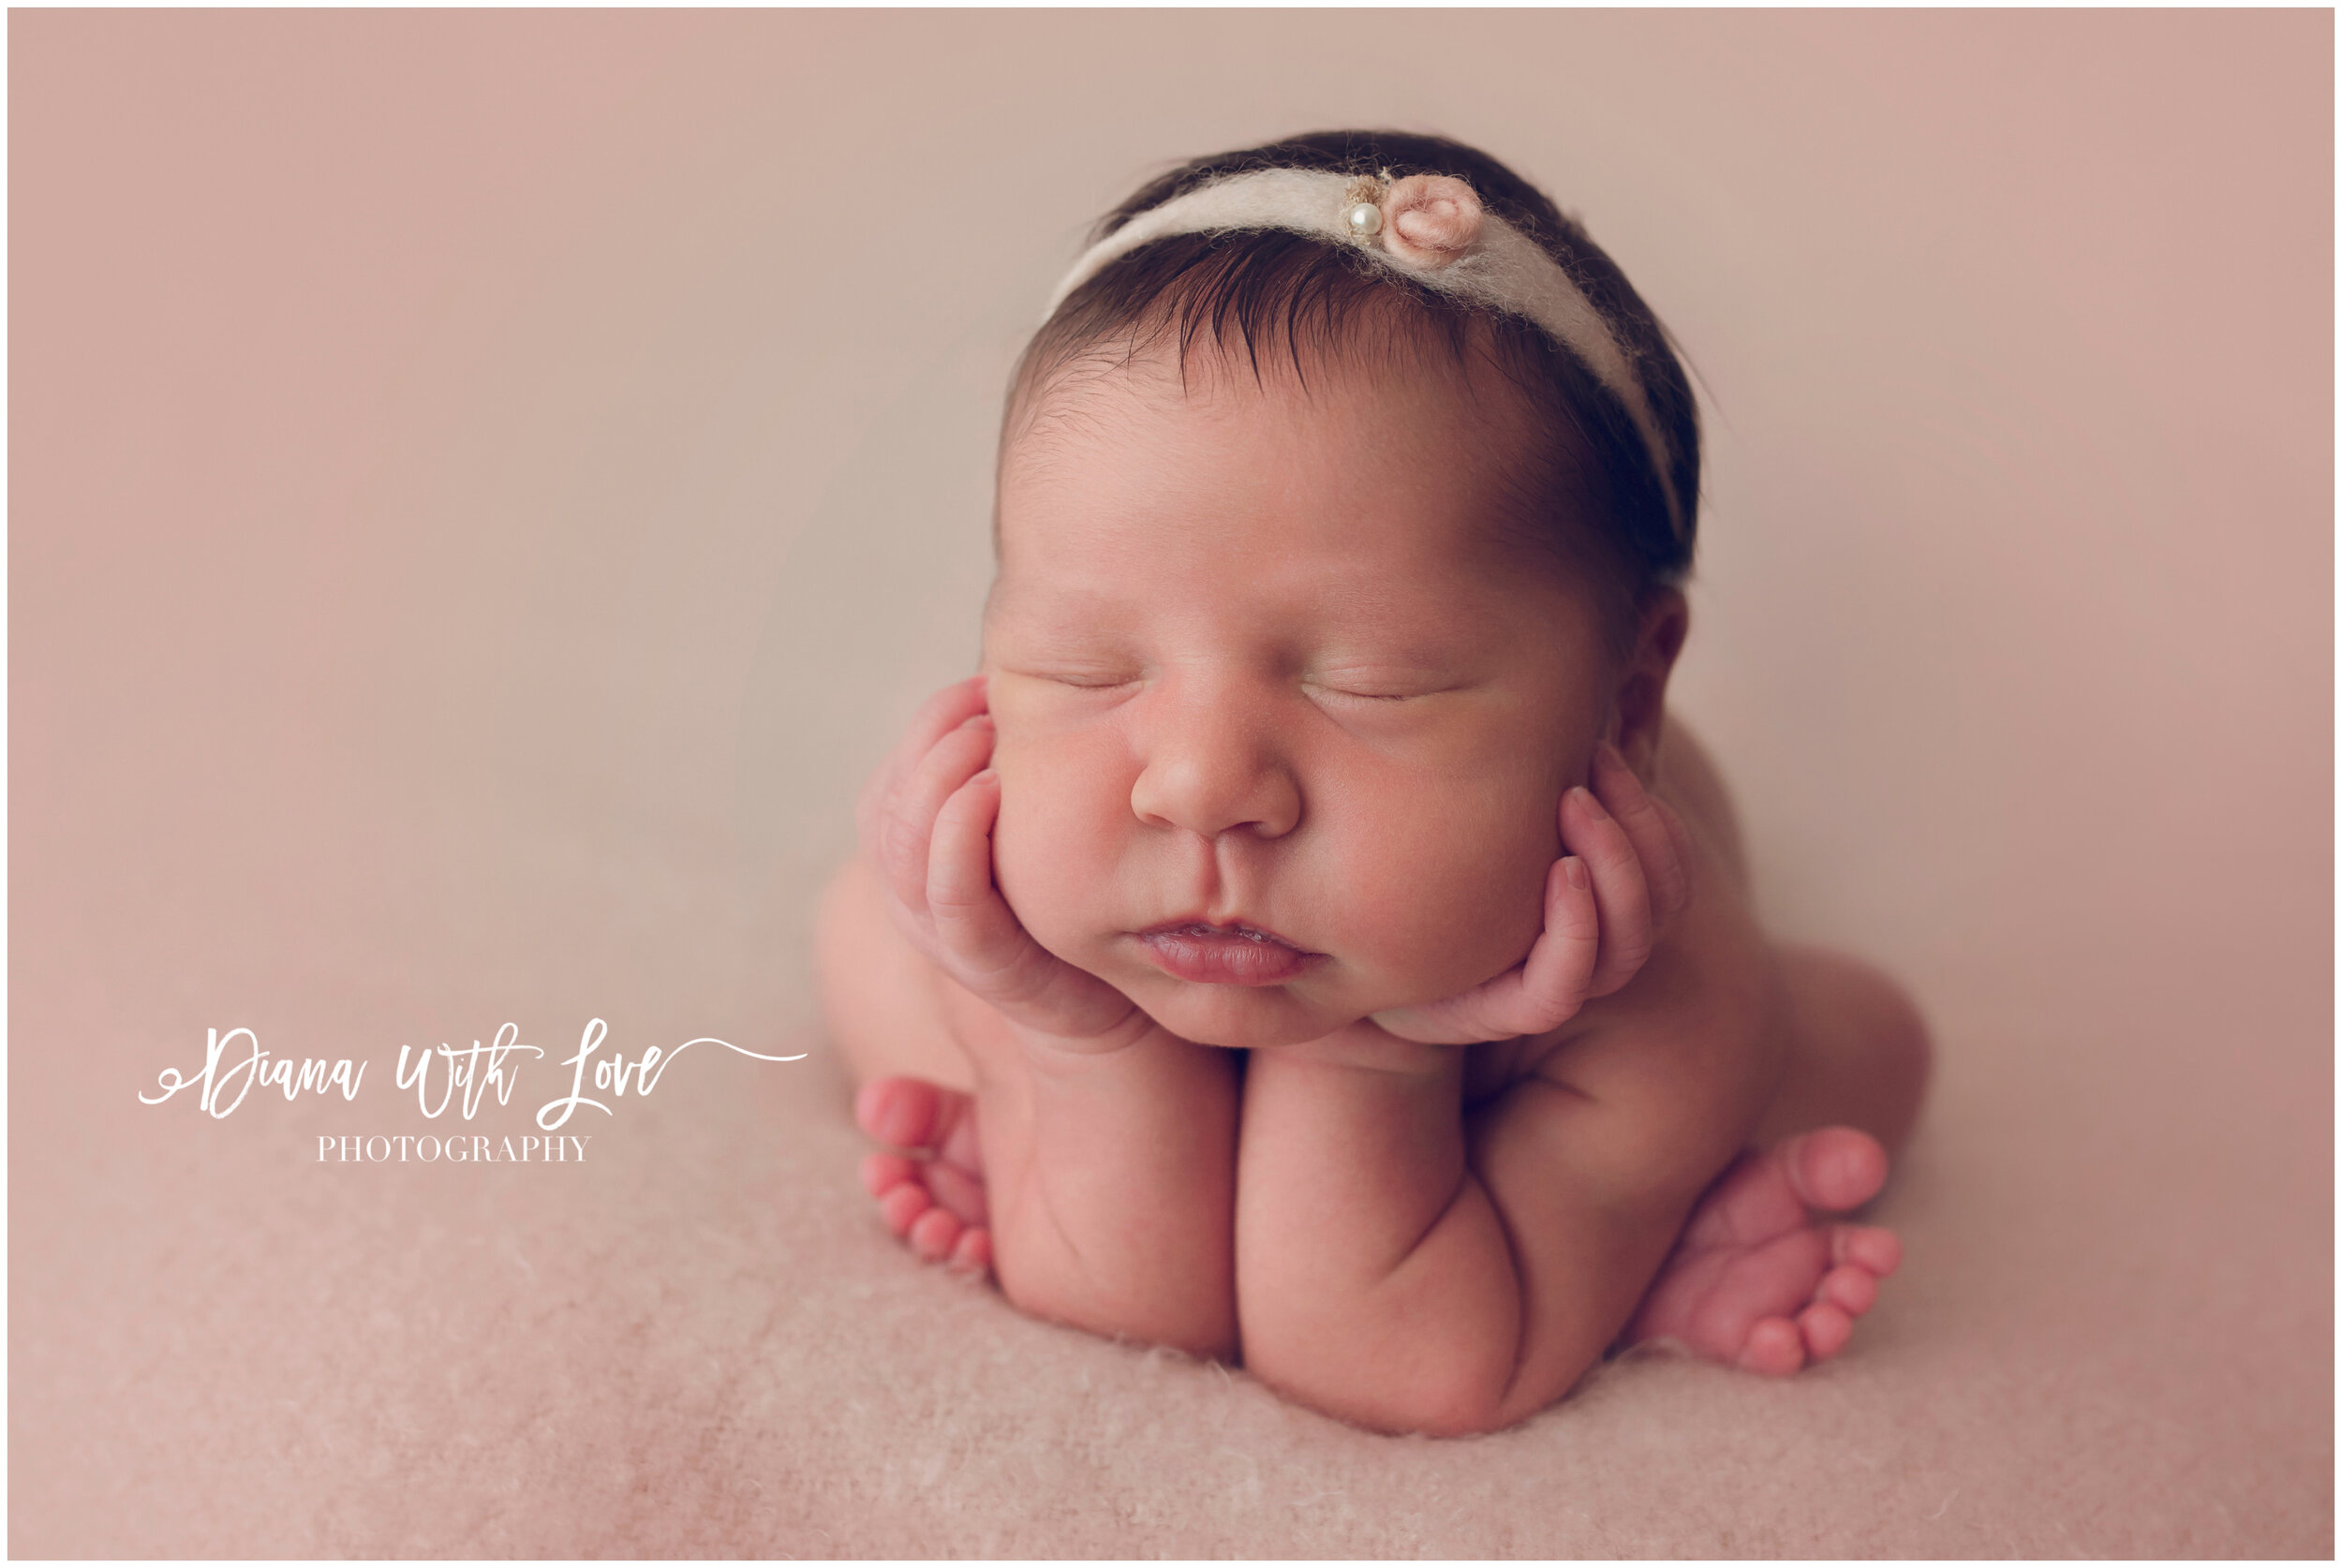
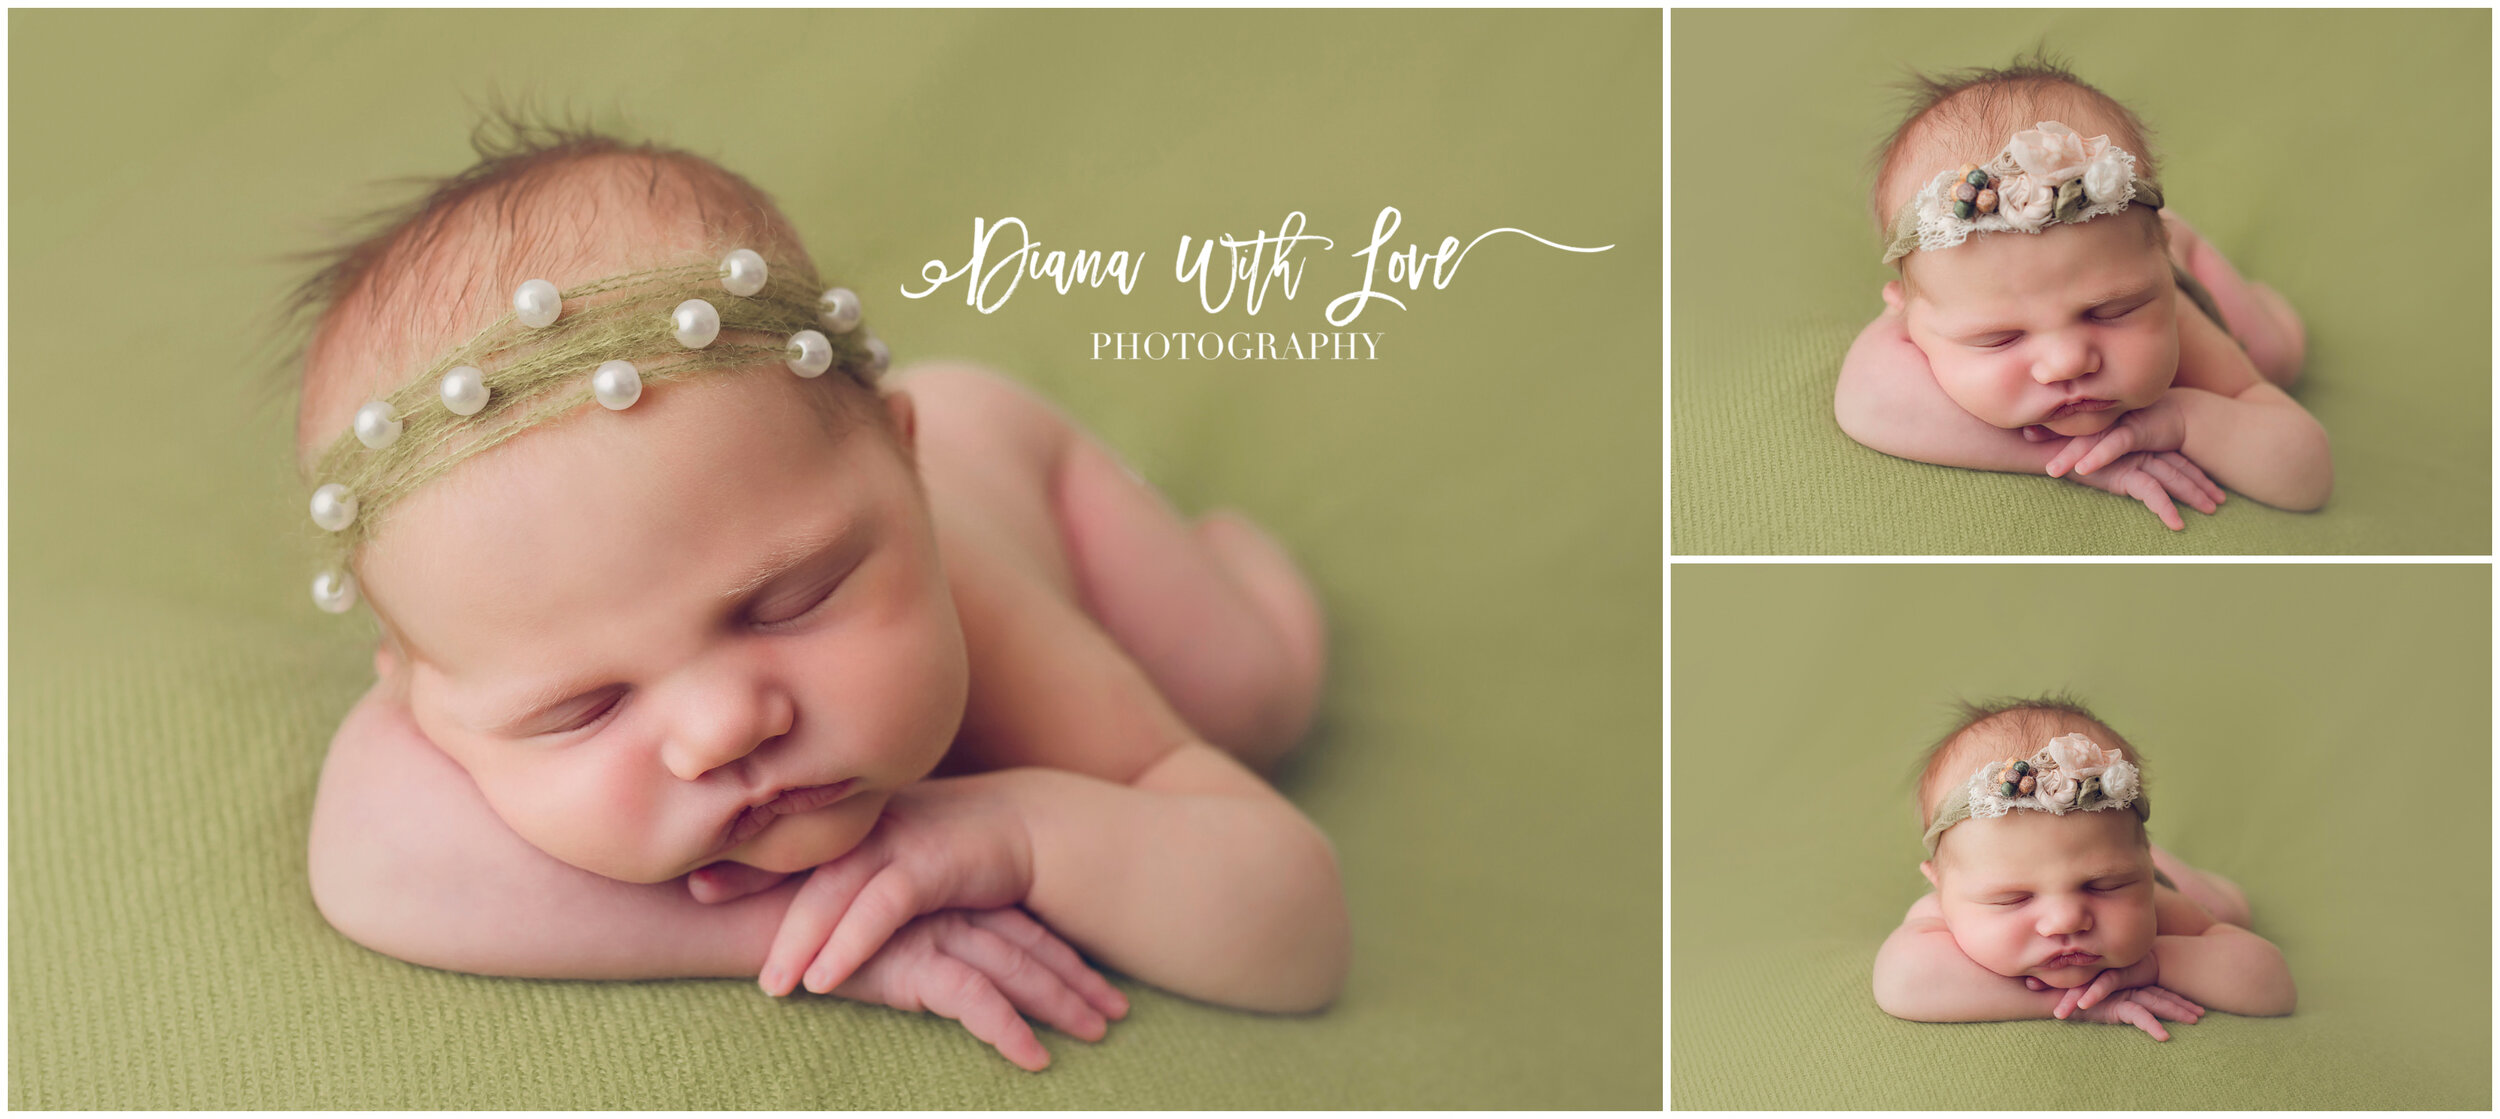
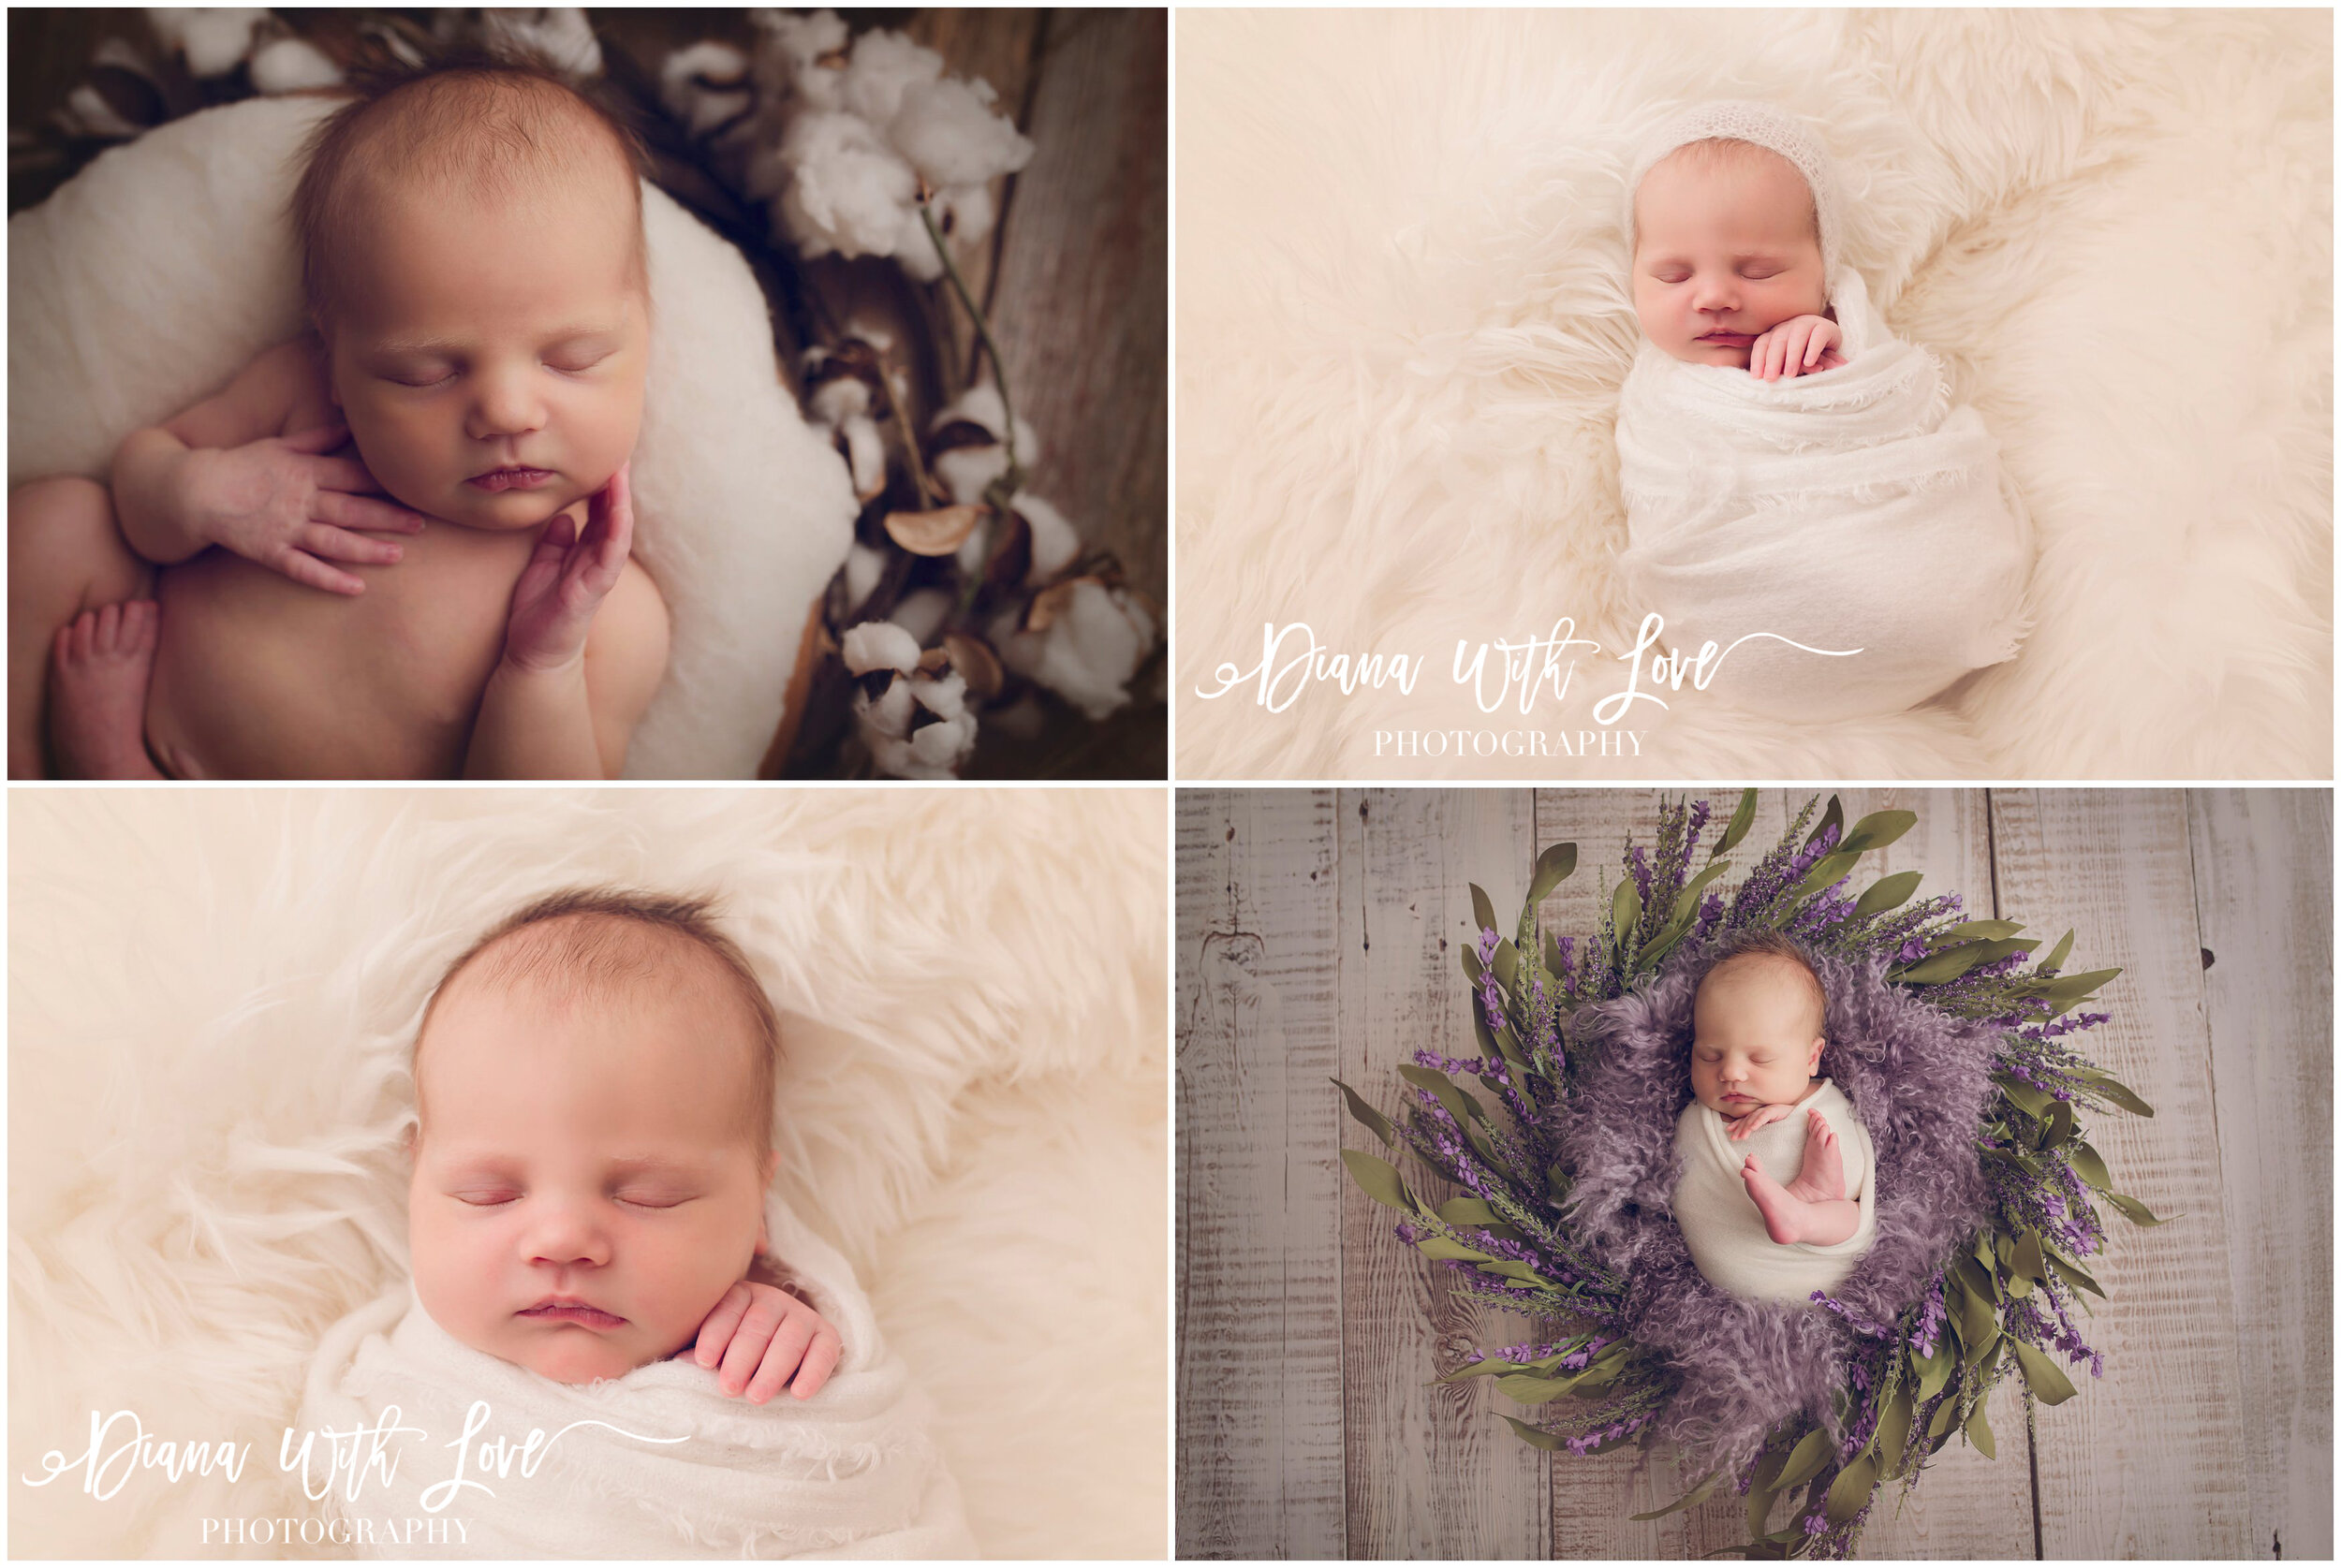
POSE 2: DETAILS

Keeping the same position as pose 1, snap some close ups of baby's face, hands and feet. You can bring the hands together on their chest for a flattering shot or try wrapping their feet in a blanket or scarf and getting a shot of their toes peeking out. Remember unless your camera has a macro lens or function, you may not be able to get as close a shot as seen here. However you can crop the photo after you take it.
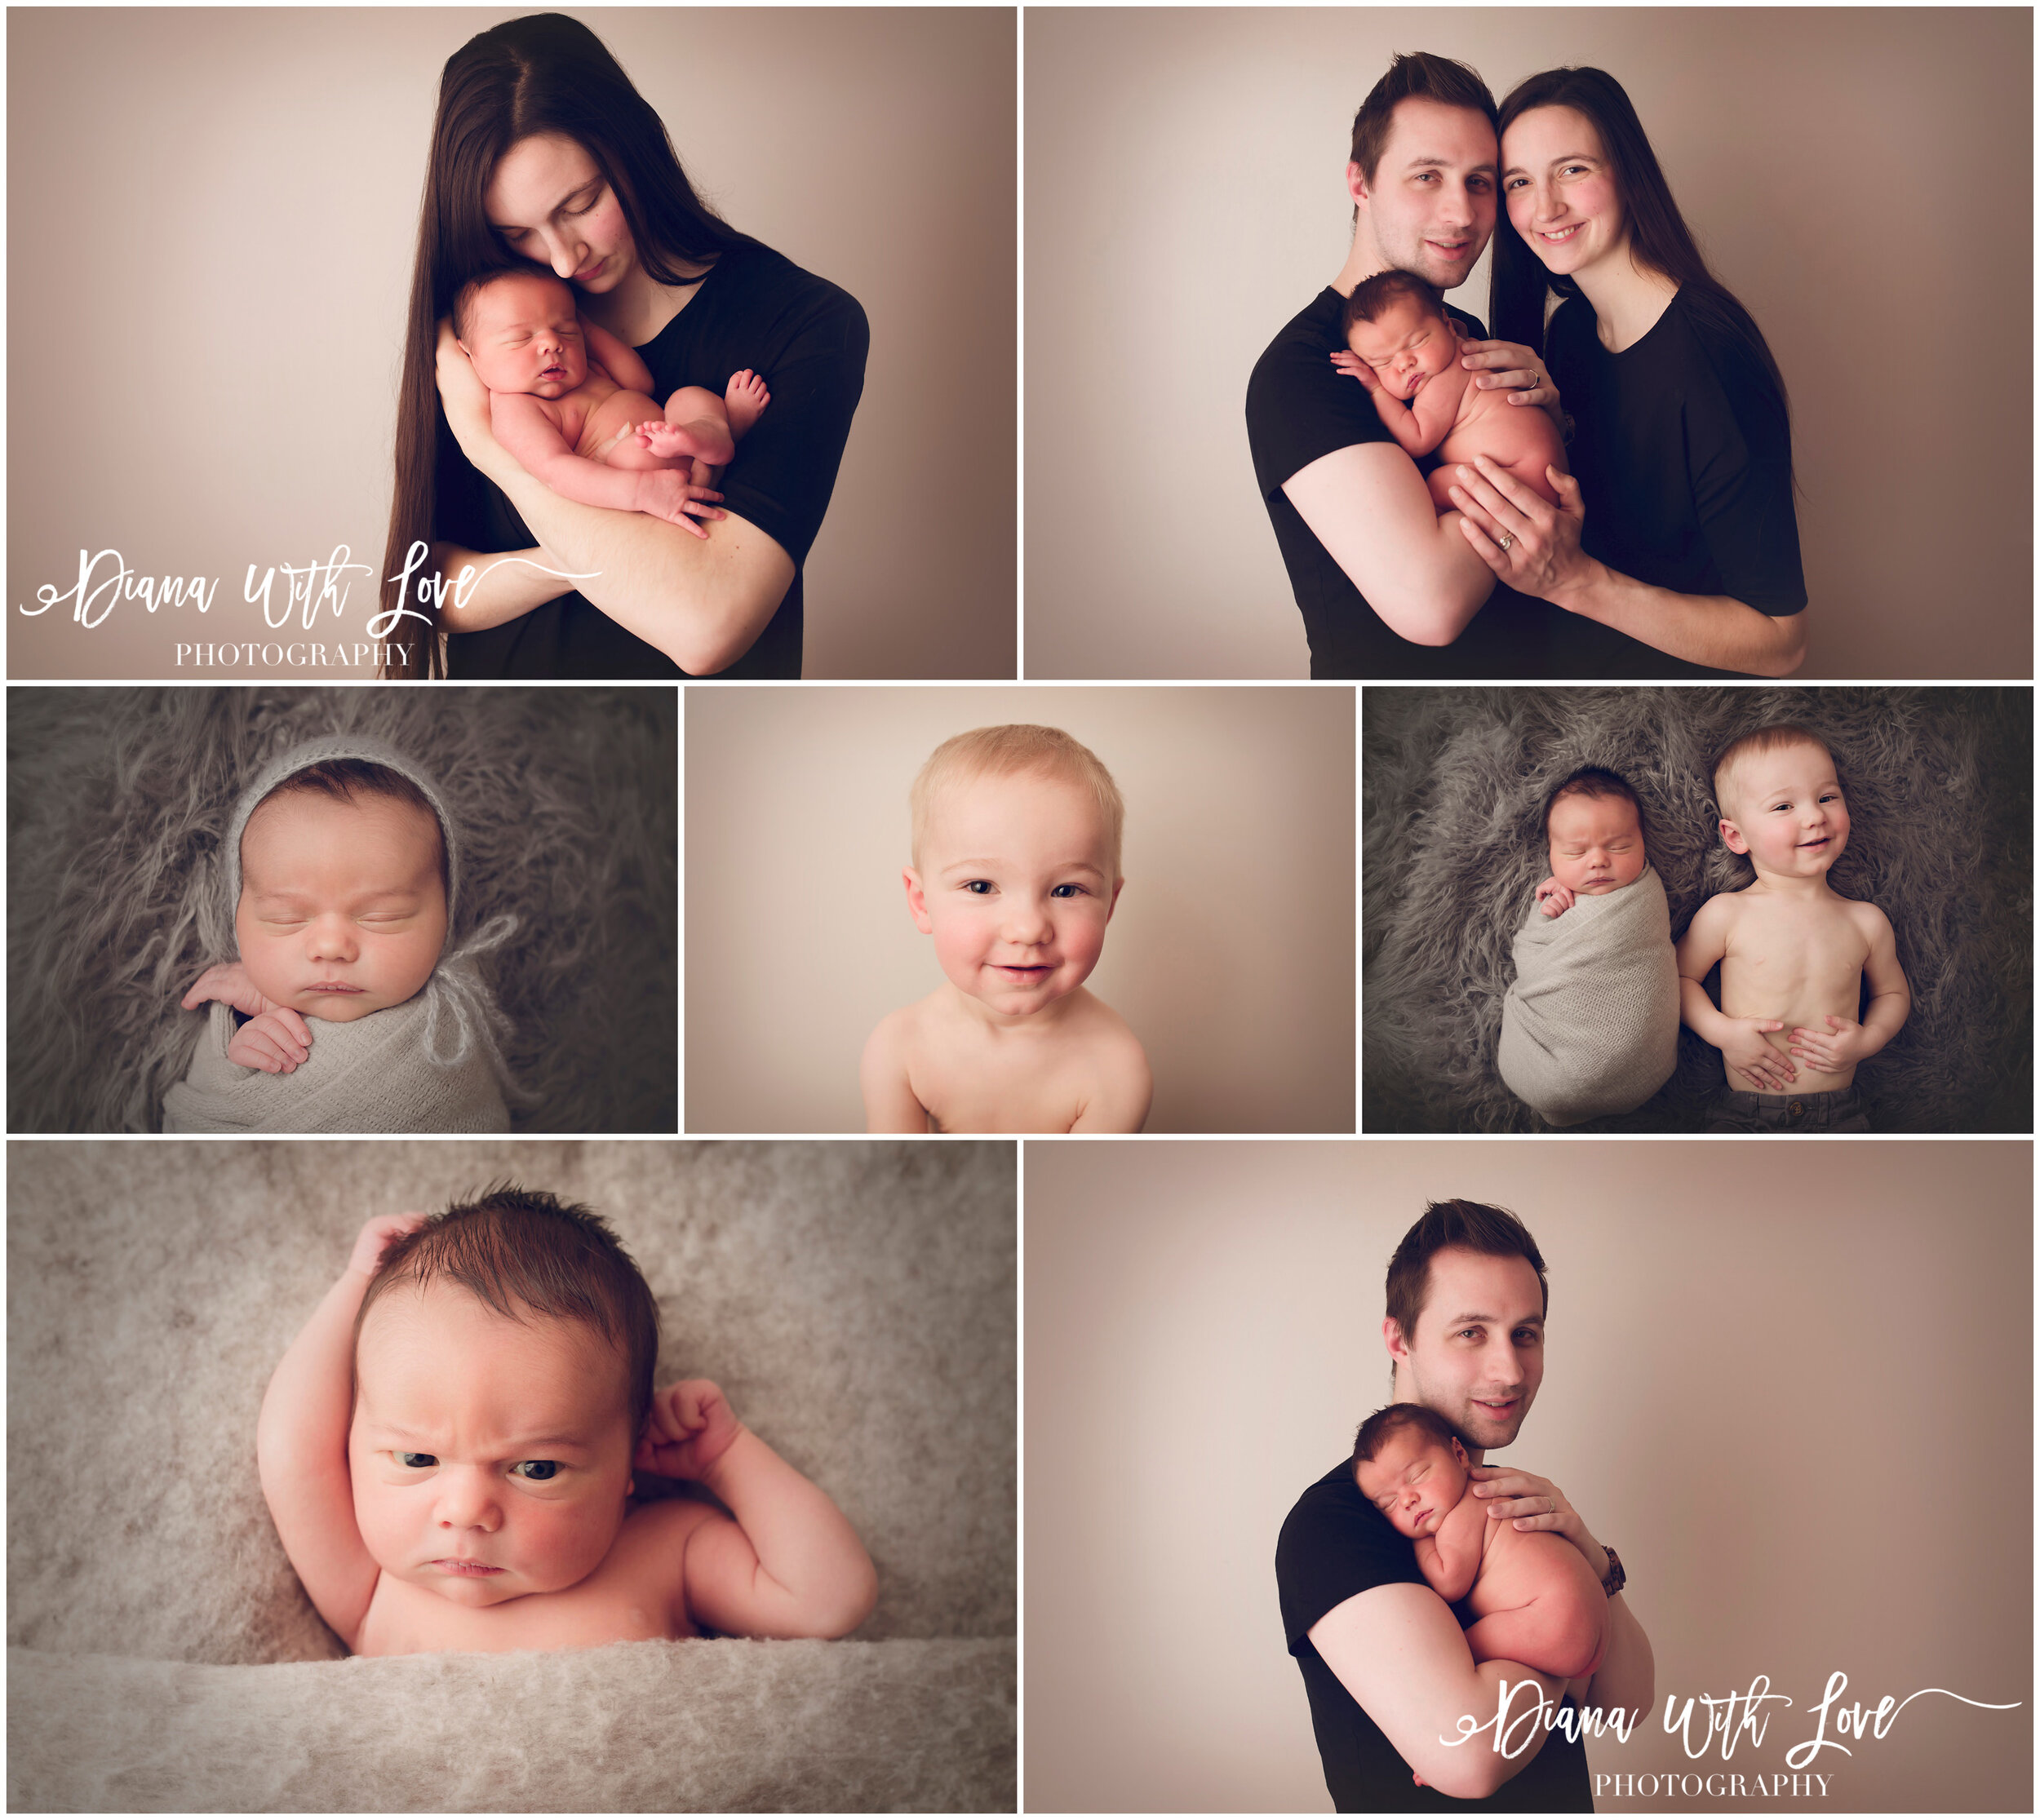
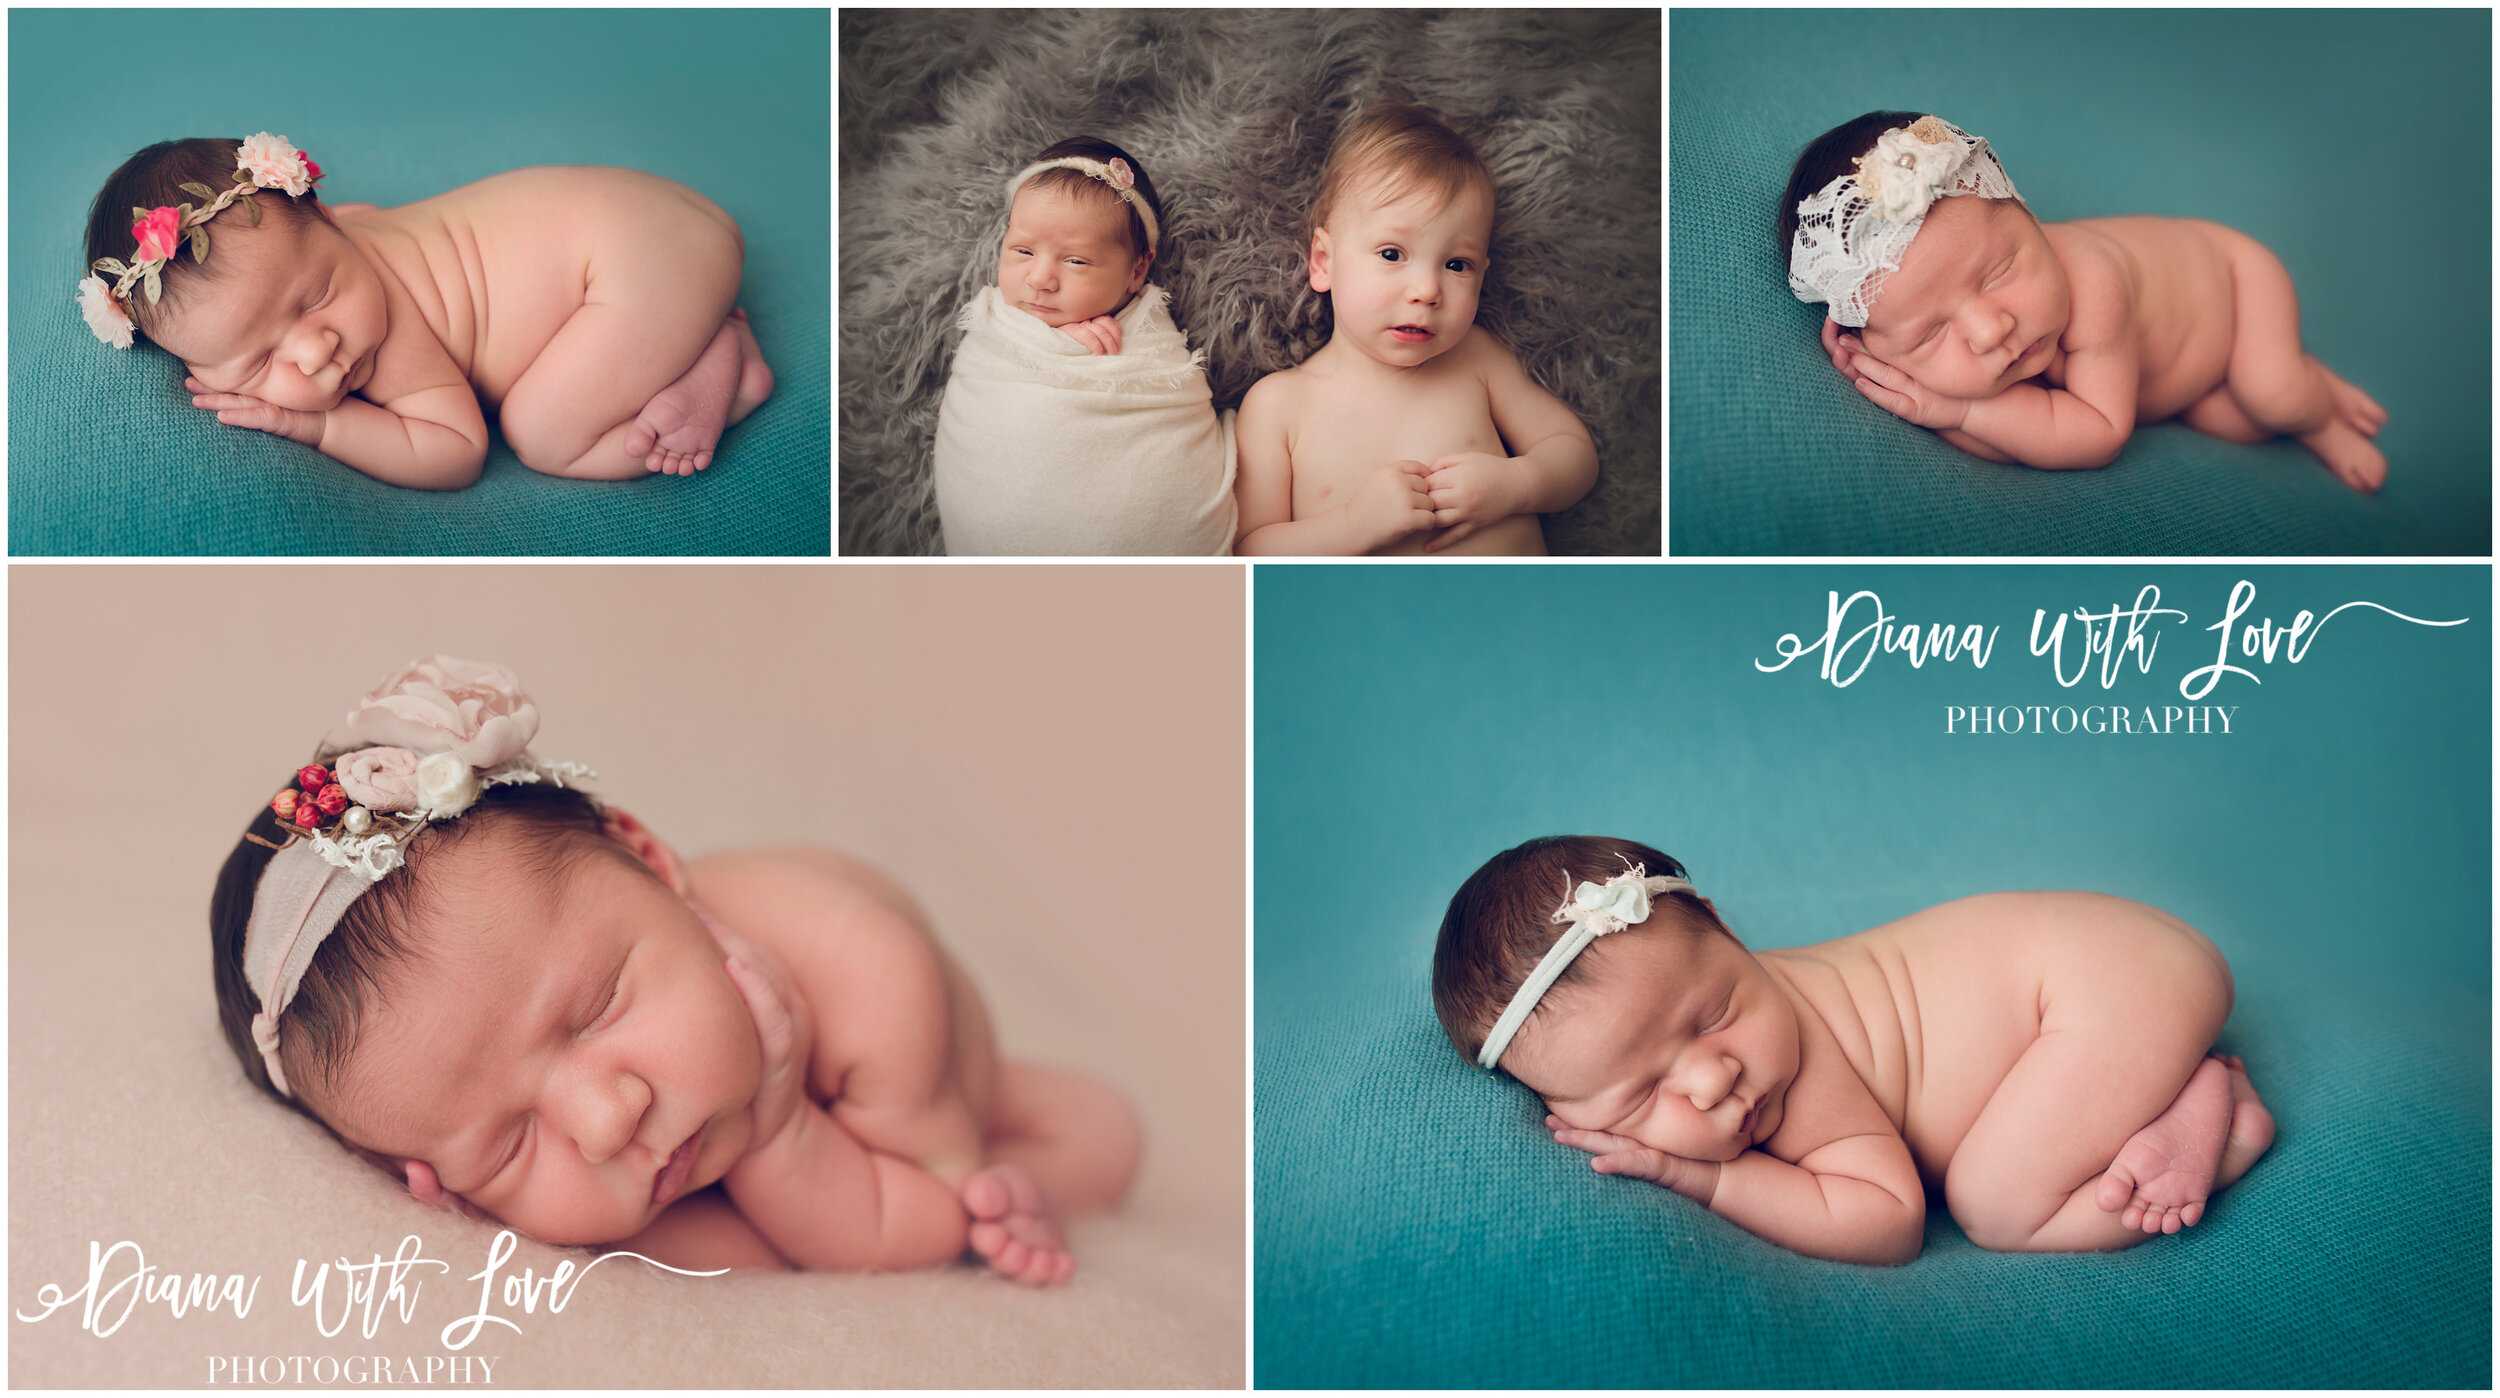
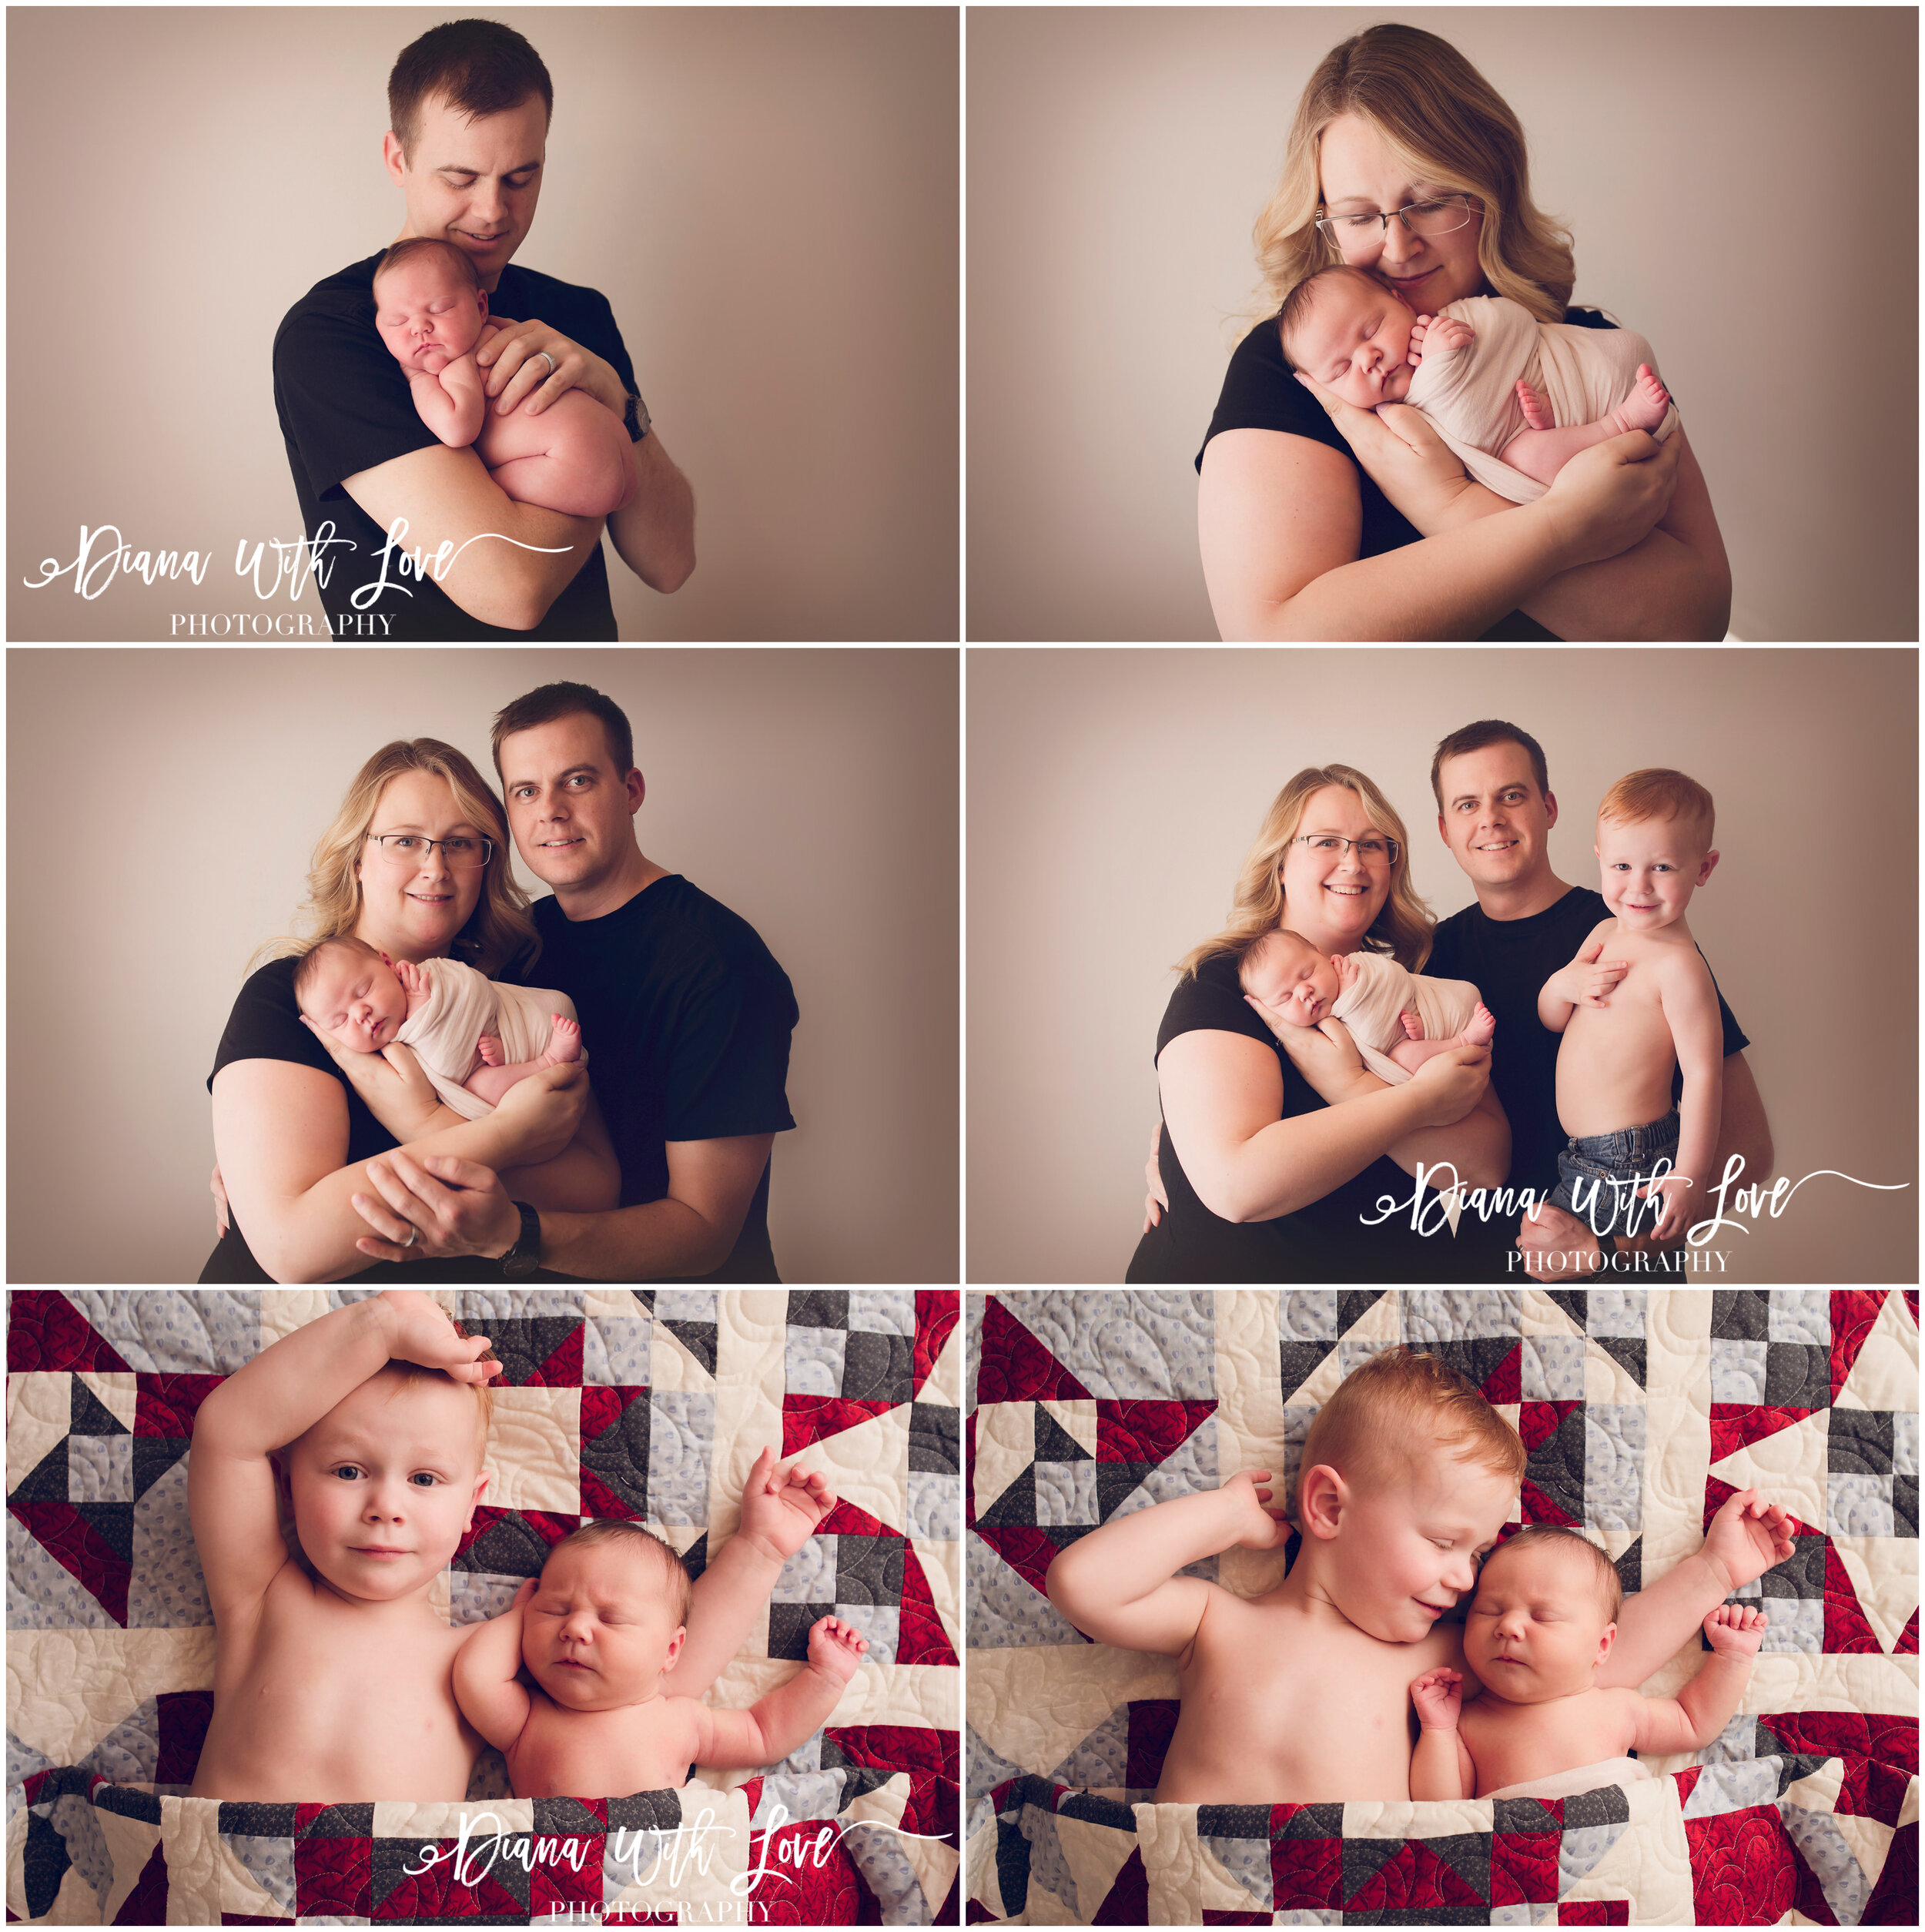
POSE 3: SIBLING PHOTOS

There are 2 options for these. The first is just an add on to pose one (follow all the instructions from pose one). Keep baby laying on their back and have their sibling lay beside them. Just keep their heads close to one another. Your baby should always be closest to the window (light) and older siblings on the outside. If baby has more than one sibling, let them be in the middle if your older siblings are ok with this.
The second option works better with slightly older siblings. Have them sit on the bed or couch. The window light should be coming in and hitting the side or the front of your children. Make sure they are supported with a pillow or something firm from behind to lean back on. Then lay baby in your older child's arms with their head facing the window. You may need to keep a pillow under baby's head to help older siblings keep them supported and safe. Then take your photo from a slightly elevated angle so you see the top of their nose but not up their nostrils.
**IMPORTANT REMINDER: Make sure especially for these sibling photos that there is another adult within arms reach of the children at all times. Young children are still learning that babies are fragile and can sometimes quickly try to get out of the position if they are uncomfortable. Make sure you are not close to the edge of a bed or couch. And make sure to talk your kids through these photos and have patience with them. Offer lots of rewards and praise. It may take a few practice tries before you even make it to the photo portion of this one.
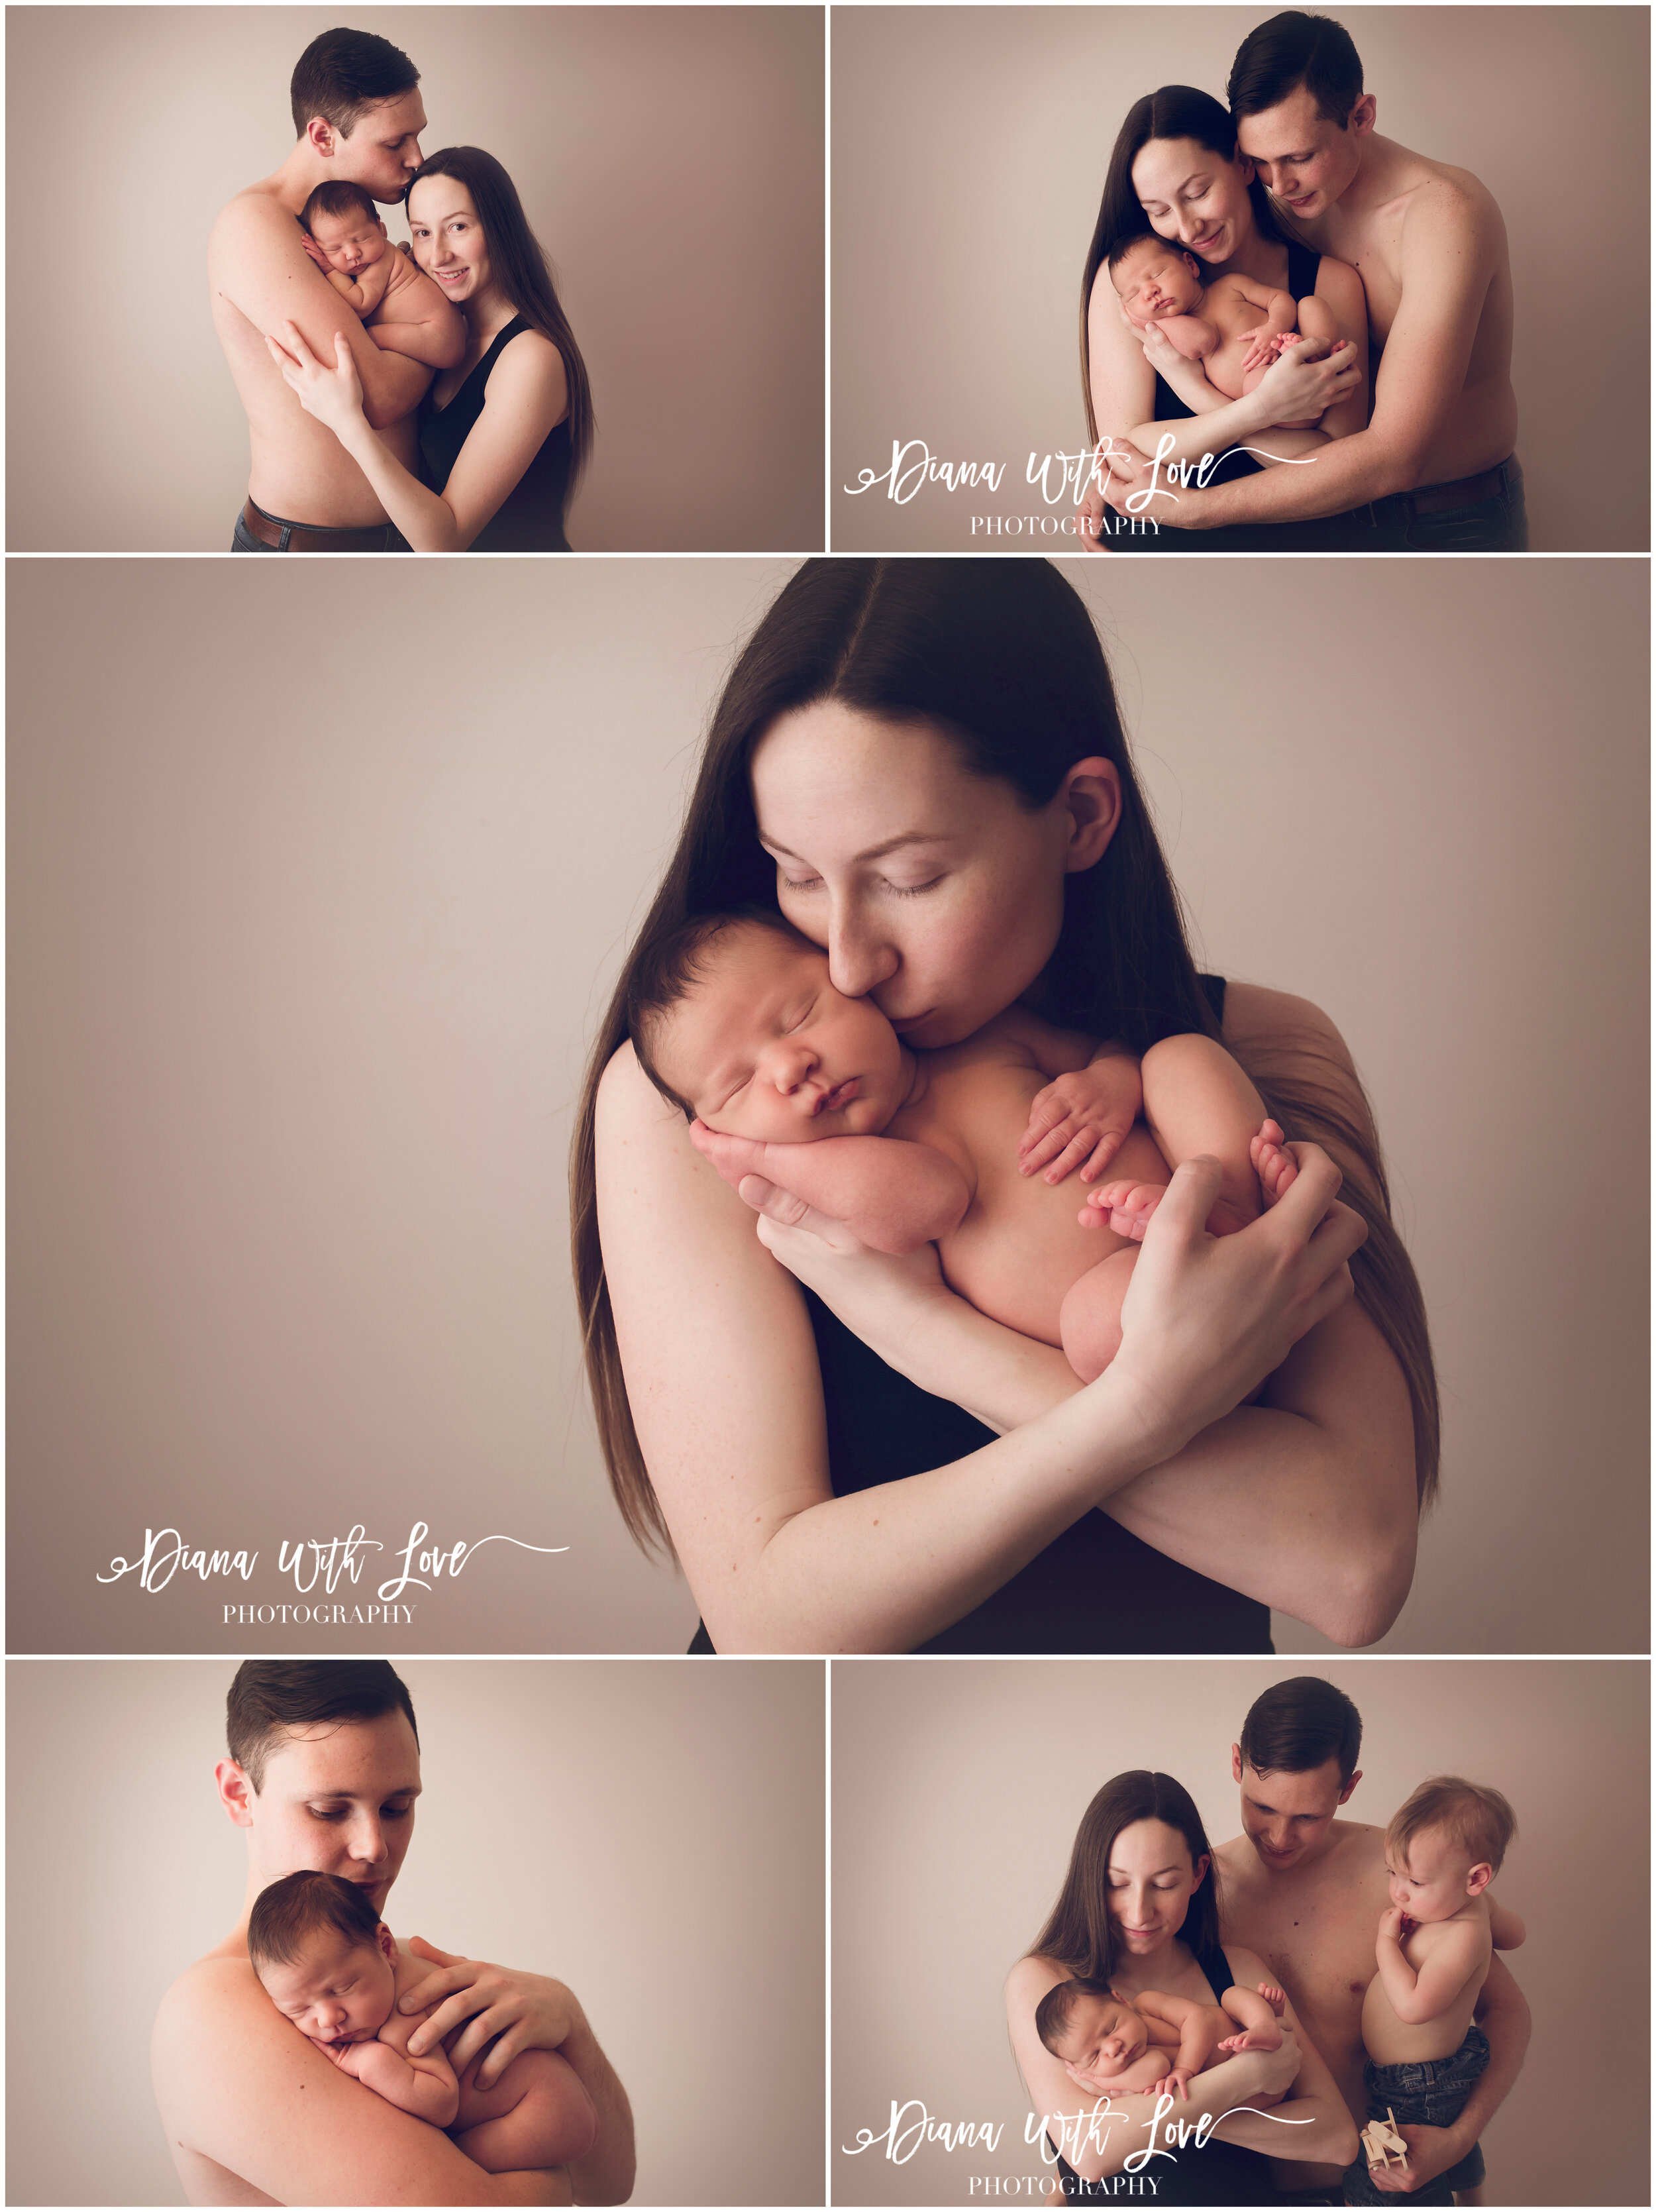
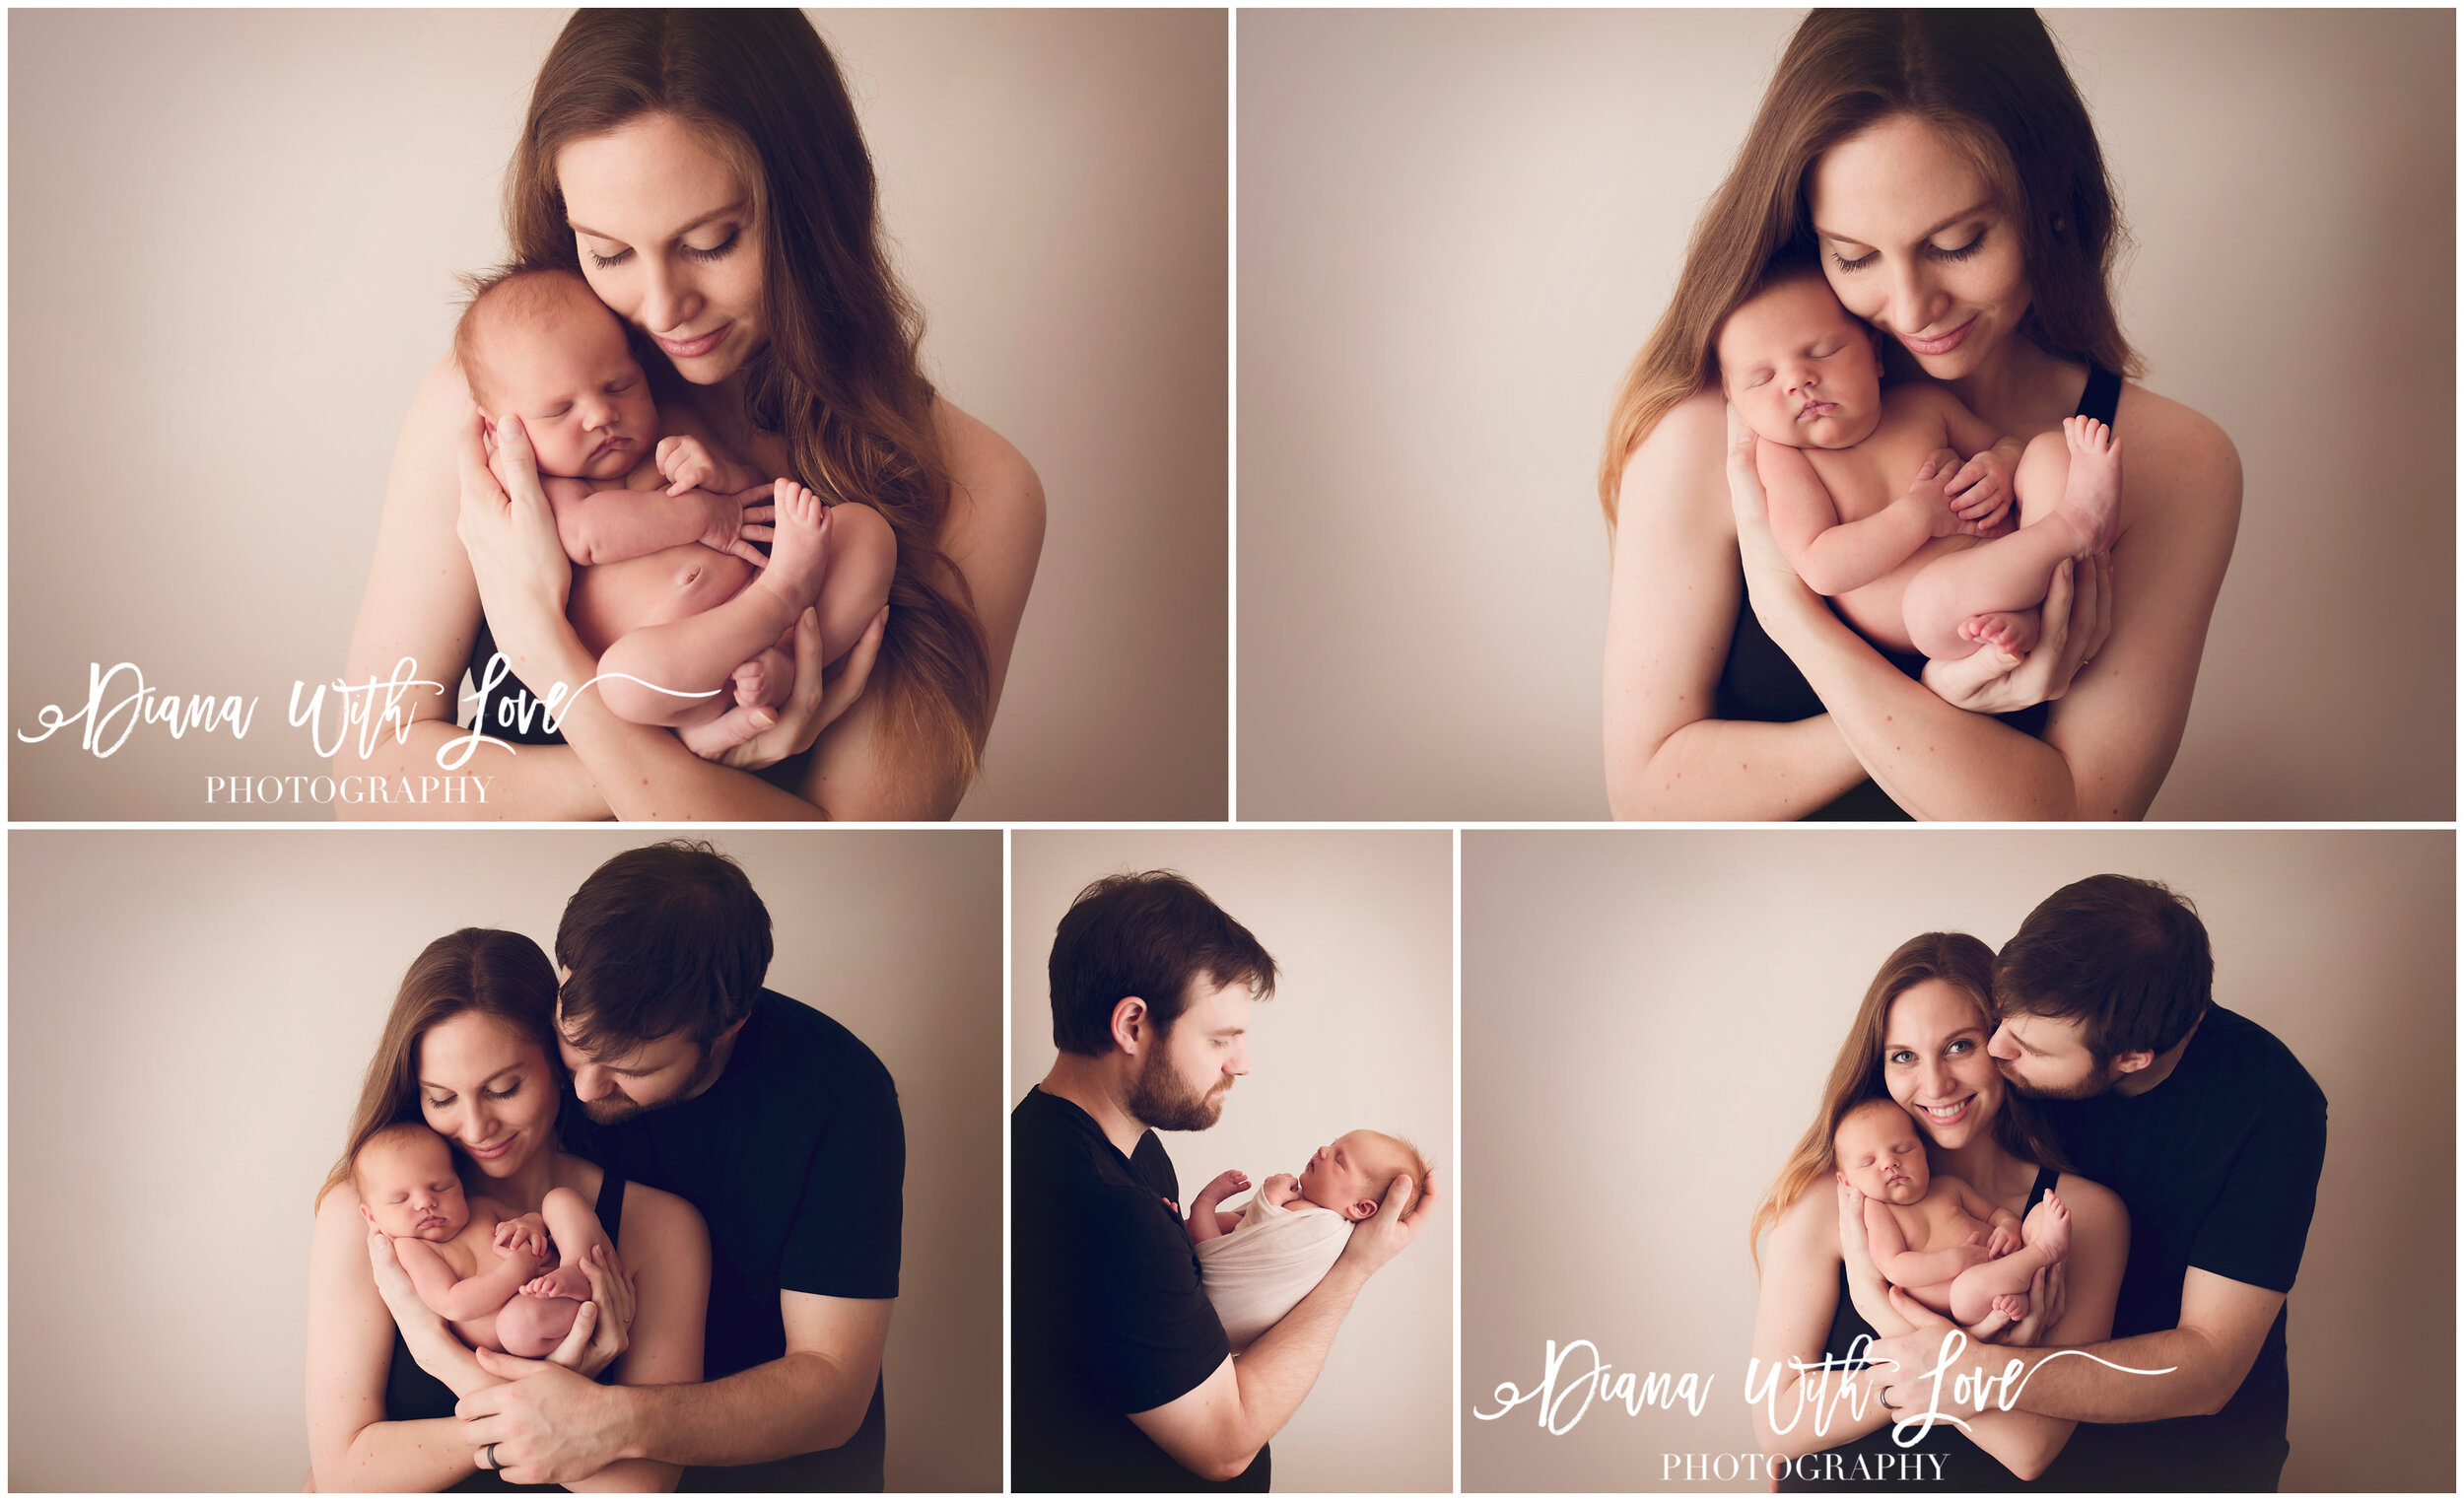
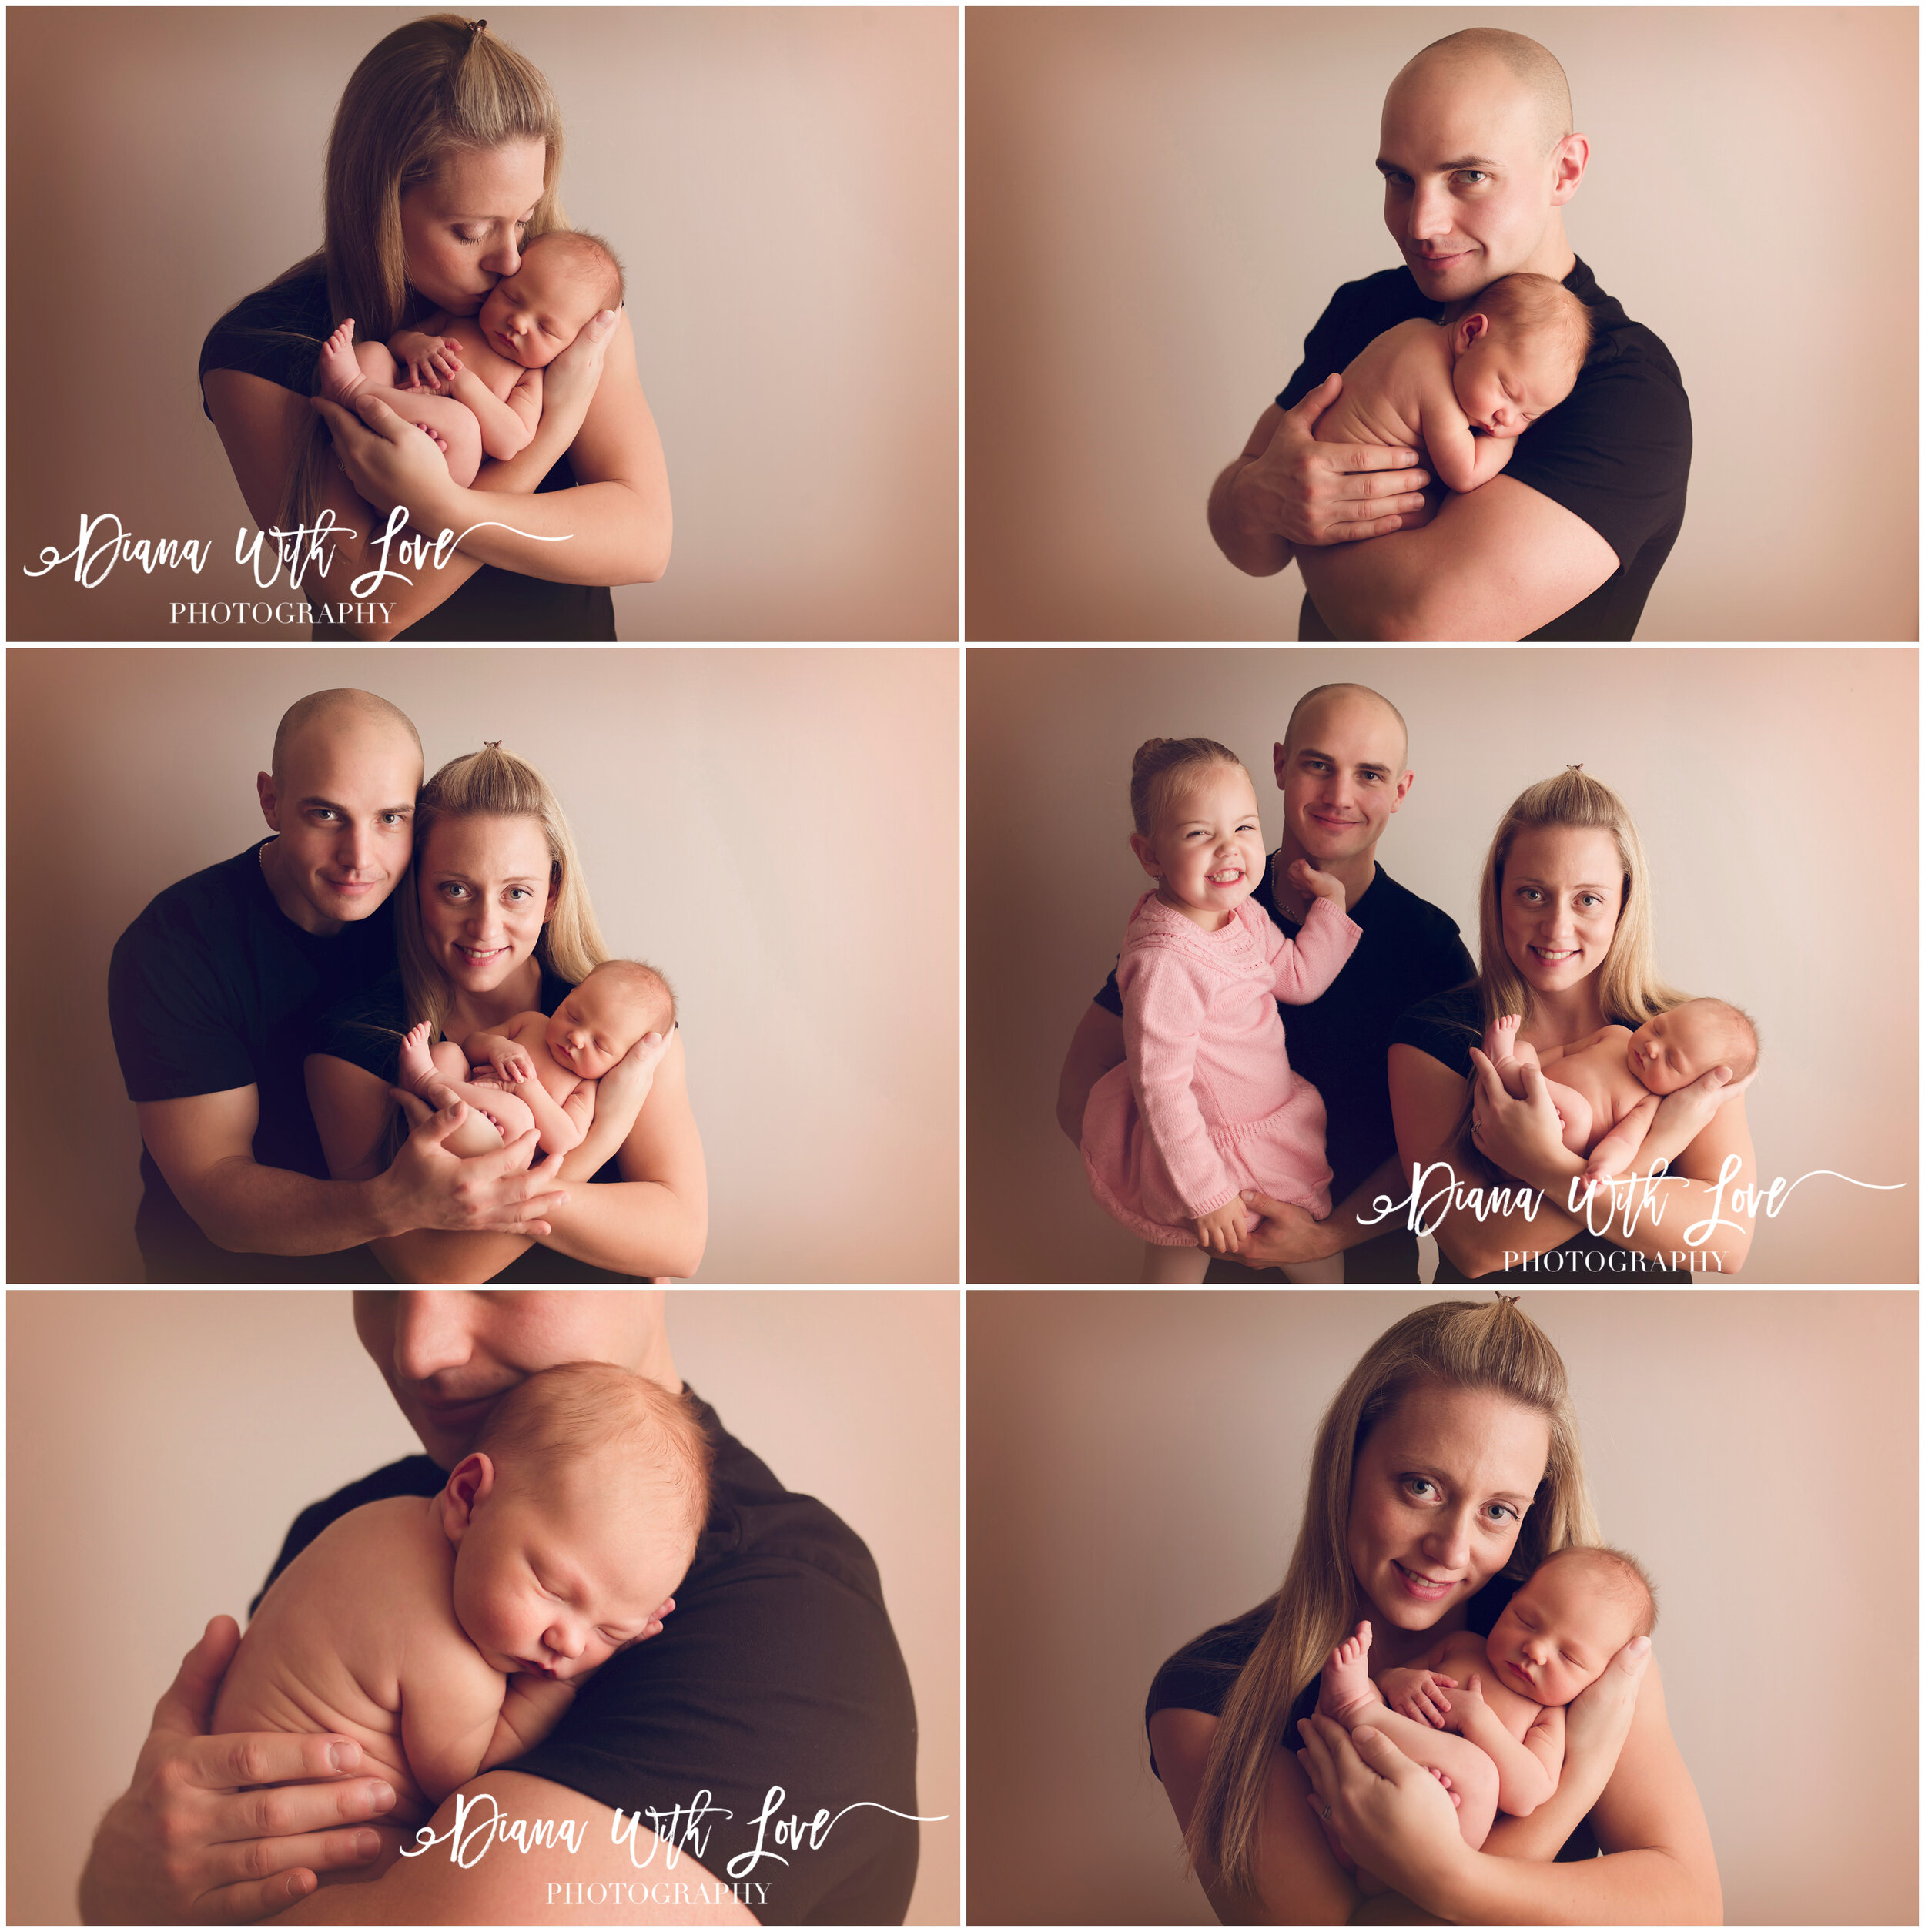
POSE 4: PARENT & FAMILY PHOTOS

Getting a full family photo may not be possible at this time unless you have another adult living at your home or you use a self timer. But you can definitely get a variety of family poses regardless; mom and baby, dad and baby, mom with all kids, dad with all kids. And of course everyone if you use the self timer.
These ones are really nice in a well lit master bedroom, nursery or on the couch even. Make sure the light is hitting you from the side or front. Baby's head should be on the same side the light is coming in from. Hold baby close and comfortably. We want to make sure baby's head is angled higher than the rest of their body and their face is turned to the camera as much as possible.
Take the photos slightly elevated so you can't see up anyones nose. Do some looking at the camera and at baby. Snuggle baby close to your face. Give them some kisses.
MORE HELP:
CLIENTS: (Clients whose newborn sessions had to be postponed due to COVID19) If you need more one on one (virtual) help with the photos or even editing them, please send me an email and I'm happy to give you as much guidance as you need! This is just part of my service to you guys. I am here for you guys in any way I can be. We are in this together ♡
NON CLIENTS: If you would like more one on one (virtual) help, I’m happy to give you guys a hand too! Whether it’s with setting up, camera settings, poses, editing or anything else. For non clients, I will ask you to make a donation to a local hospital or any other charitable organization that could really use the help during COVID-19. I will be setting a minimum dollar value based on the extent of help you need (probably anywhere from $10-$50) and once you show me your receipt, I’ll be here to help you with all your questions.
**This mentoring service will only be available while non essential businesses are closed**
REMEMBER:
Baby photos take time and patience. Don't rush it. If it doesn't work right away, try again another day. Make sure baby is safe and comfortable. And make sure there is another adult always beside baby to keep baby safe.
Have fun with it! It's the memory that counts. Styled newborn sessions haven't always been around and as popular as they are today. Your baby isn't going to be upset they didn't get a professional newborn session during this time. This is part of their story. Part of the time they were born in. When this passes, we'll be able to do those beautiful professional photos of your baby and family. Until then, enjoy those snuggles and all these firsts with your babies! Have fun with some photos but don't put any pressure on your self to capture the perfect shot. Have fun and enjoy!
CHECK OUT MY FULL VIDEO TUTORIAL ON YOUTUBE
CHECK OUT MY INSTAGRAM VIDEOS FOR EXAMPLES:
Check out my instagram story highlights. I'll have some videos going over these poses for you so you can see the easiest way to achieve them. @dianawithlovephoto They are separated into 2 parts in stories (apparently story highlight categories can max out! LOL) “1TutorialCovid19” and “2TutorialCovid19”. If you do try any of these tips out, use the hashtag #dw❤️pCovidBabies so I can see your photos! You can even tag me @dianawithlovephoto ❤️
DID YOU FIND THIS HELPFUL? PLEASE CONSIDER DONATING TO A LOCAL CHARITY!
Did you find this article helpful? Share it with your friends and family who could also find this beneficial and in exchange please consider donating to your local hospital or another charitable foundation that could use the help during COVID-19. I wanted to share these resources to help you guys out but if you are in a financially stable position, the hospitals and countless other organizations could really use your help right now! Remember those Porch Photo Sessions raising money for charities? This is my way to STAY HOME, FLATTEN THE CURVE and help raise some money in a much safer way ;)
MORE RESOURCES:
Here are some more resources from some of my favourite international photographers:
https://rachelvanoven.com/quarantine
https://newbornposing.com/product/capturing-your-baby-first-month
https://themilkyway.ca/a-how-to-guide-for-your-newborn-clients-during-covid-19/
If you have an article you’d like to share, please send me the link so I can post it here.
I didn’t review these links until after writing my own article and it’s pretty fun seeing many similar points!
THANK YOU EVERYONE! STAY HOME, STAY SAFE AND LOTS OF LOVE!
WITH LOVE,
DIANA ♡
Diana With Love Photography
www.dianawithlove.com

David’s newborn photo session with a kite surfing set up!
Read MoreMuskoka Newborn Photography
Read MoreAaron’s in your own home newborn session.
Read MoreLogan’s in your own home rainbow newborn session.
Read MoreJase’s newborn in studio session.
Read More